free UK postage
over £40.00
Search


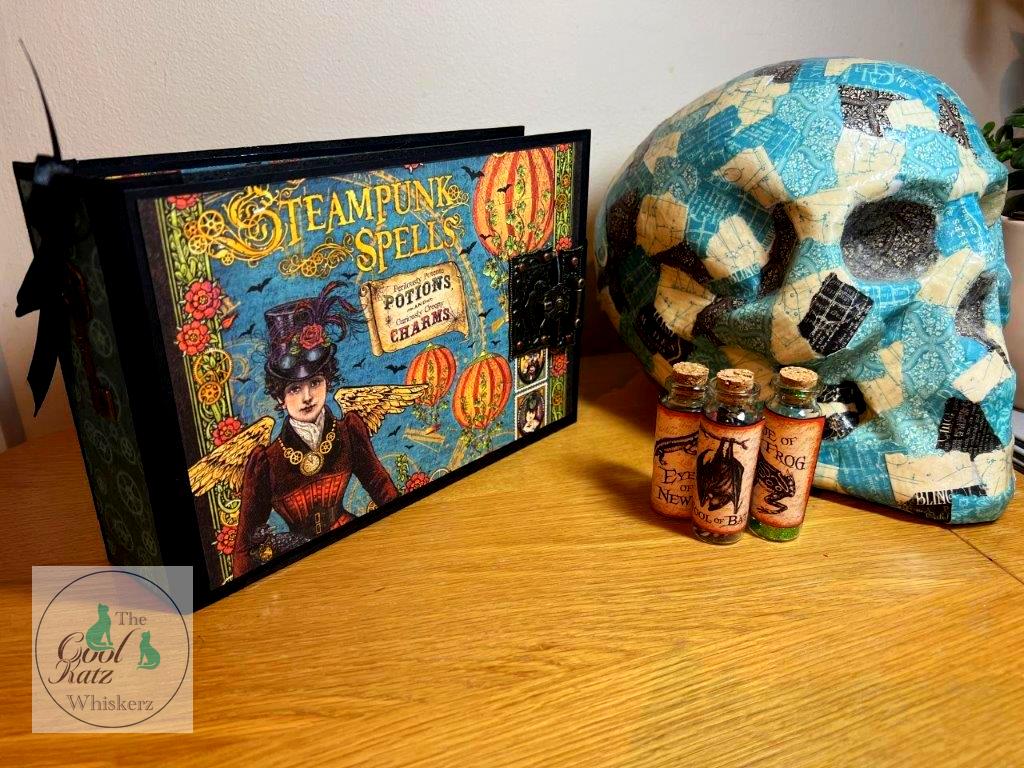
Welcome to the third and final part of the fabulous Simple Steampunk Album designed by Design Team Member Mandy. If you haven't seen the first or second parts yet, you can find the links at the end of this post.
So over to Mandy for part three...

Page 9
Take the Nevermore page and cut to 7” wide by 4 ¾” high, using the middle photo slot die from curved photo slots set 2 line up centrally and run through die cutting machine.

Ink edges, carefully glue on the back it helps to put a photo mat in (see photo on page 1) and stick down to the plain side of page with no pocket.

Page 10 please cut page 11 mat first
Take Mechanical Marvels left over from page 9 and cut to 7” wide x1 ½” high then from the Clockworks page a piece to 7” wide x 3 1/8” High

Ink edges and stick down

Page 11
Take the Mechanical Marvels page and cut to 7” wide by 4 ¾” high, using the middle photo slot die from curved photo slots set 2 line up centrally and run through die cutting machine.

Ink edges, carefully glue on the back it helps to put a photo mat in (see photo on page 1) and stick down to the plain side of page with no pocket.

Page 12
Take Totally Wicked and cut to 7” wide then you need to cut into 2 pieces’ different heights one to 7” wide x1 ½” high and another piece to 7” wide x 3 1/8” High

Ink edges and stick down

Now to put the pages in the book.
Again make sure all the pages are in the correct order and the correct way up.
I find it easier to slide the page on the hinge if I cut off at an angle on the hinge from the embossed line
Use some book binding glue on both sides of the hinge above the embossed fold only, then slide your hinge inside the opening on the page while you have some wiggle time lay the page flat and make sure it is straight not at an angle.
So please do this for all 6 pages
Take the largest pierced edge die from the curved photo slots set 1 and cut 6 mats

Out of your left over paper offcuts cut 6 pieces 3 7/8” high x 2 7/8” wide ink the edges and stick down, choose which pages you can coordinate with and slot them into the pockets

From Vintage Voyage cut out 6 ephemera cards and ink edges and choose which pages to coordinate with and slot into pockets

Cut out in black card stock 6 of the large Bat tag die and slot these in the gap between pages
Finally, for the inside cover tuck spots I cut a couple of pieces of cardstock to 5” x 3 for photo mats
https://www.coolkatzcraft.com/
https://www.coolkatzcraft.com/
We think you will agree that was a fabulous tutorial from Mandy. Don't forget if you have been following along and creating your own Album, or indeed any other CoolKatz project, pop over to our CoolKatz Facebook group and share your projects. We love to see your creations using our CoolKatz products.
So until next year.
Happy Crafting
The CoolKatz Team x
https://www.coolkatzcraft.com/