free UK postage
over £40.00
Search


We have a real treat for you Mandy has been working hard to create a tutorial for her fabulous Simple Steampunk Album, Maggie and Kay have made an instructional video but here on the blog we will have a series of step by step blog posts which will be runing over the next three months, starting with the first one today.
So over to Mandy....
Simple Steampunk

You will need
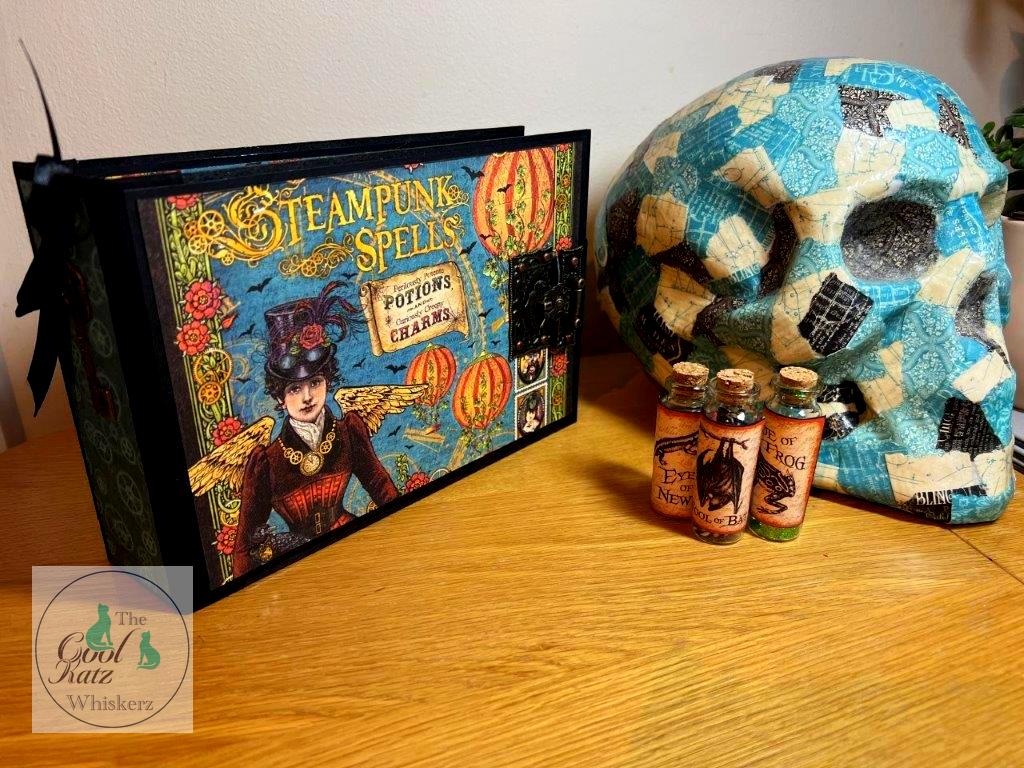
1 8x8 Graphic 45 Steampunk spells pad
For the cover 2 pieces of 8 ½”x 6” grey board
For the spine 1 piece 6”x2” grey board
50mm Architape
A 4 Pebeo Artist marker black or black paint
Hinge Stack Die
A metal closure or ribbon
Straight pierced pocket die
Curved photo slots die set 1
Curved photo slots die set 2
Bat Tag die set
Book binding glue
Teflon Tool
Hinge spacer I used ¼”
Trimmer
Score Board
Pokey Tool
Pro Tape
Orange soft paws low tack tape (I like to call it Tiger tape)
Die cutting machine
Craft mat
20 sheets black cardstock
Optional glossy accents to decorate cover
This is an easy album when we get to the pages, the hardest part is I feel making the hinge but Kay and Maggie have great tutorials on You Tube so if you are new to albums please give it a try
Instructions:
Cover and hinge:
To start take the marker or use black paint ink the edges of the cover pieces.
you don’t have to be perfect just make sure you cover about ¼ “on both sides and the edges
Now take peel enough off the back of the Architape just about 8 inches’ so you should have an inch over top and bottom.
Lay the spine centrally on the length of the tape and add the hinge spacer on one side top and bottom and lay one side of the cover down.

Repeat on the other side.
Please watch the how to guide on YouTube that Maggie and Kay have made it explains it so well.
Now you have the hinge and covers in place wrap the Architape over the top and onto inside of hinge and overlap by a ½ “run your Teflon tool down the seams to help with the hinge movement

Cut out a set of hinge stack dies and trim to 5” high, also cut a piece of cardstock to 5” high x 8 ¼ “wide and follow the instructions included to make the base for the hinge.


Check out the CoolKatz You Tube tutorial, it is so easy to follow and assemble.
To help me line up to stick down the hinge I make a pencil mark in the centre of the hinge with a pencil on the spine so on this hinge at 1” and on the centre of the stacked hinge top and bottom.
Cover the back of the hinge with book binding glue and stick down.
For the strap and closure:
Take your Architape and cut to 5” long.
I like both sides of my strap to look the same so I do a tiny seam so to do this peel back down one long side just small amount and fold over about an 1/8”

Now peel back the rest of the backer on the tape and fold over to line up with the other side. I find lining the tape on a gridded craft mat helps. Attach one half of clasp to the strap, I used brads on mine
I based these measurements on the clasp that I used, please adjust to the size you use and if necessary trim any excess.

Pages:
For the pages you need to take a piece of a4 black cardstock and place the long edge against the top of the scoreboard and score at 5”, then at 10”. You need to make 6 of these

At 5” please fold over and burnish these needs to be a mountain fold.
At 10” this will create a little pocket fold up towards the 5” score this needs to be a valley fold please see photo

to create the page to start on the little pocket on the 1 ½” sides place score tape on what will be the inside of the pocket on both sides and stick down see picture below

To finish the page along the top of the page 8 ¼” place pro tape as per photo and stick down. Leave each end open

I wanted the photo slot page as the right hand page and the pocket page as the left hand page when you have two pages open so make sure before you start you have the pages laid out ready the correct way up.
If you need a reminder drawer an arrow in pencil on the centre of the page, we will be covering the pages so you don’t need to worry it won’t be seen once we have decorated
Now it’s time to stick down on the inside right hand side of the cover the strap you have made, to make sure it is on straight I laid the book cover on a craft mat with a grid and used tiger tape to lock it into place.
I then did the same with a ruler and laid out the strap with approx. 2 ¾” hanging over with closure facing down.

I then stuck this down to the mat with tiger tape so it didn’t move and lifted up the side being stuck to the cover and used book binding glue to stick this down.
If you would like to use ribbon use pro tape or book binding glue to stick down inside of the cover before matting with cardstock.
Again I would suggest laying out on a gridded craft mat so you can get in the same position on both sides of the cover
For the cover outside and inside I cut 4 pieces of black cardstock 8 ¼”x5 ¾” stick down on the outside of the covers and on the inside right had side with book binding glue this should leave 1/8” around the cardstock do not stick the inside left down yet!

Starting with the front cover take the Steampunk spells page and trim off the top just above the words as the photo below

Then from the top of the cut page trim 5 ½” as the photo below, keep the bottom off cut we will use that next

Ink the edges with the marker pen or ink with a blending tool so the white core of the paper isn’t showing and stick down using book binding glue.
Using the strap as a guide line up the other side of your clasp and use brads or glue to stick down.


Now you can put your final black card stock mat 8 ¼”x5 ¾” on the inside left over to hide your brad legs or ribbon.
Spine:
Using the left over larger piece from the cover ink the edges using the marker or ink with a blender and using book binding glue stick to the spine.

I decorated with a key and a piece of ribbon

We can't wait for the next instalment, see you next month!
The CoolKatz Team x