Always read the instructions from start to finish before starting!
I always think this but I often forget in the excitement to start!. With this kit, it is really important to look at the instruction pictures as the two halves are slightly different. Laying the pieces out and doing a dry run helps to make sure the pieces are in the right place before getting the glue out.
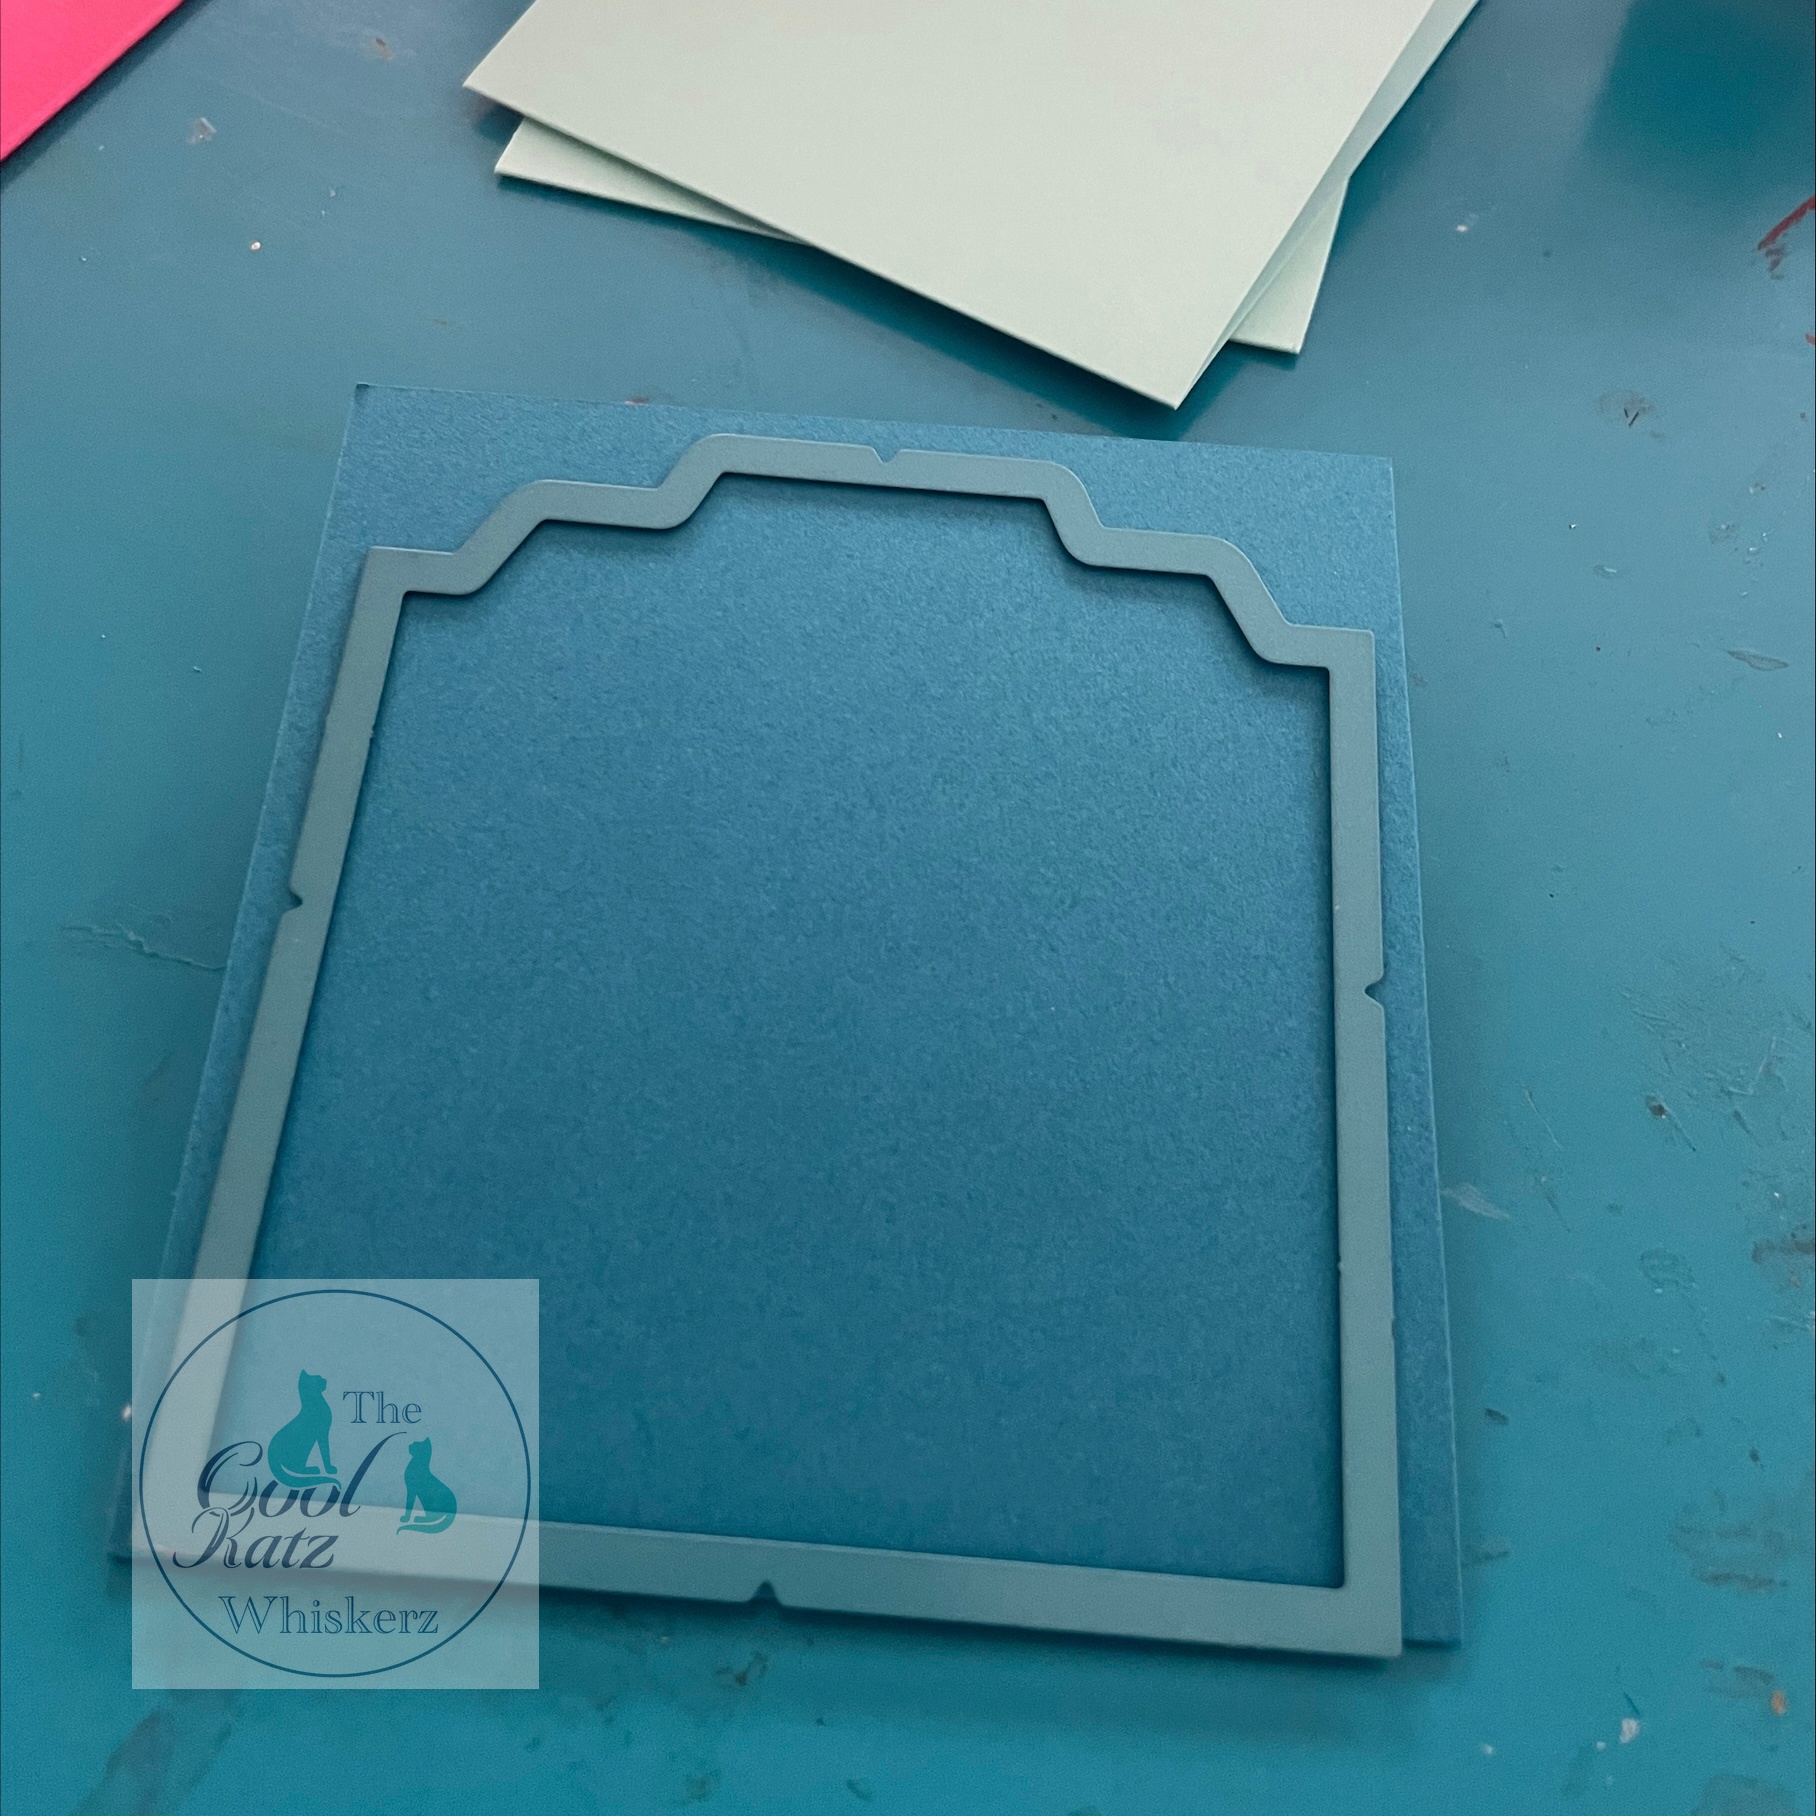
Before gluing the kit together, draw around all the pieces (excluding the tabs) to create a template. This will make decorating with papers easier at the end.
When gluing, I always put glue on the edge and top. This makes sure that all pieces are glued enough but not over glued.
I decided that I wanted to make it into a baby memory storage unit and wanted to make three different holders - one with a flap, one with a pocket and a concertina area for photos.
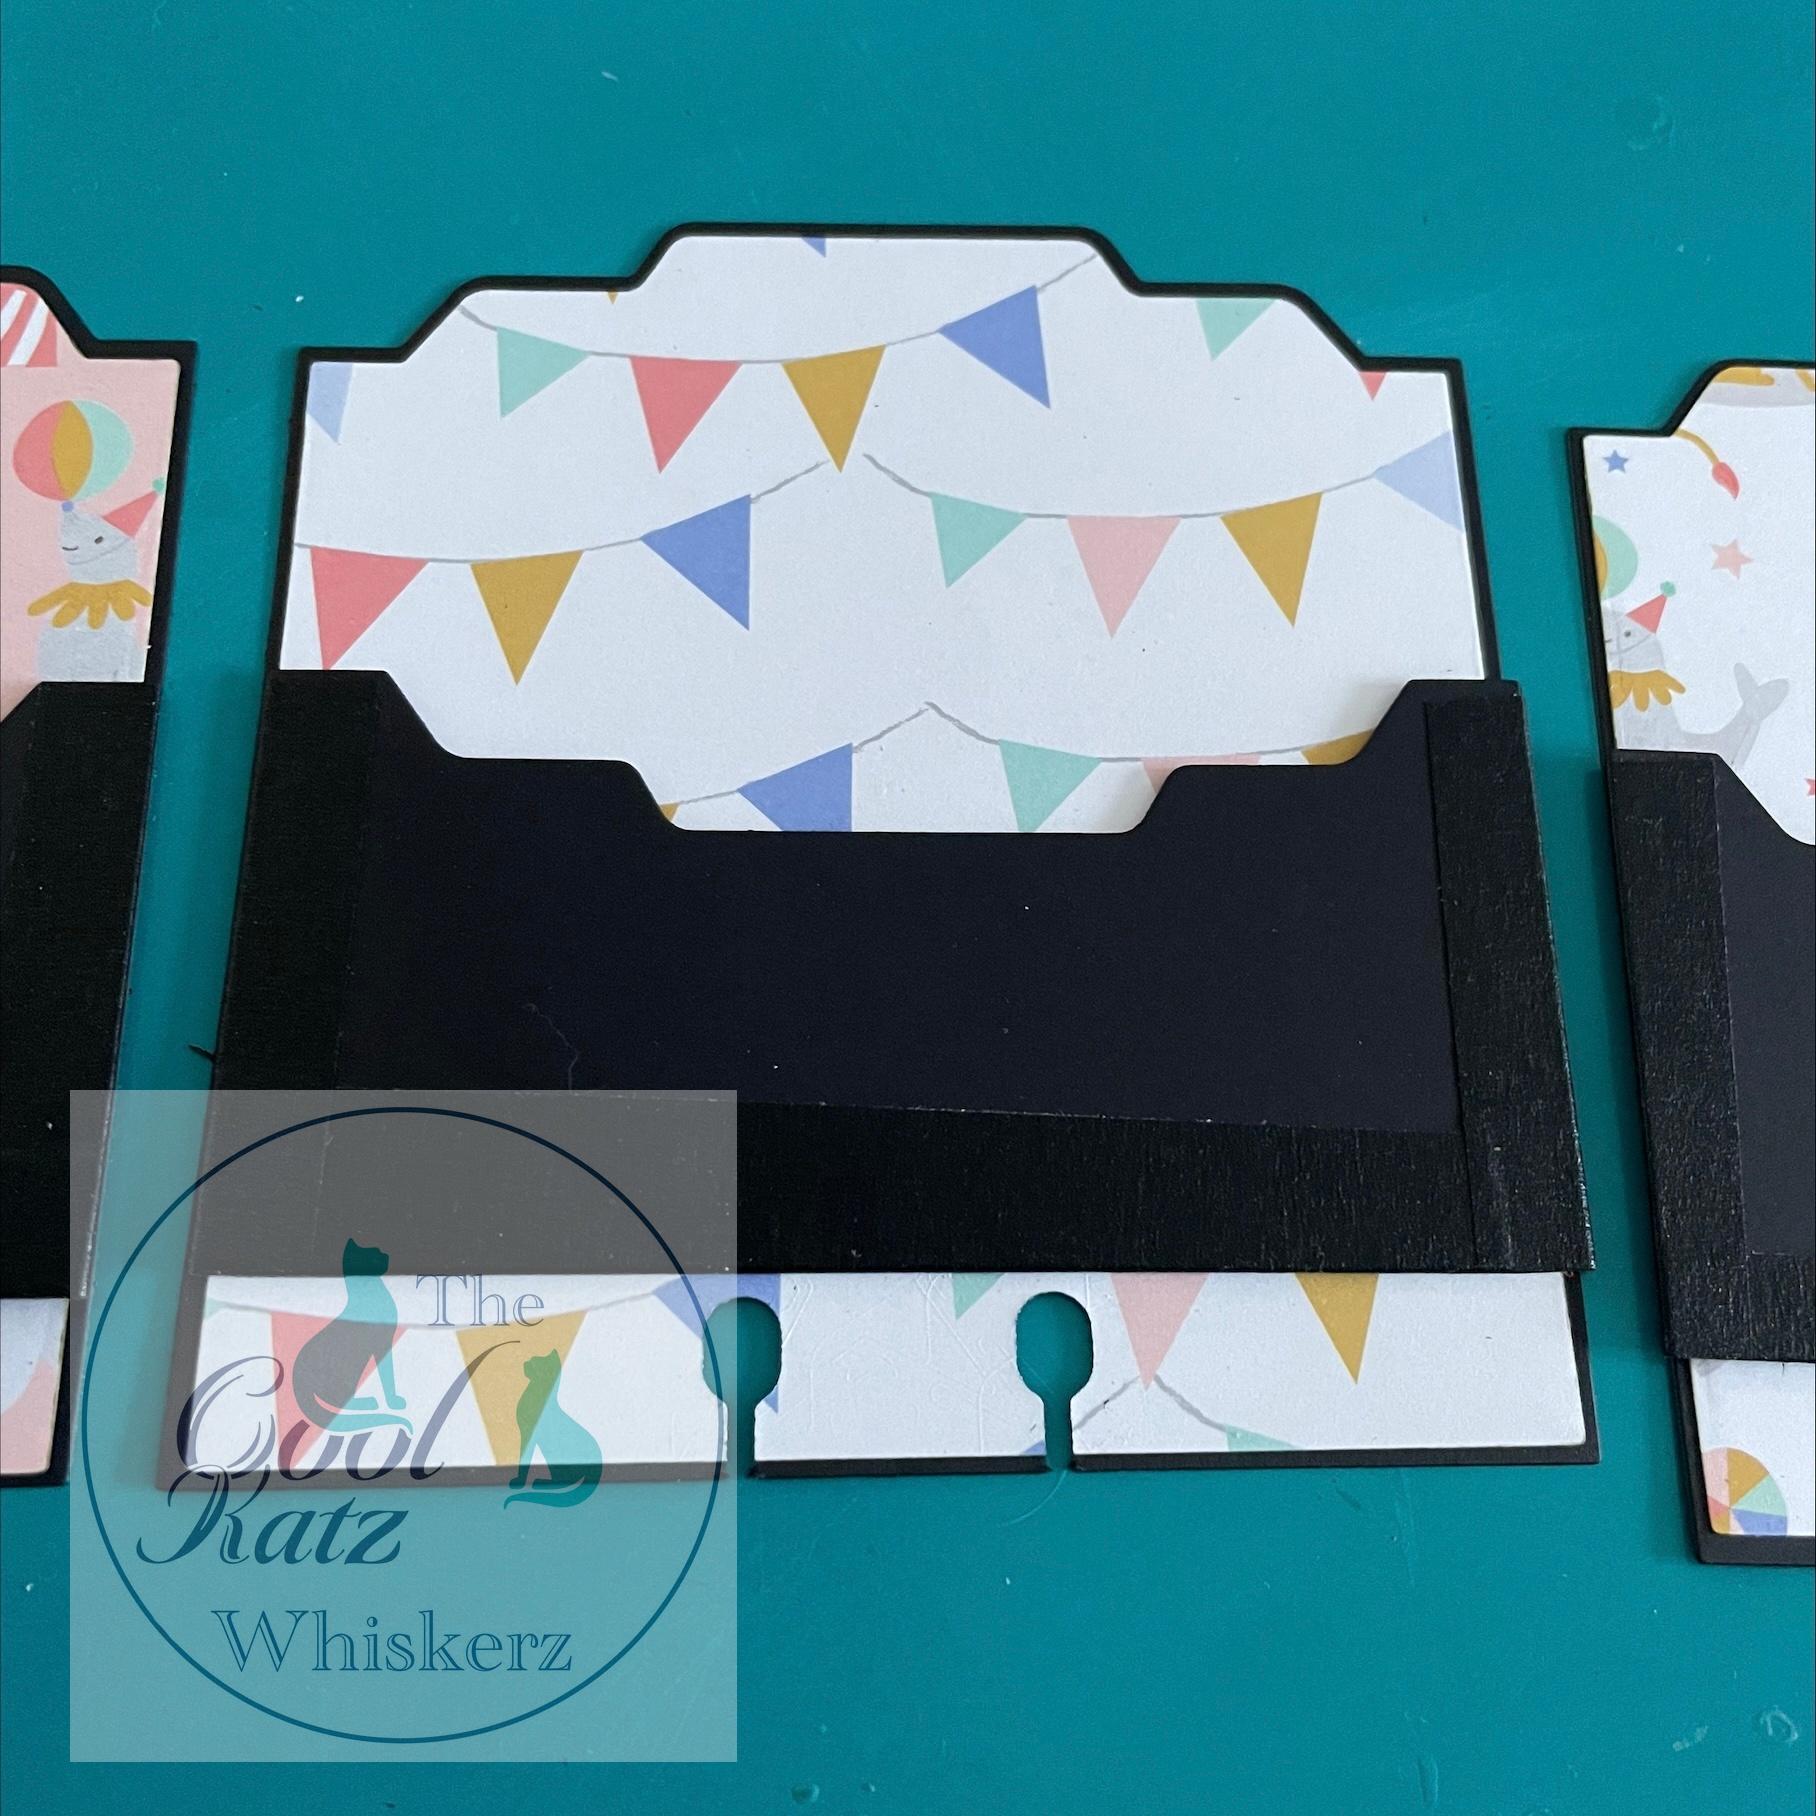
Flap card
I started by folding coloured card in half and the cutting with the mexican flap (journal card) die.
I cut a smaller mexican flap out of patterned paper and stuck it onto the flap. I cut the biggest mexican die out of black card and slightly smaller one out of patterned paper.
These were matted and layered and flap piece was stuck on the front.
I put black tape onto the back of it before cutting the holes to add strength. It is really important that you spend time lining up the holes and making sure they are in the middle of the card.
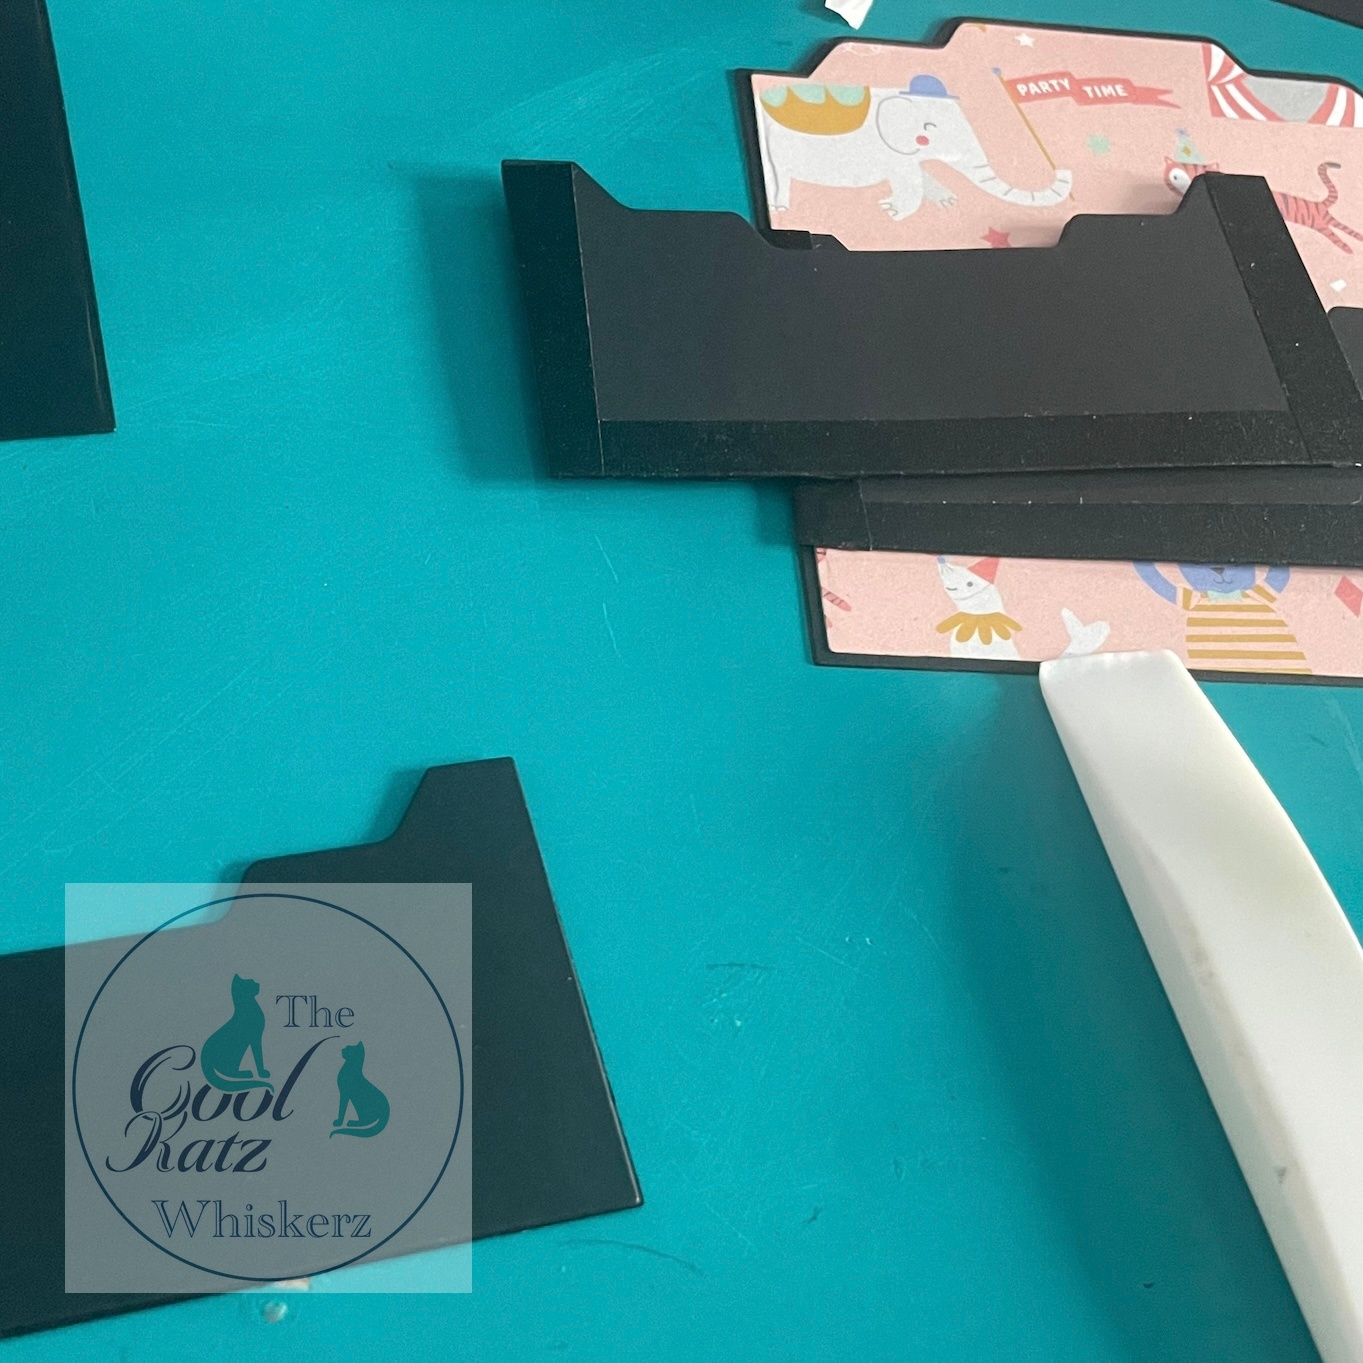
Pocket card
The next type was with a pocket.
I cut the biggest pocket die out of black card and patterned paper out of the smaller pocket die. I used black tape to attach the two black pocket pieces together (using the Paul Ford quickie video).
I cut, matted and layered a bigger mexican card and then cut holes in the bottom as before.
The pocket was then attached to the front. I used tape and glue to attach it as the pocket might be used and pushed a lot.
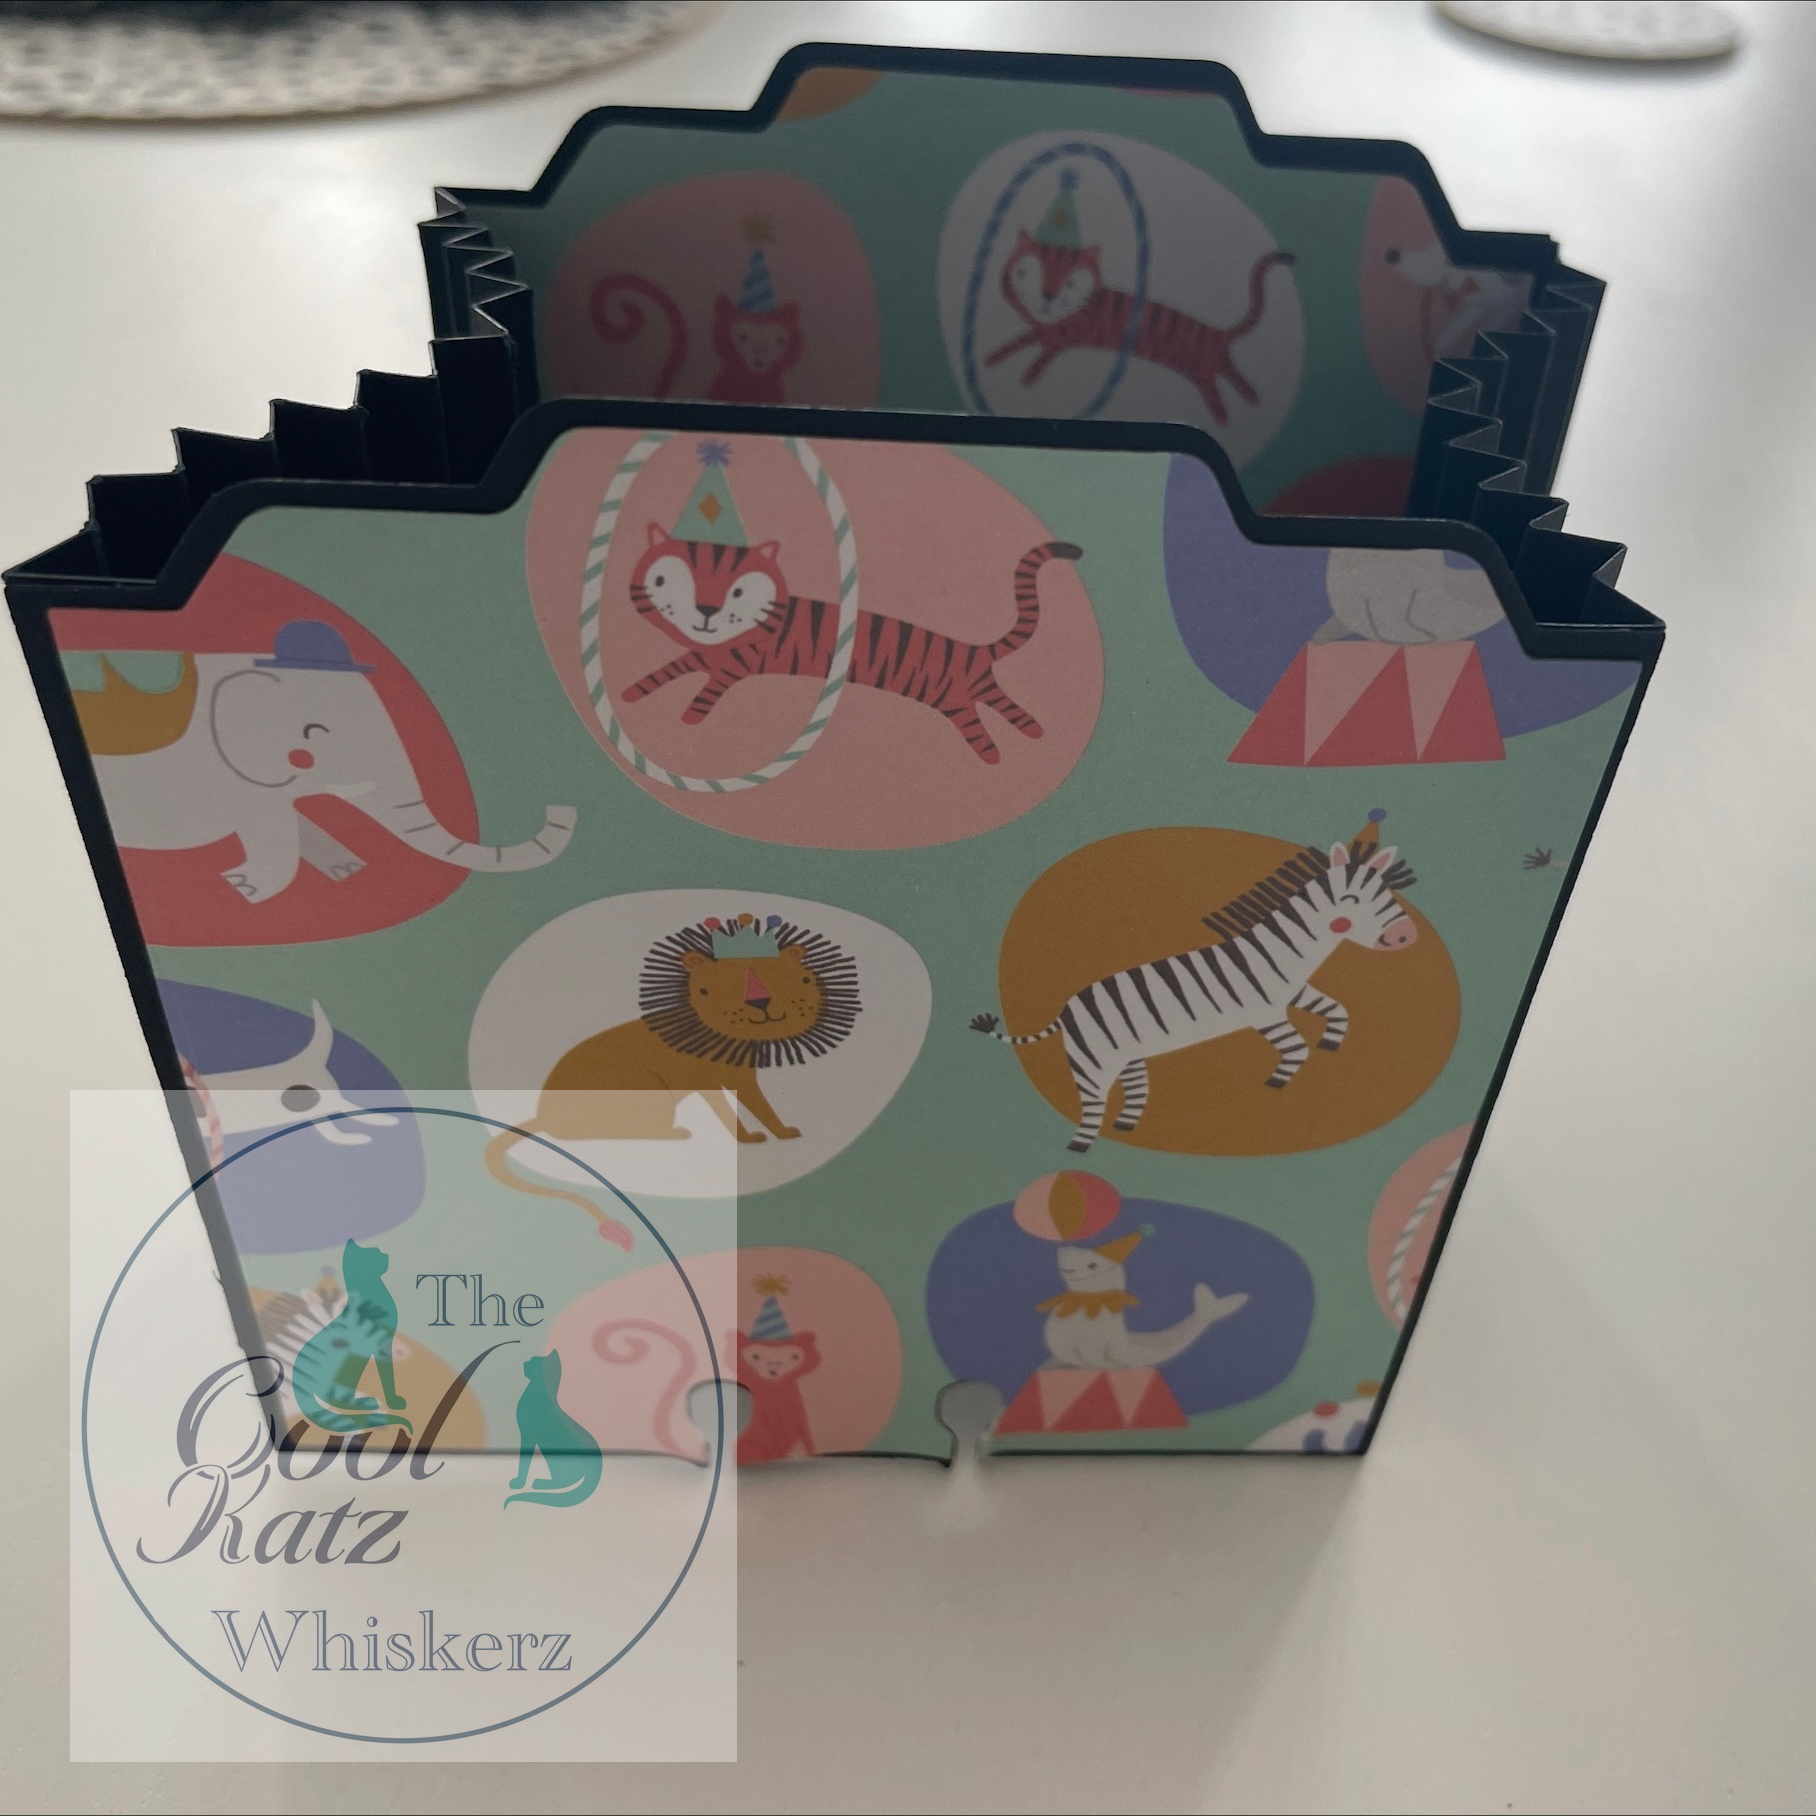
Concertina pocket
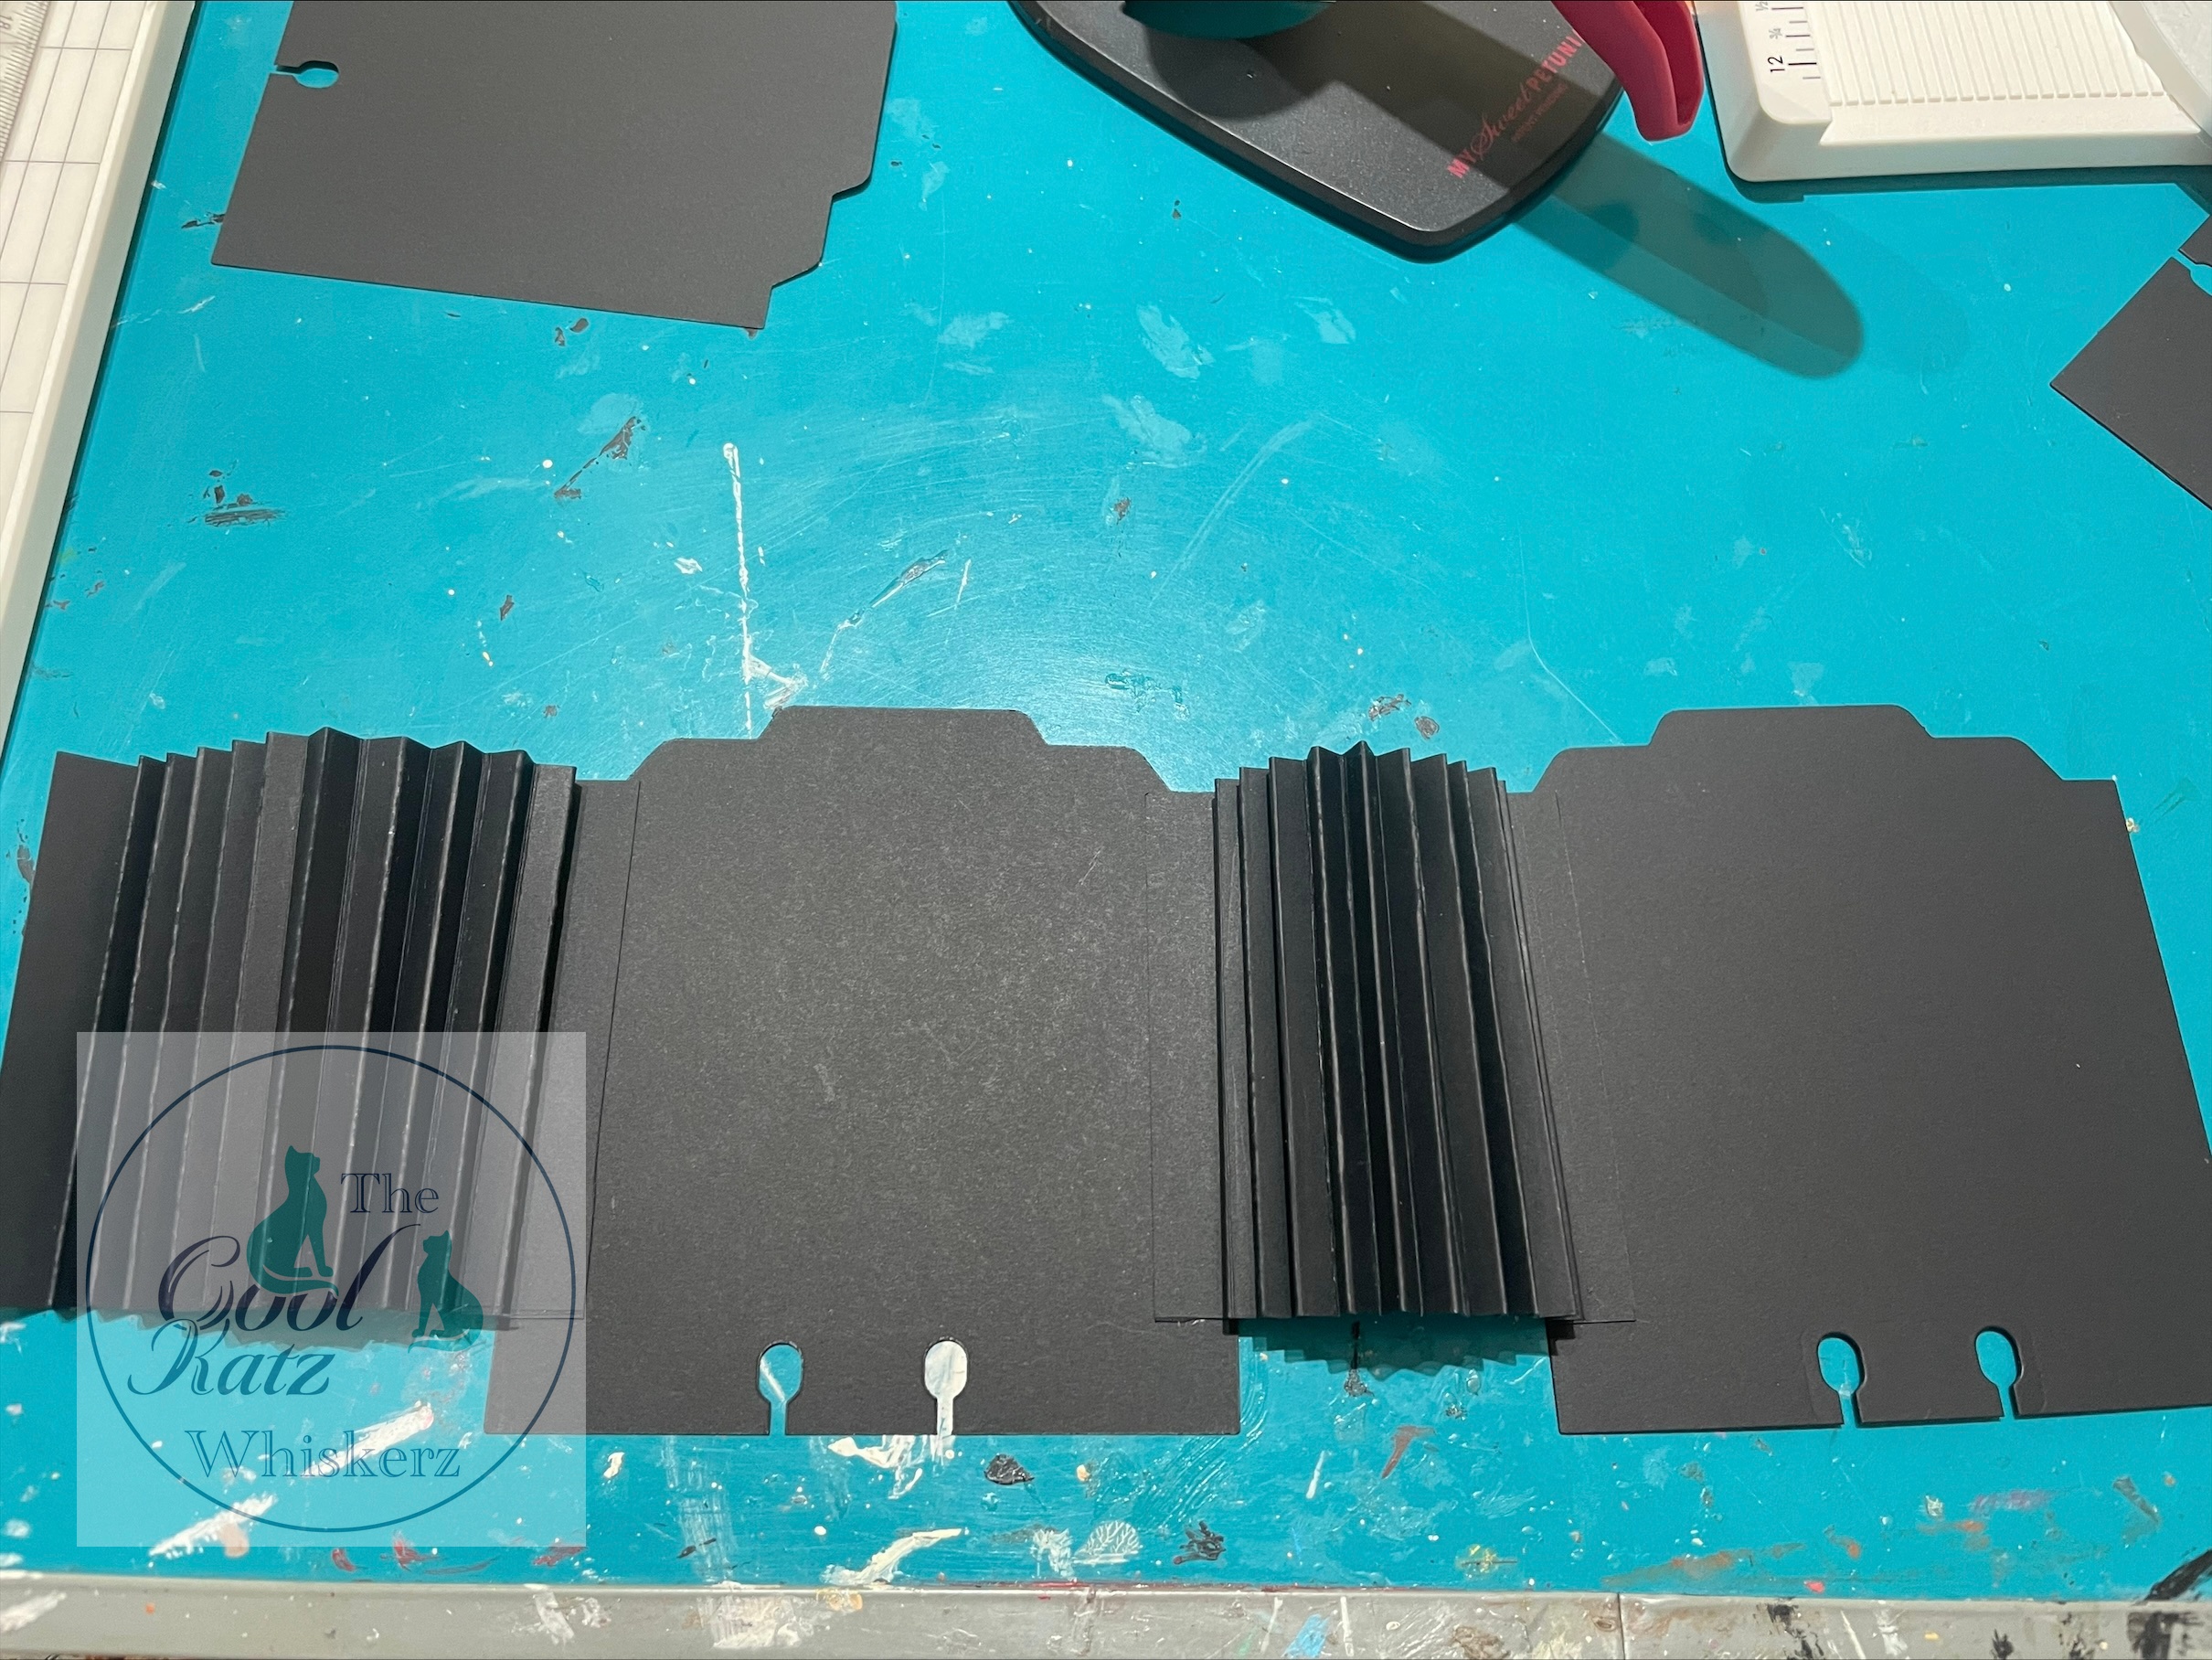
I cut the biggest mexican die twice out of black card and the slightly smaller one twice out of patterned paper.
I then created the holes in the bottom as before.
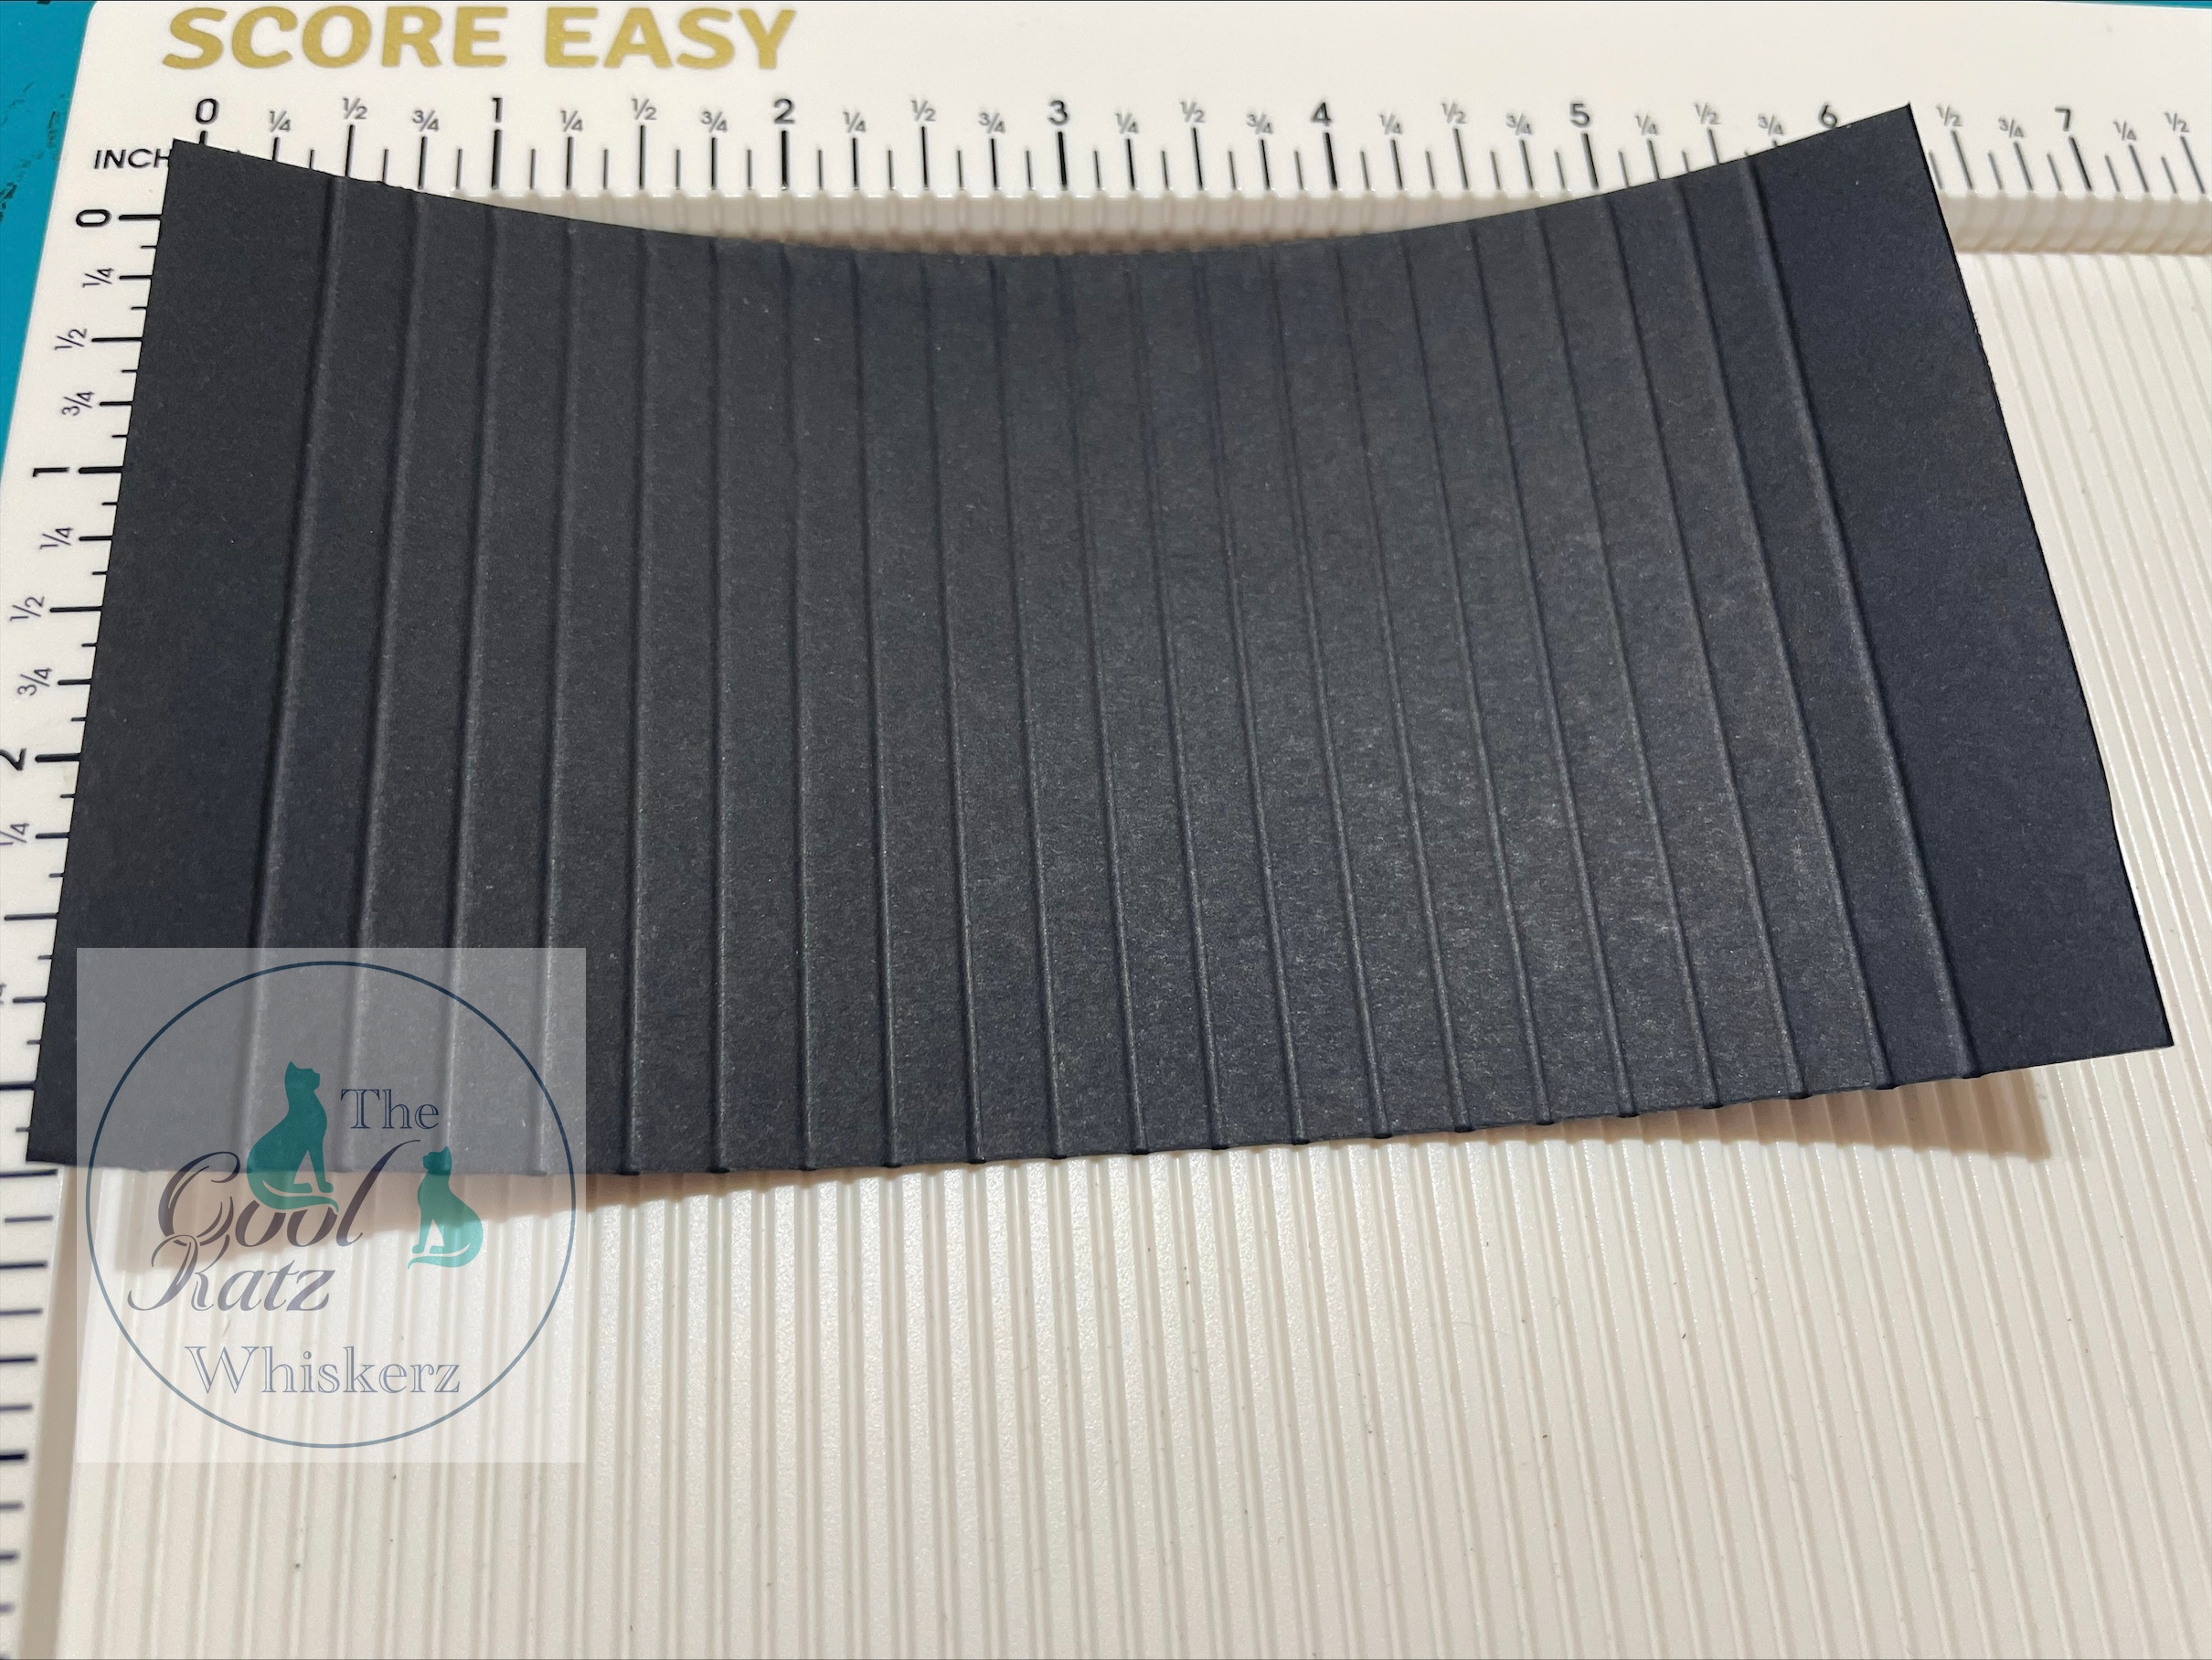
I then cut a piece of card 3 inches by 6 inches. I scored at 1/2 inch each end and 1/4 inch in between. I folded valley and mountain.
I laid the mexican card down and attached the folded card to one side.
I then attached the other mexican card to the other end before attaching together. I made sure it lined up at the top to create a neat finish.
The patterned paper was added to the front of each mexican black card.
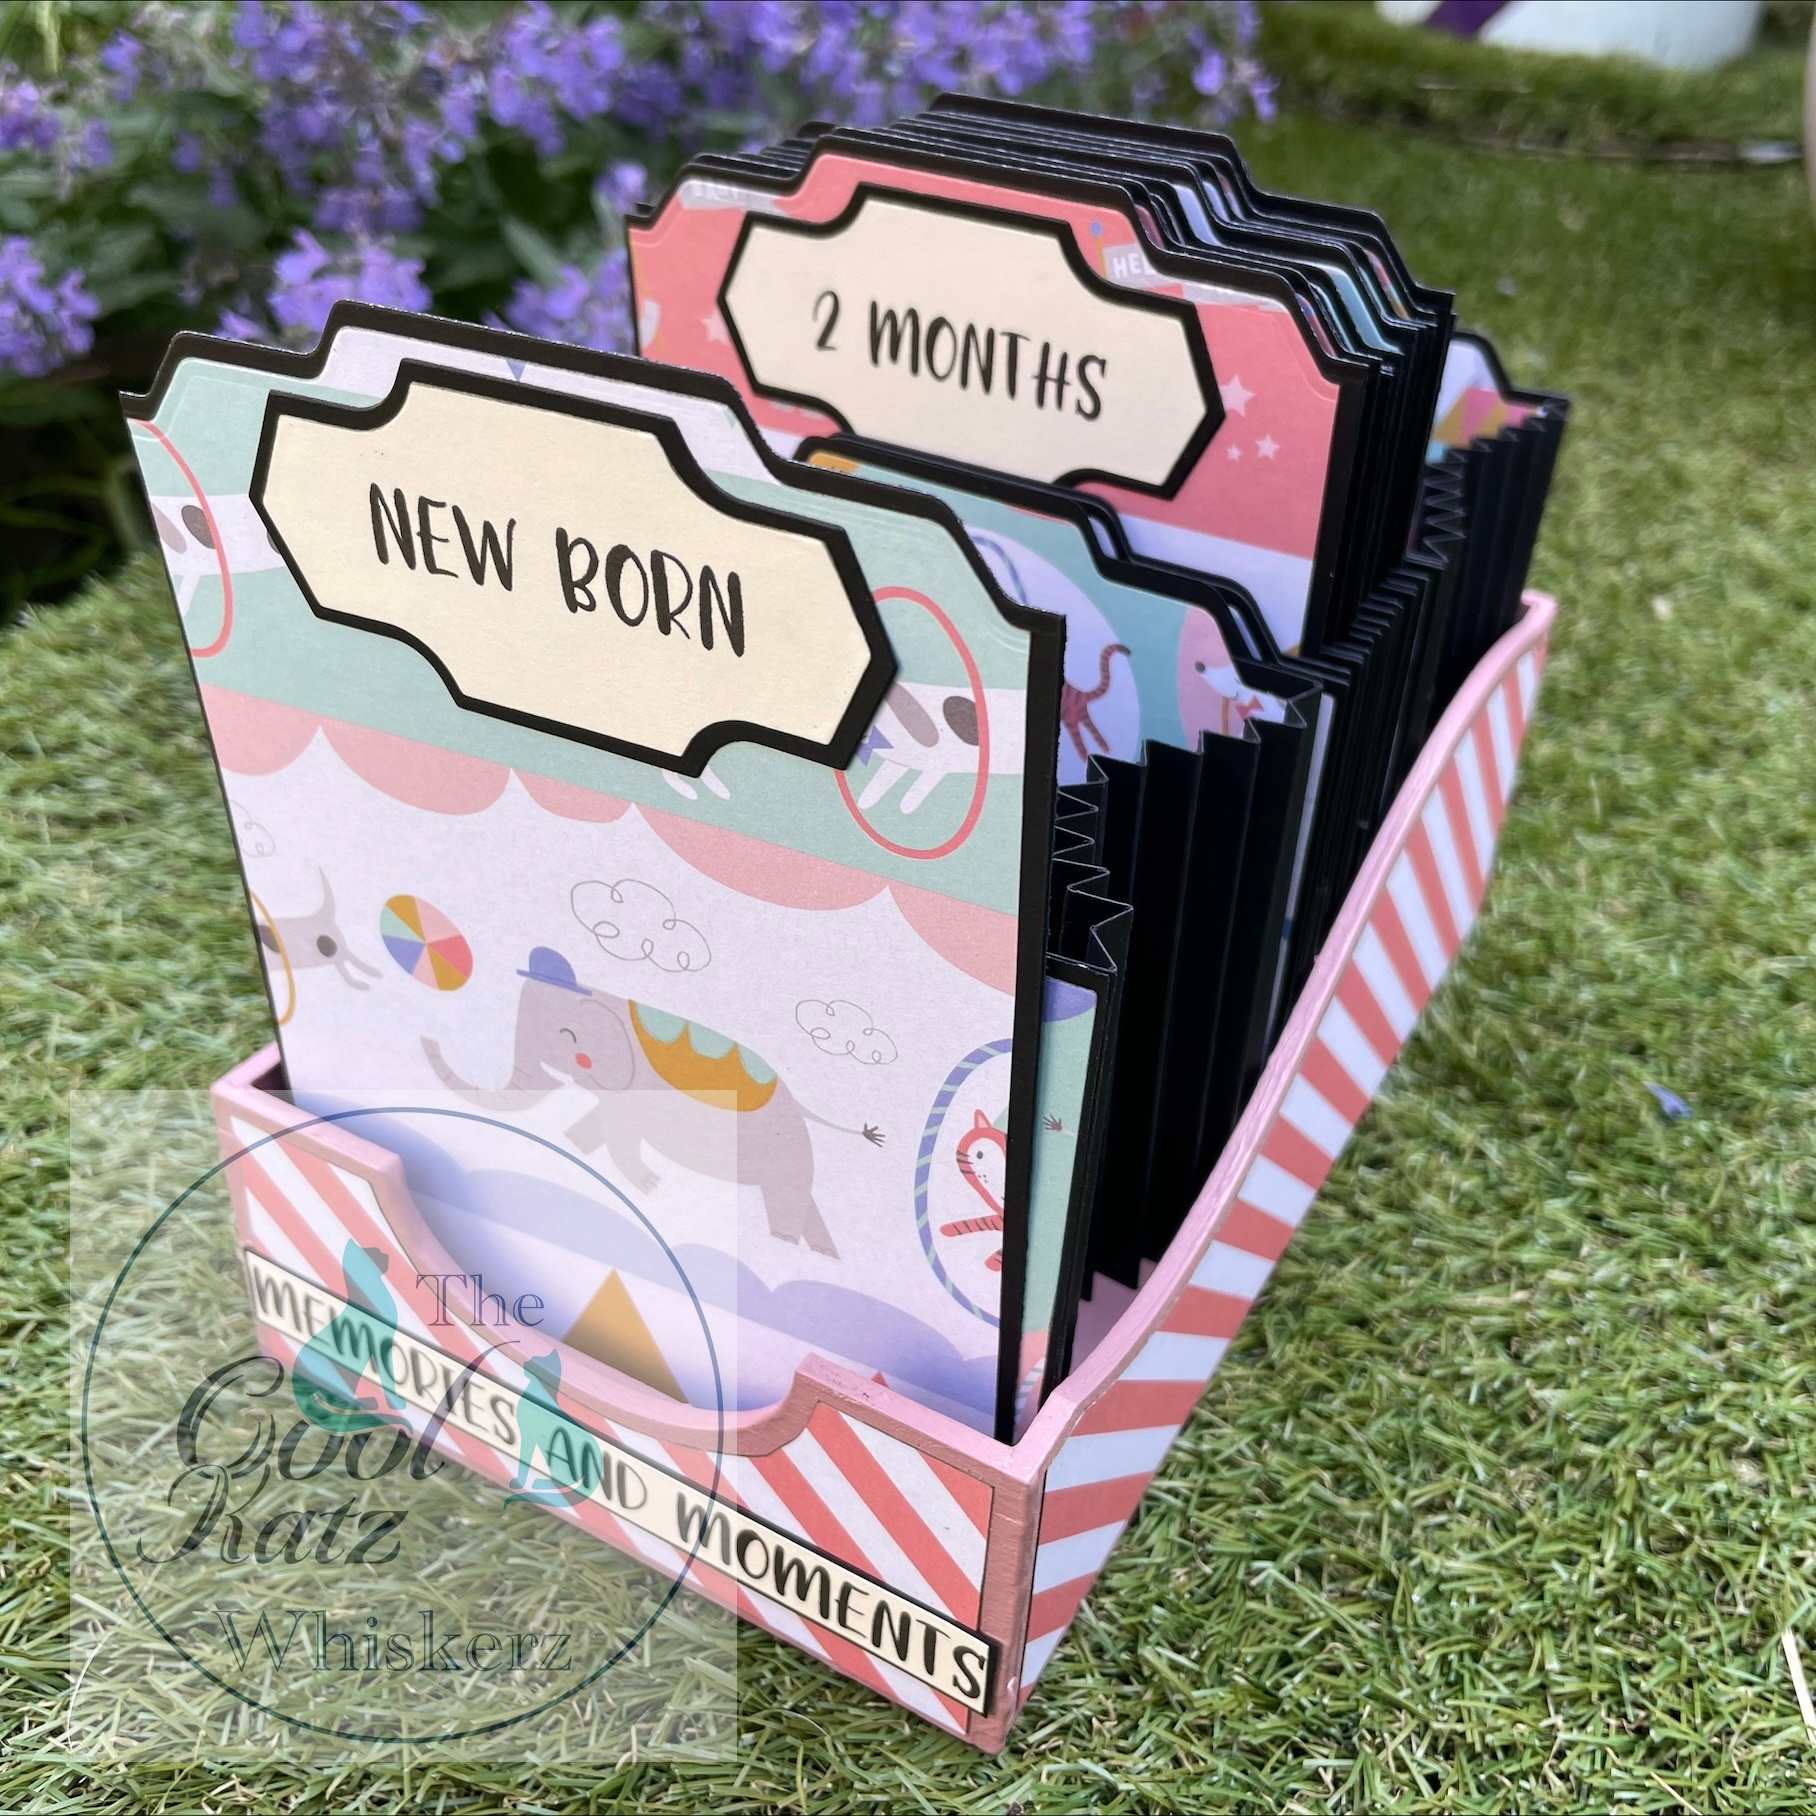
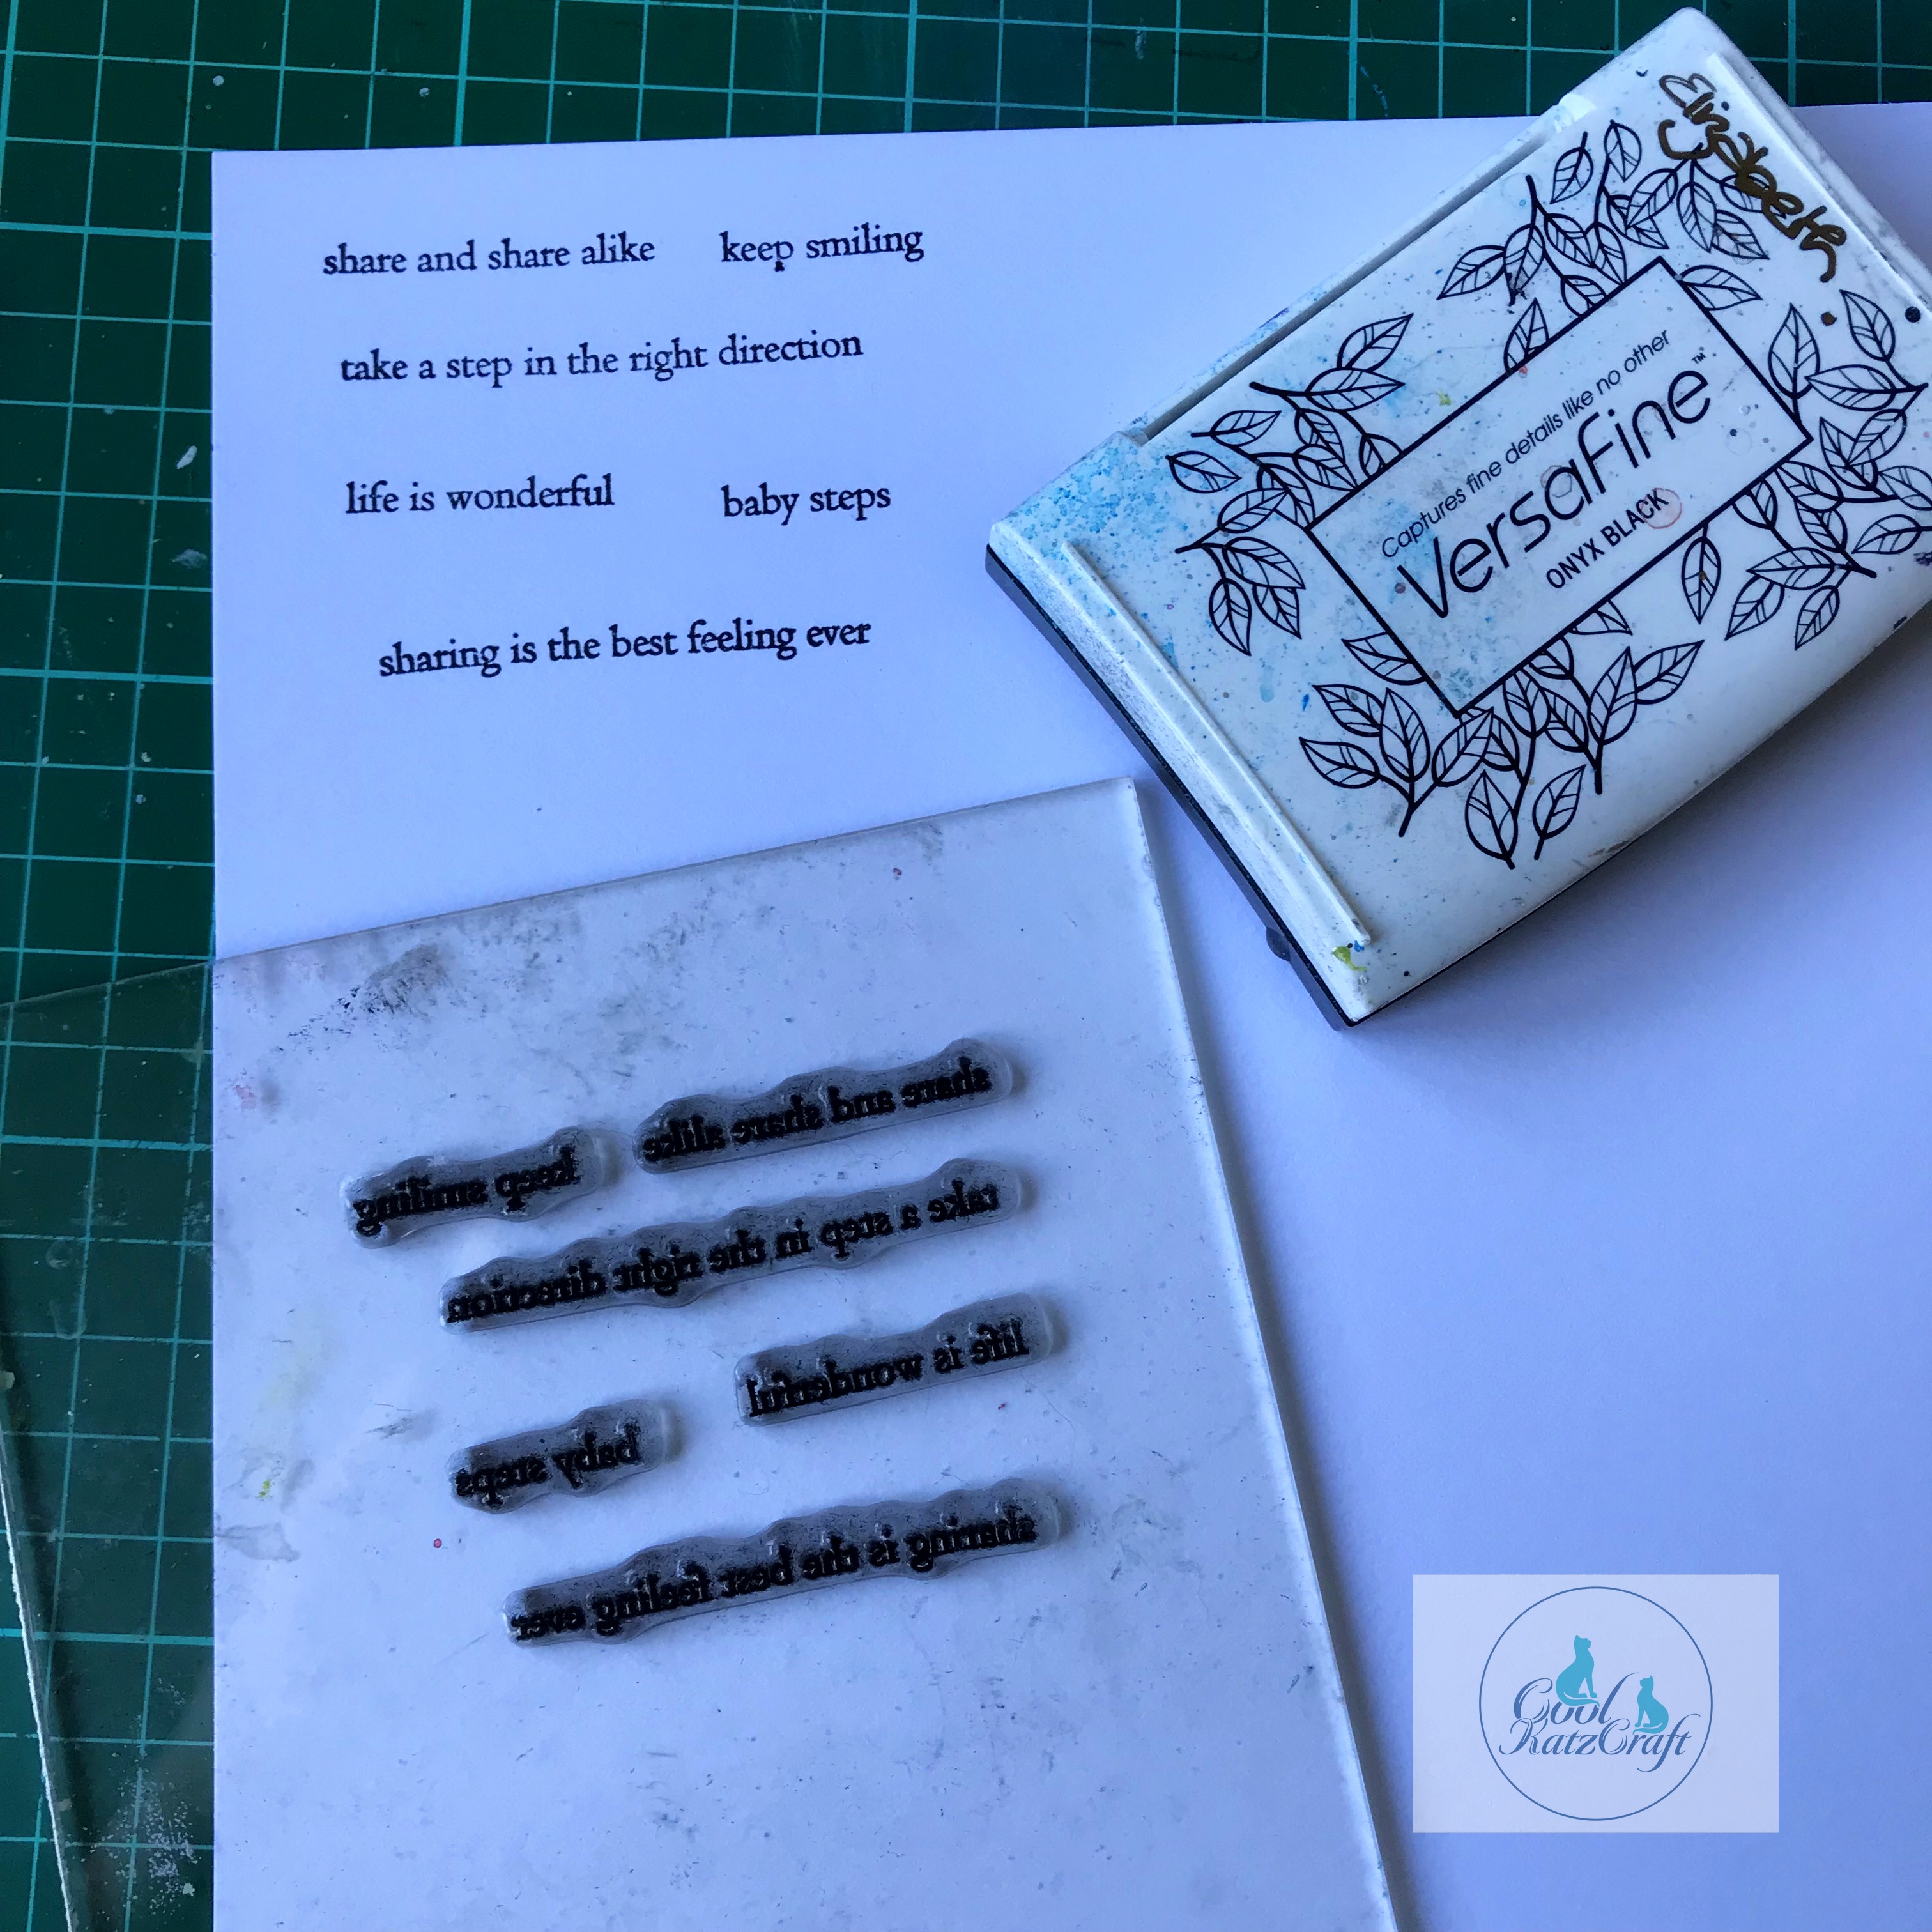
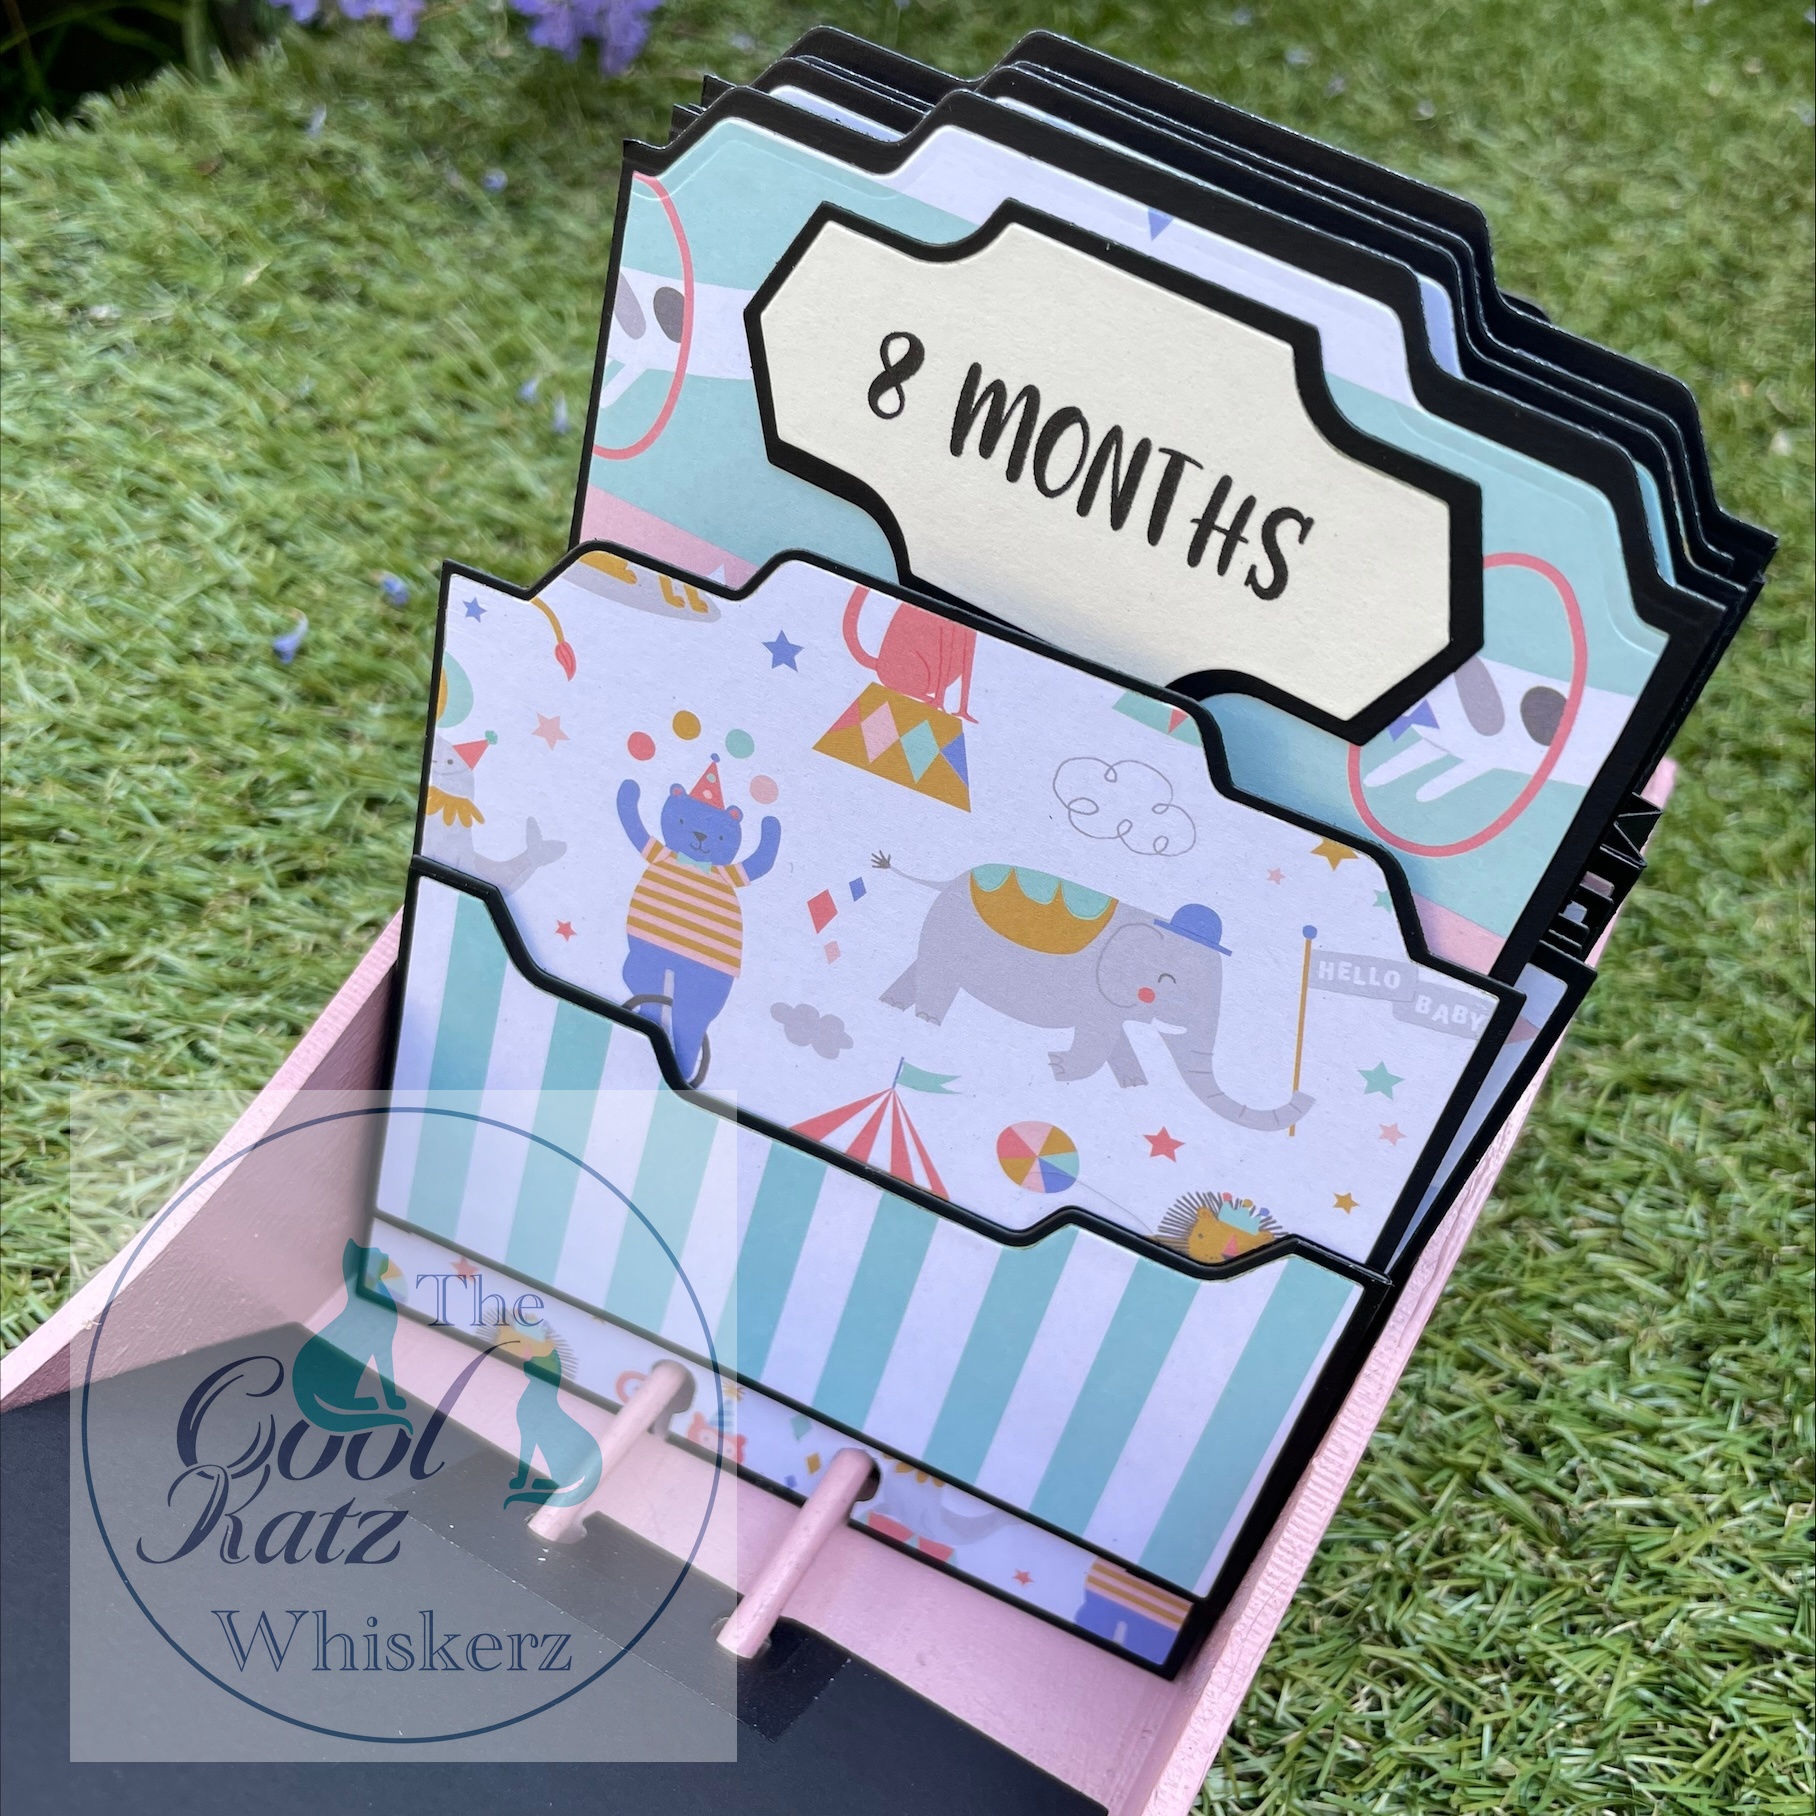
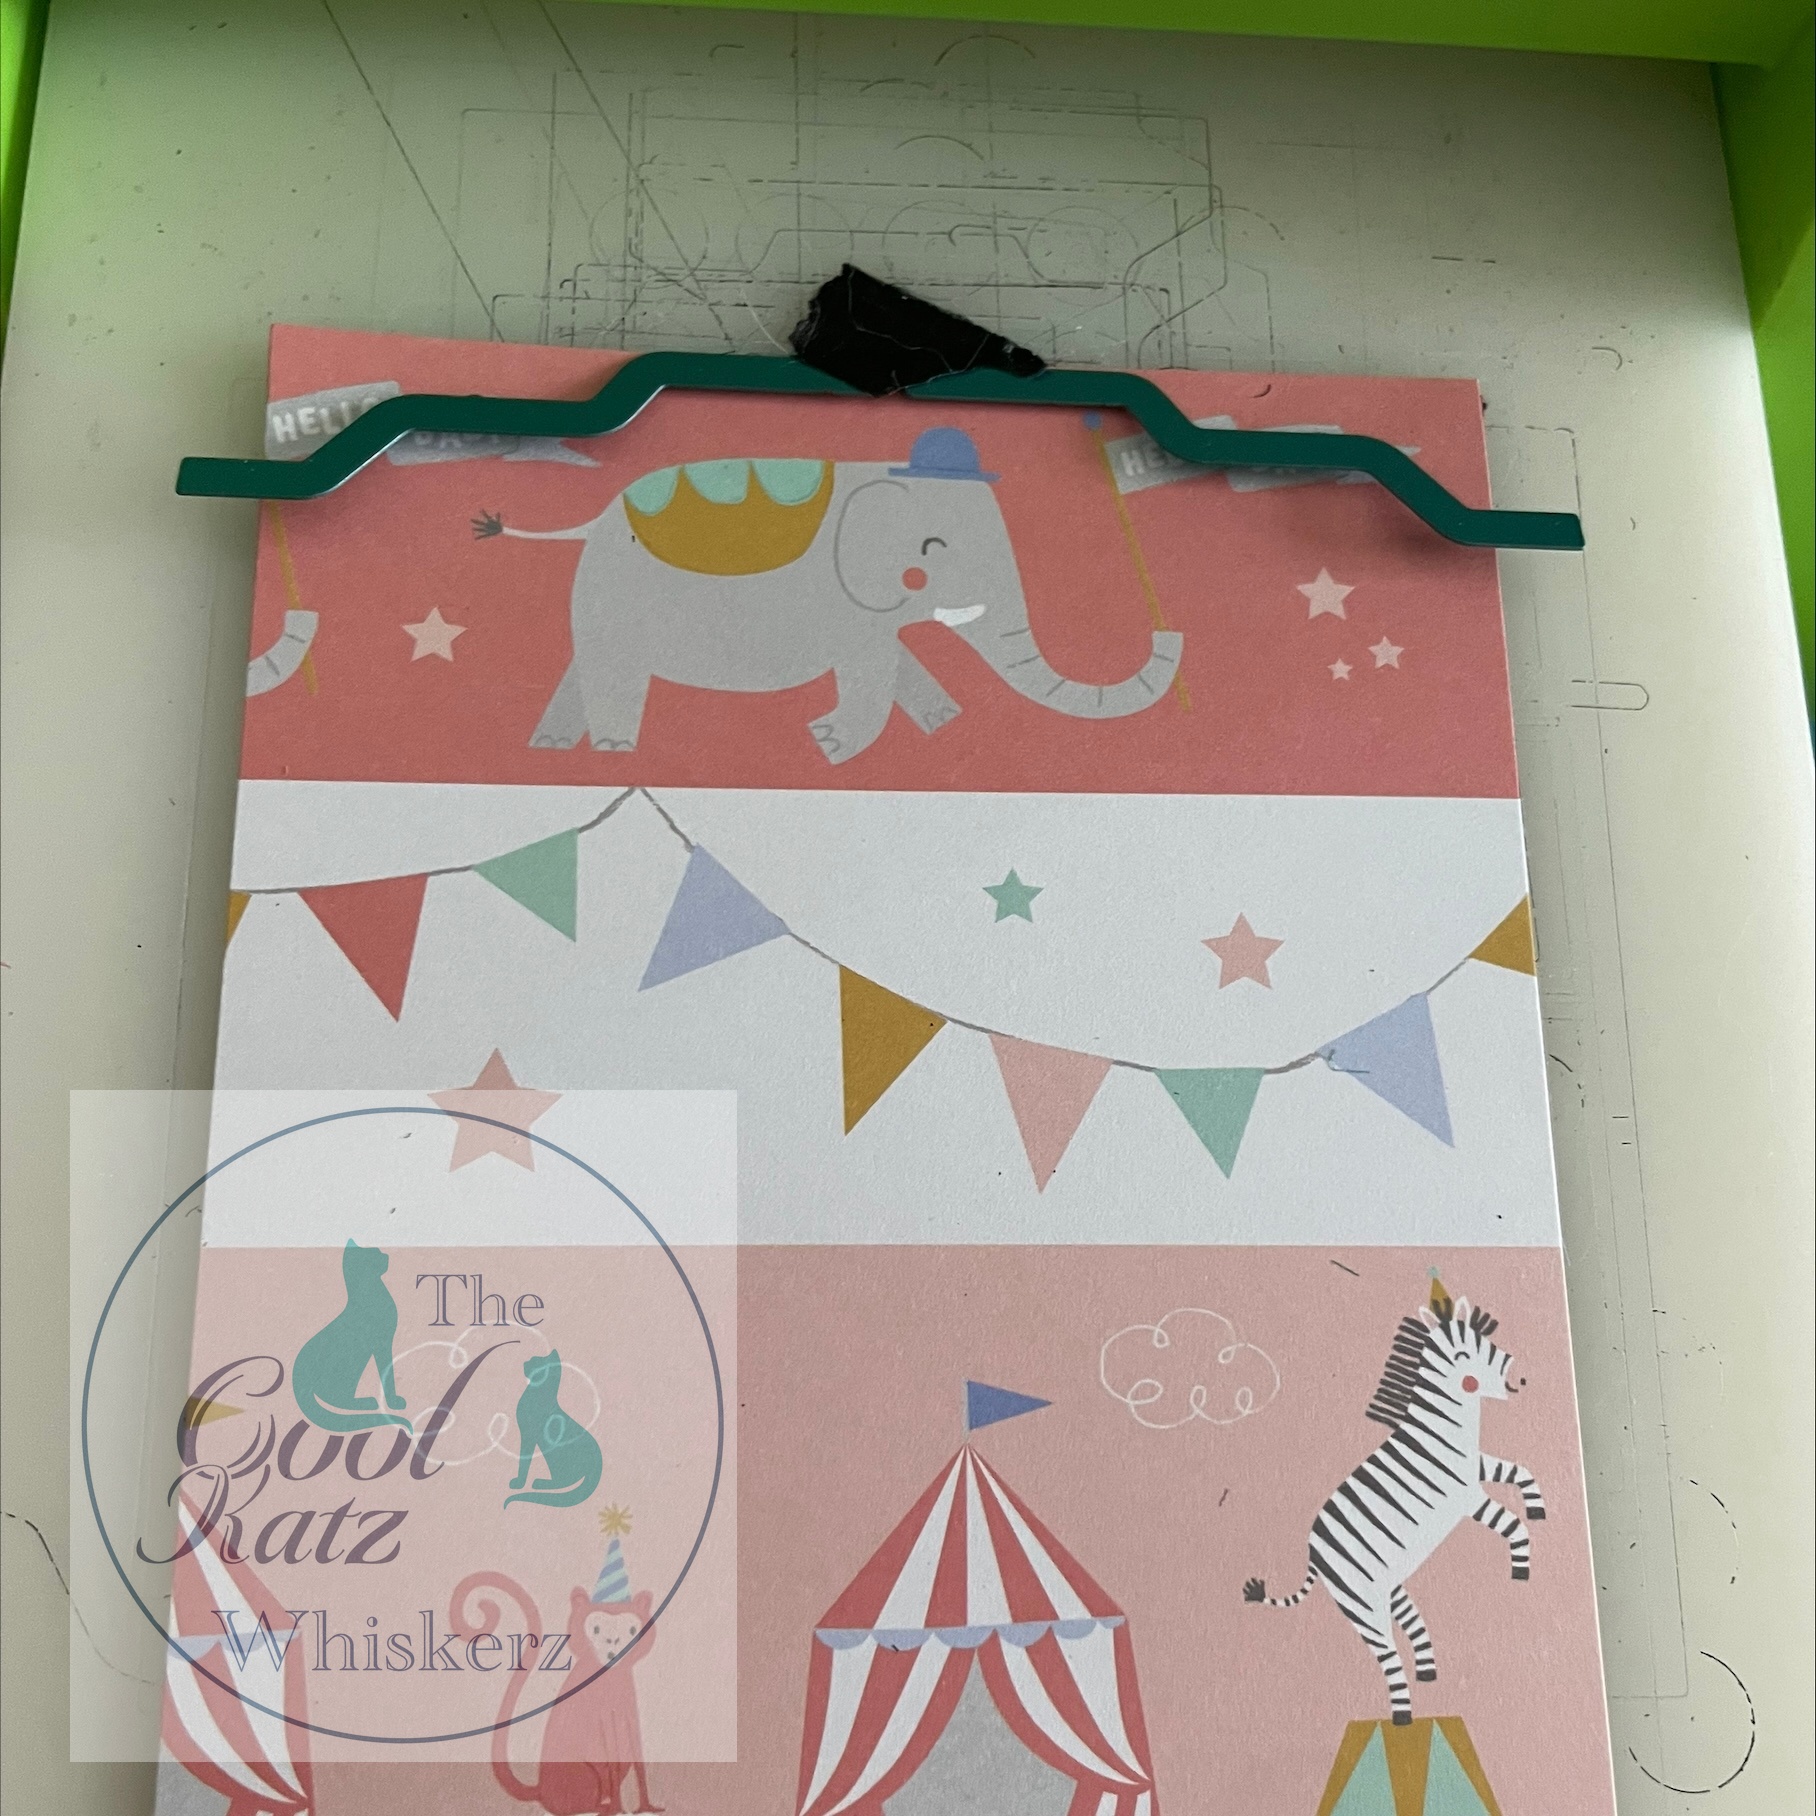
I created bookmarks using the whisker and bellyband die set.
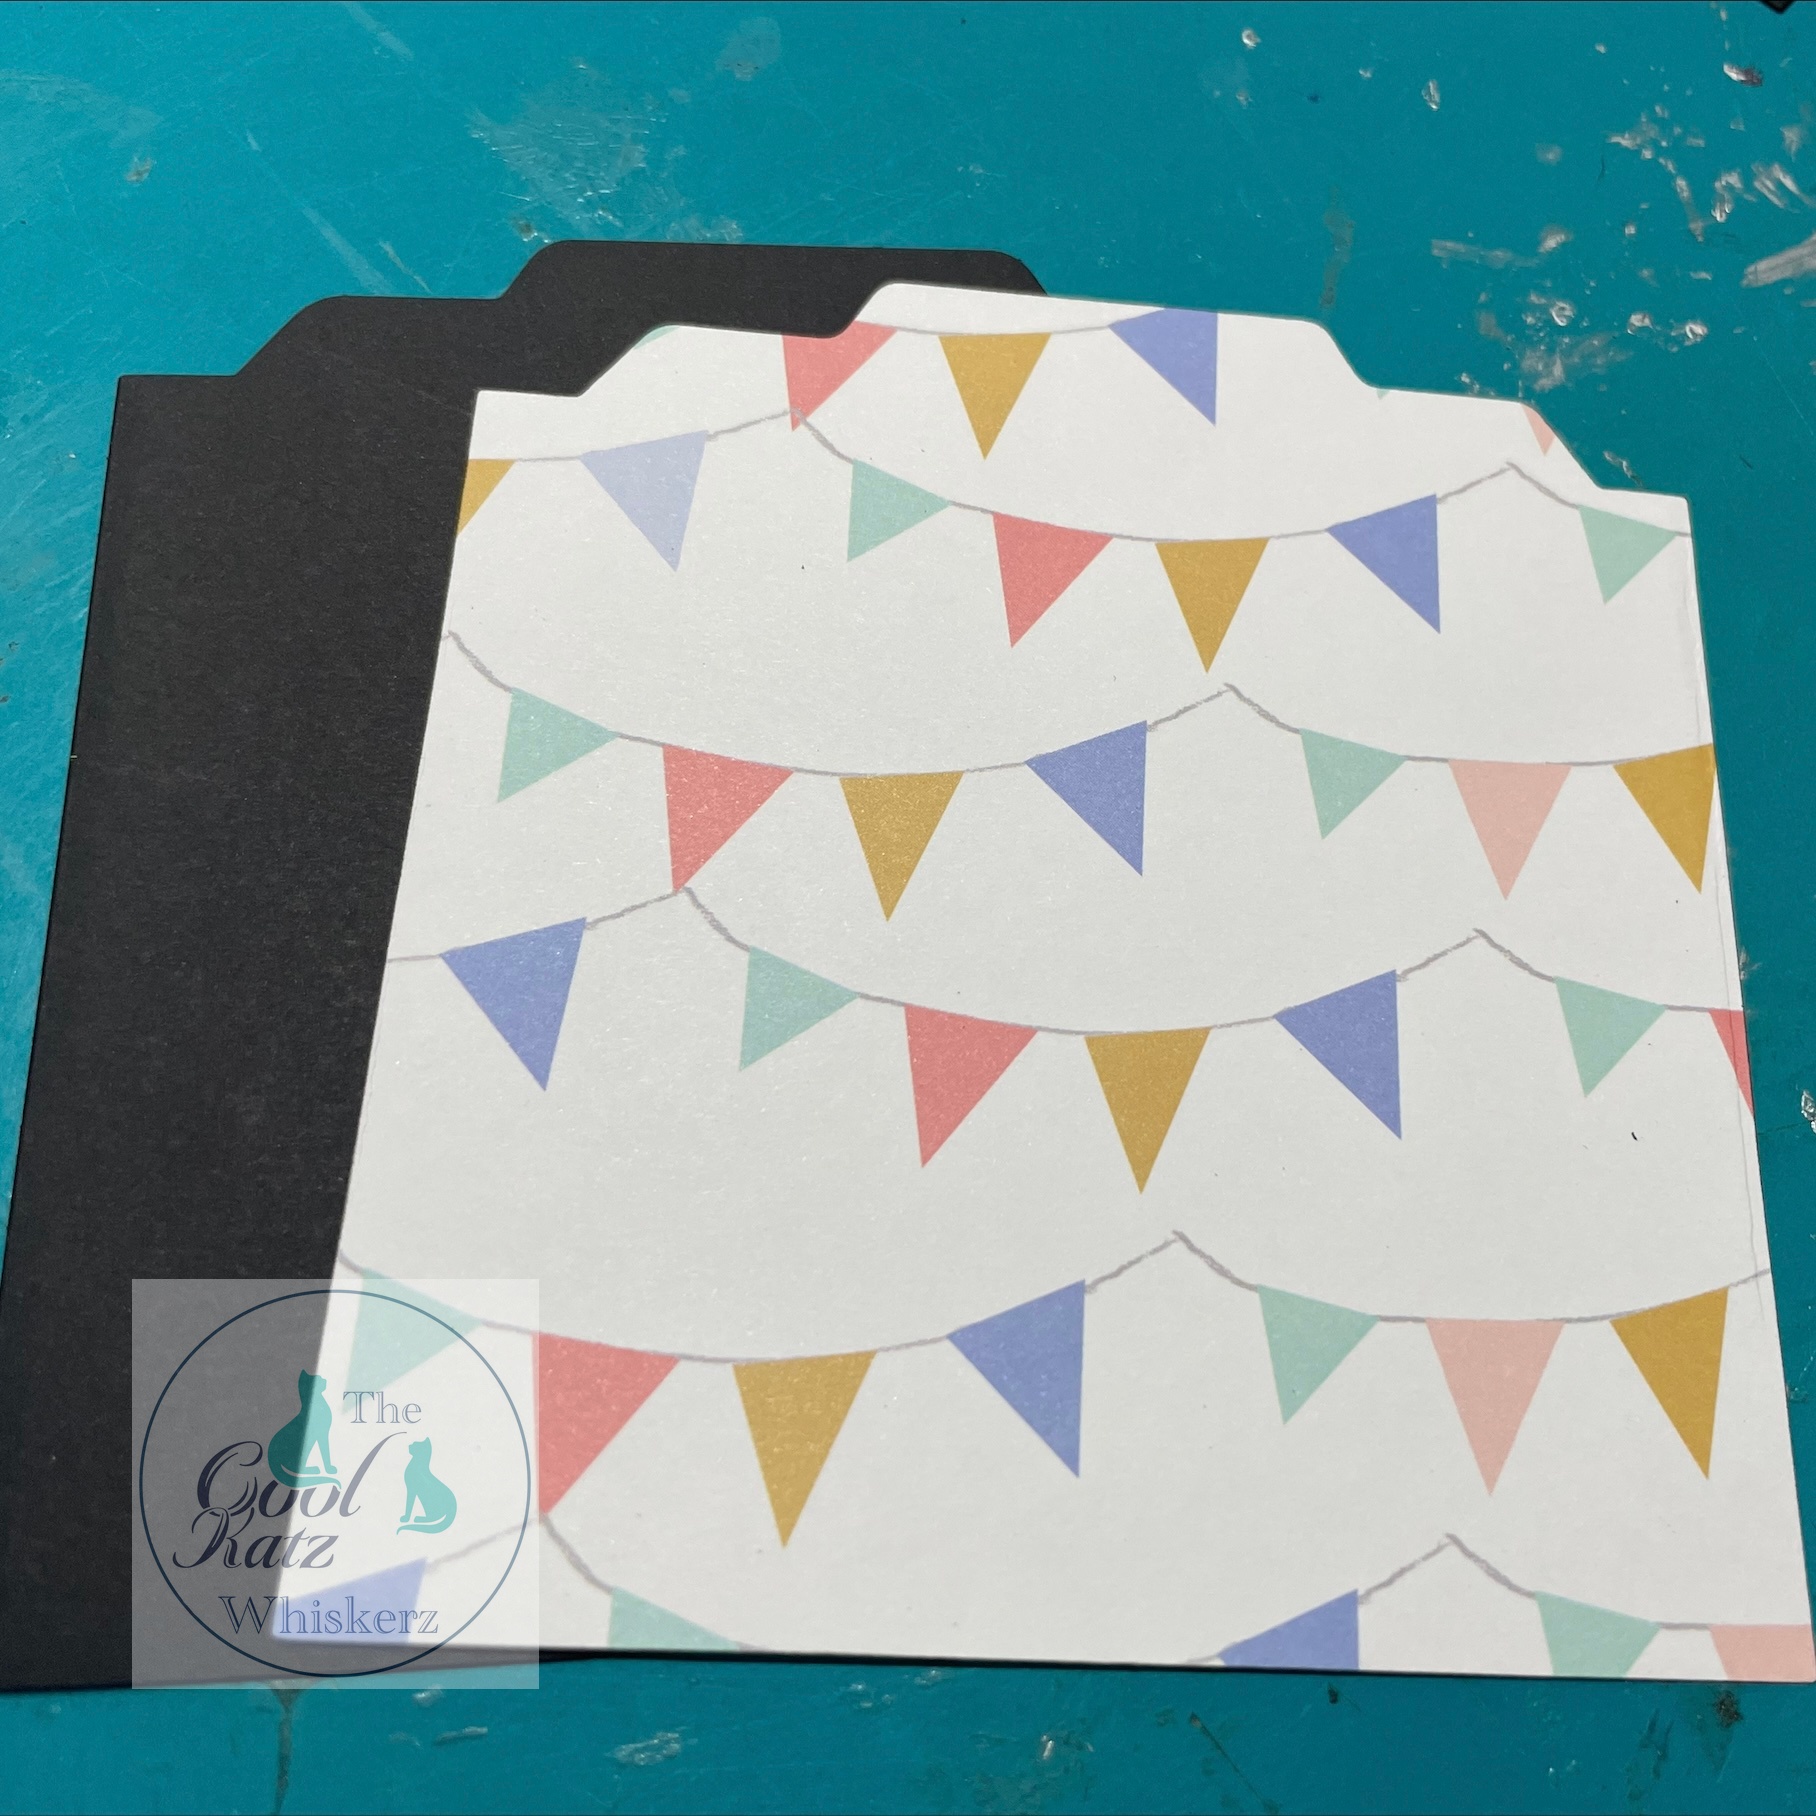
I used the whisker die to cut the black and white patterned paper. I made sure the paper and card was butted up to the top before cutting both together.
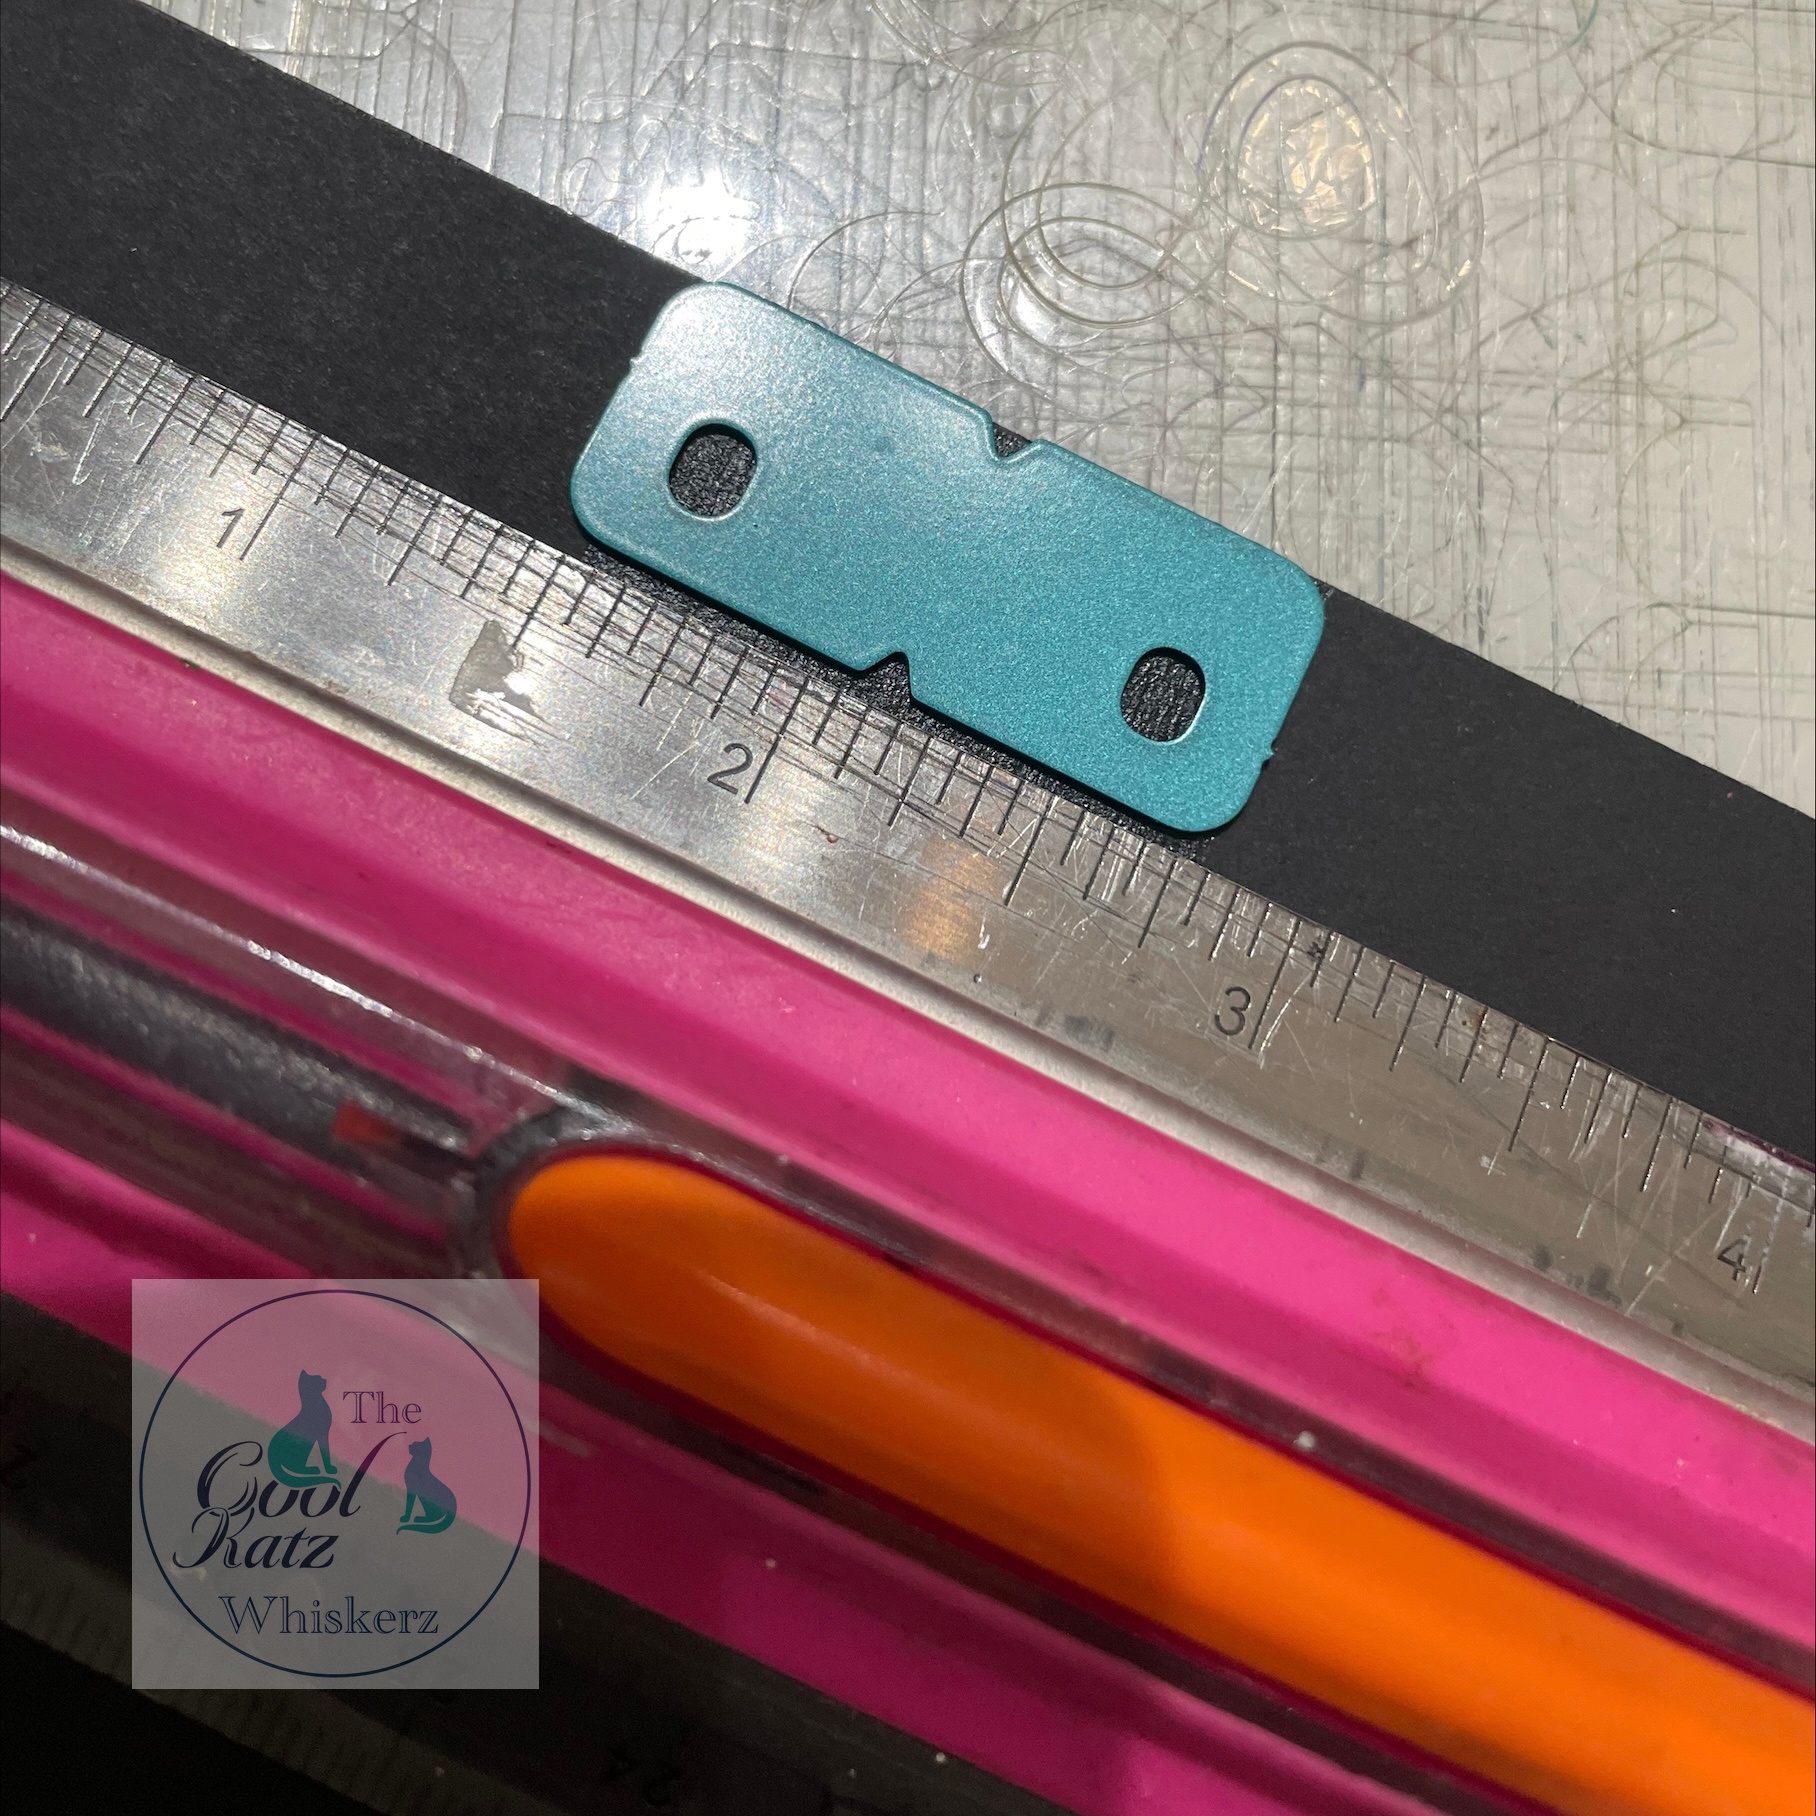
 Once cut, I trimmed the patterned paper before matting and layering on the black card. I cut black card out of mexican bellyband centre die. I printed monthly words onto cream card before cutting out of the smaller mexican bellyband centre die.
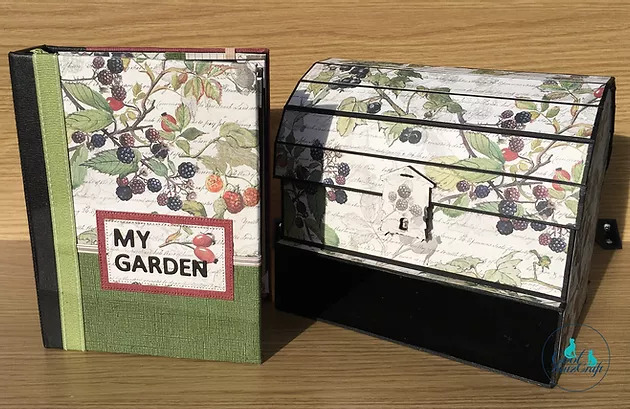
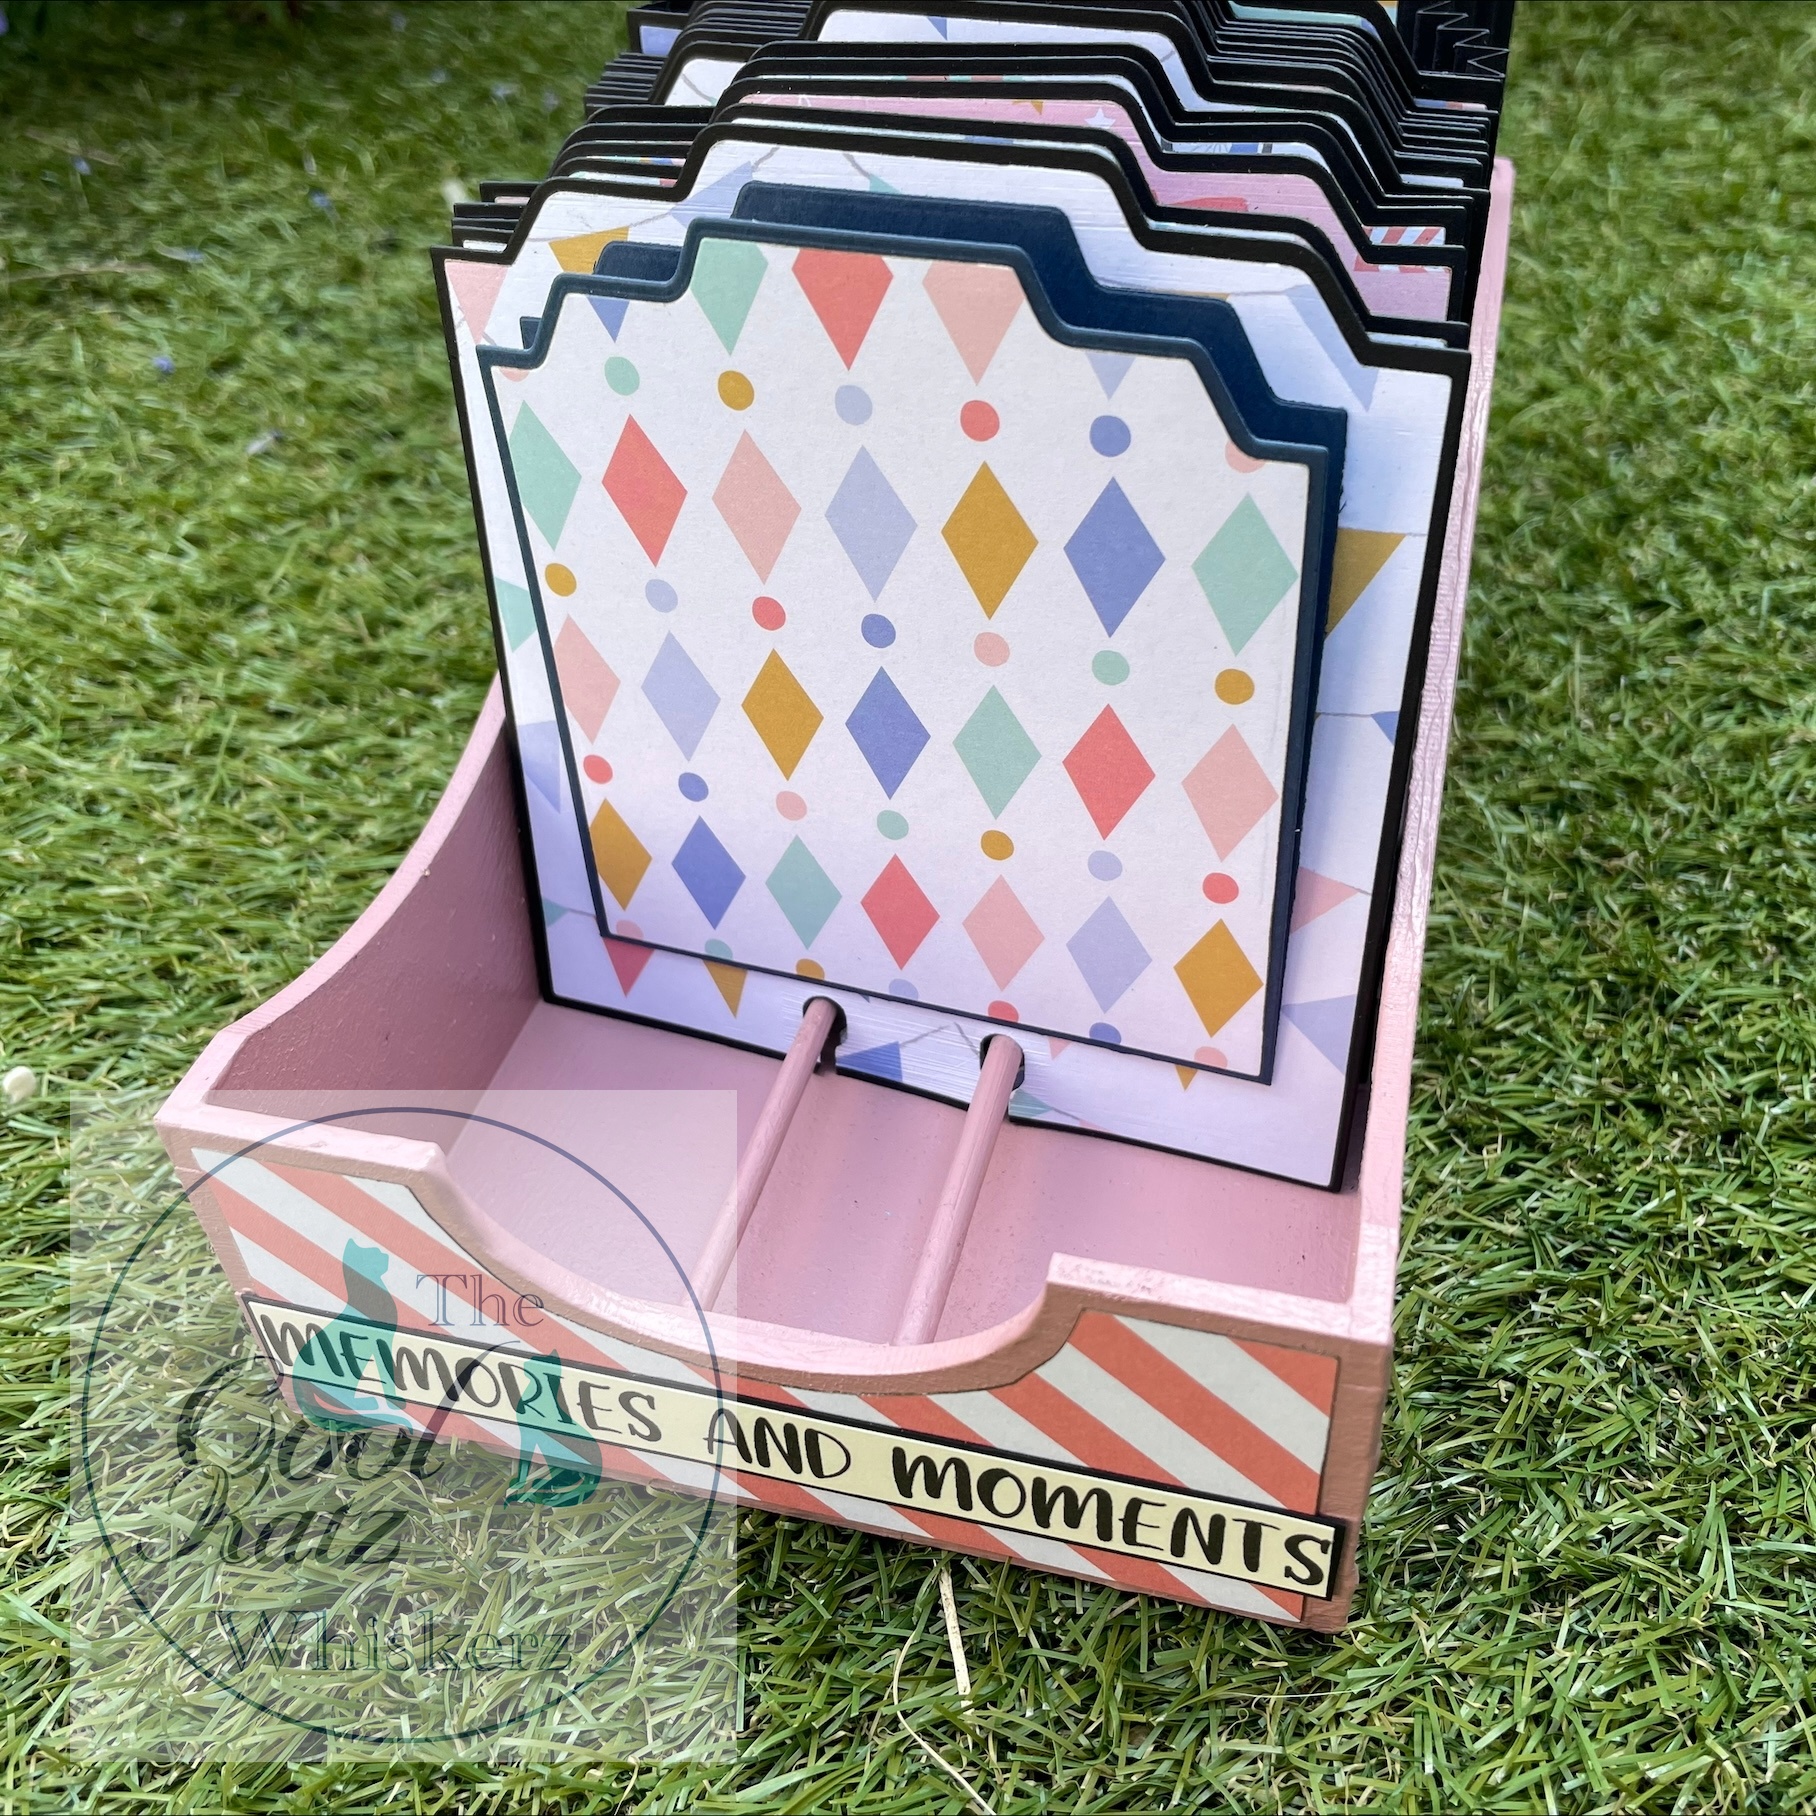 These were then matted together before top of the larger cut card. I finished the project by cutting patterned paper using the templates created at the start (when drawing around the pieces). I cut 1/4" in from the edges before gluing them onto the painted box.

Wowzers I think you will agree that is absolutely fabulous and what a wonderful way to store those precious memories.
If you want to create your own box of memories or catalogue your craft supplies then you will find all the links you need below including a tutorial on our YouTube page on how the box is assembled.
Happy Crafting.
The CoolKatz Team x
https://www.coolkatzcraft.com/catalogue-box-kit
https://www.coolkatzcraft.com/catalogue-box-with-index-hole-and-reinforcer-die-set
https://www.coolkatzcraft.com/mexican-pocket-tag-set
https://www.coolkatzcraft.com/coolkatzcutz-mexican-whisker-die-set
https://www.coolkatzcraft.com/coolkatzcutz-mexican-belly-band-die-set
https://www.coolkatzcraft.com/home
https://www.youtube.com/channel/UCHVLrneEbdNJp3EIhJoH4BA
https://www.facebook.com/groups/CoolKatzCraft