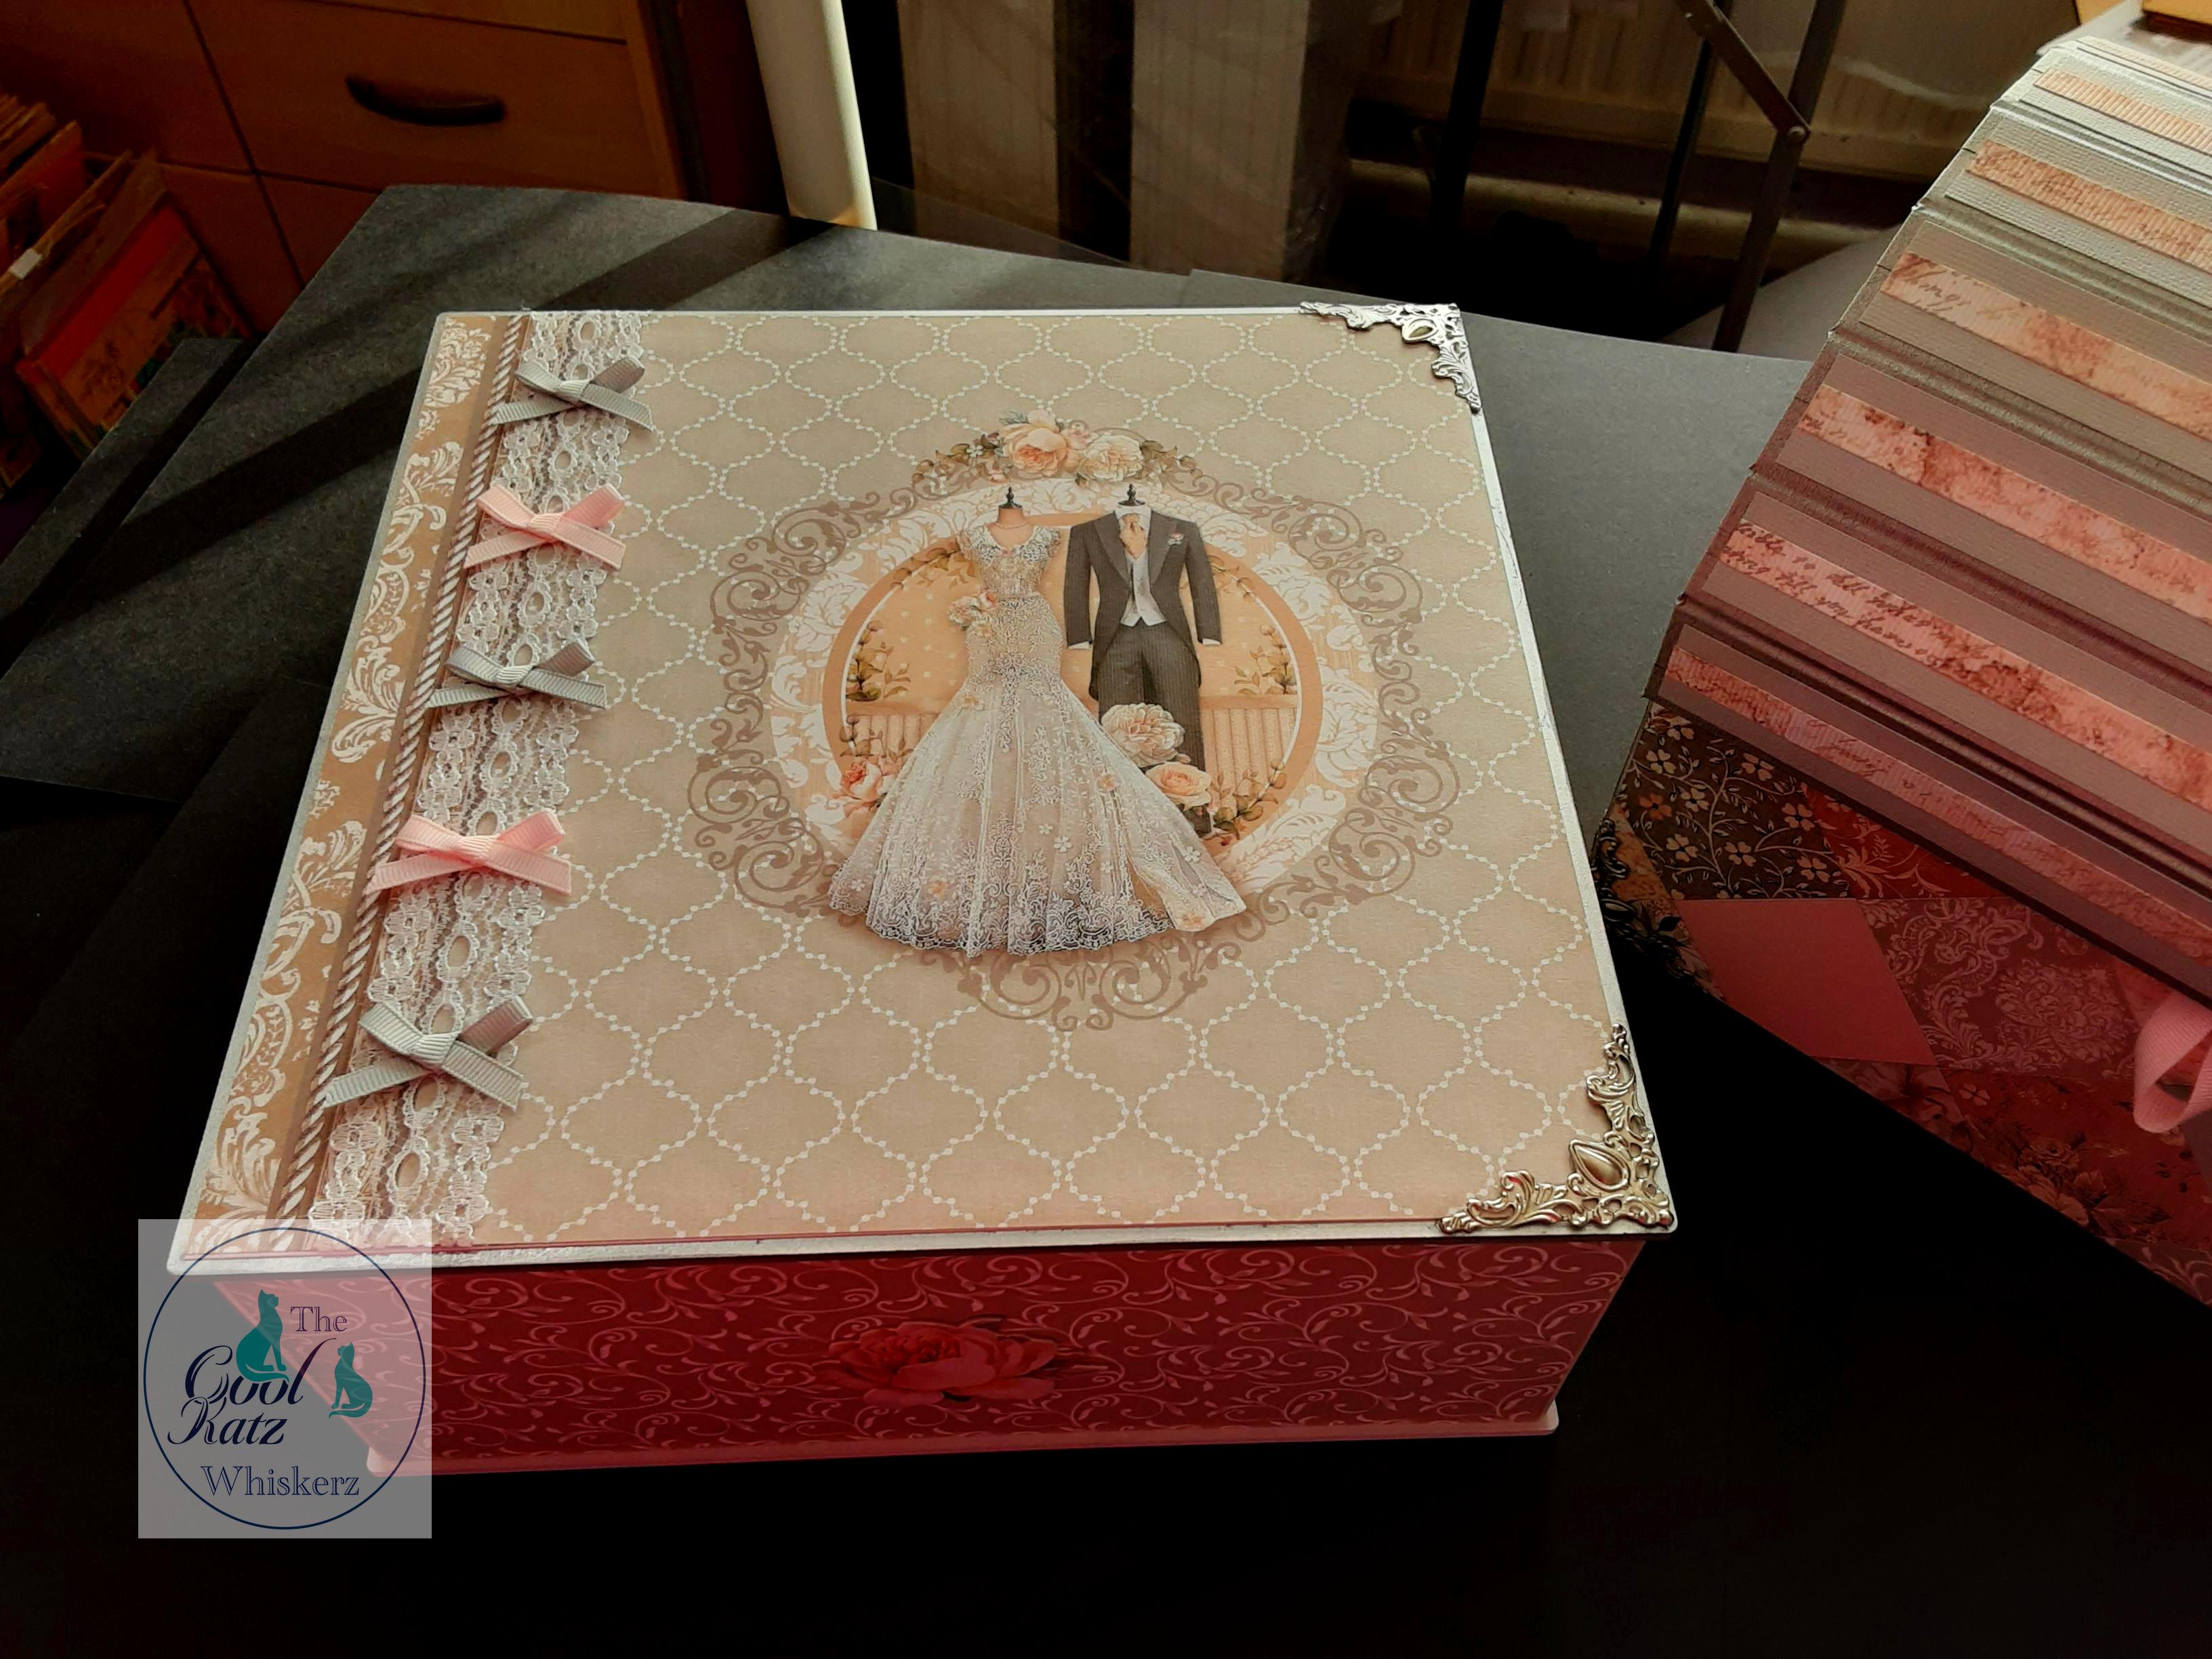
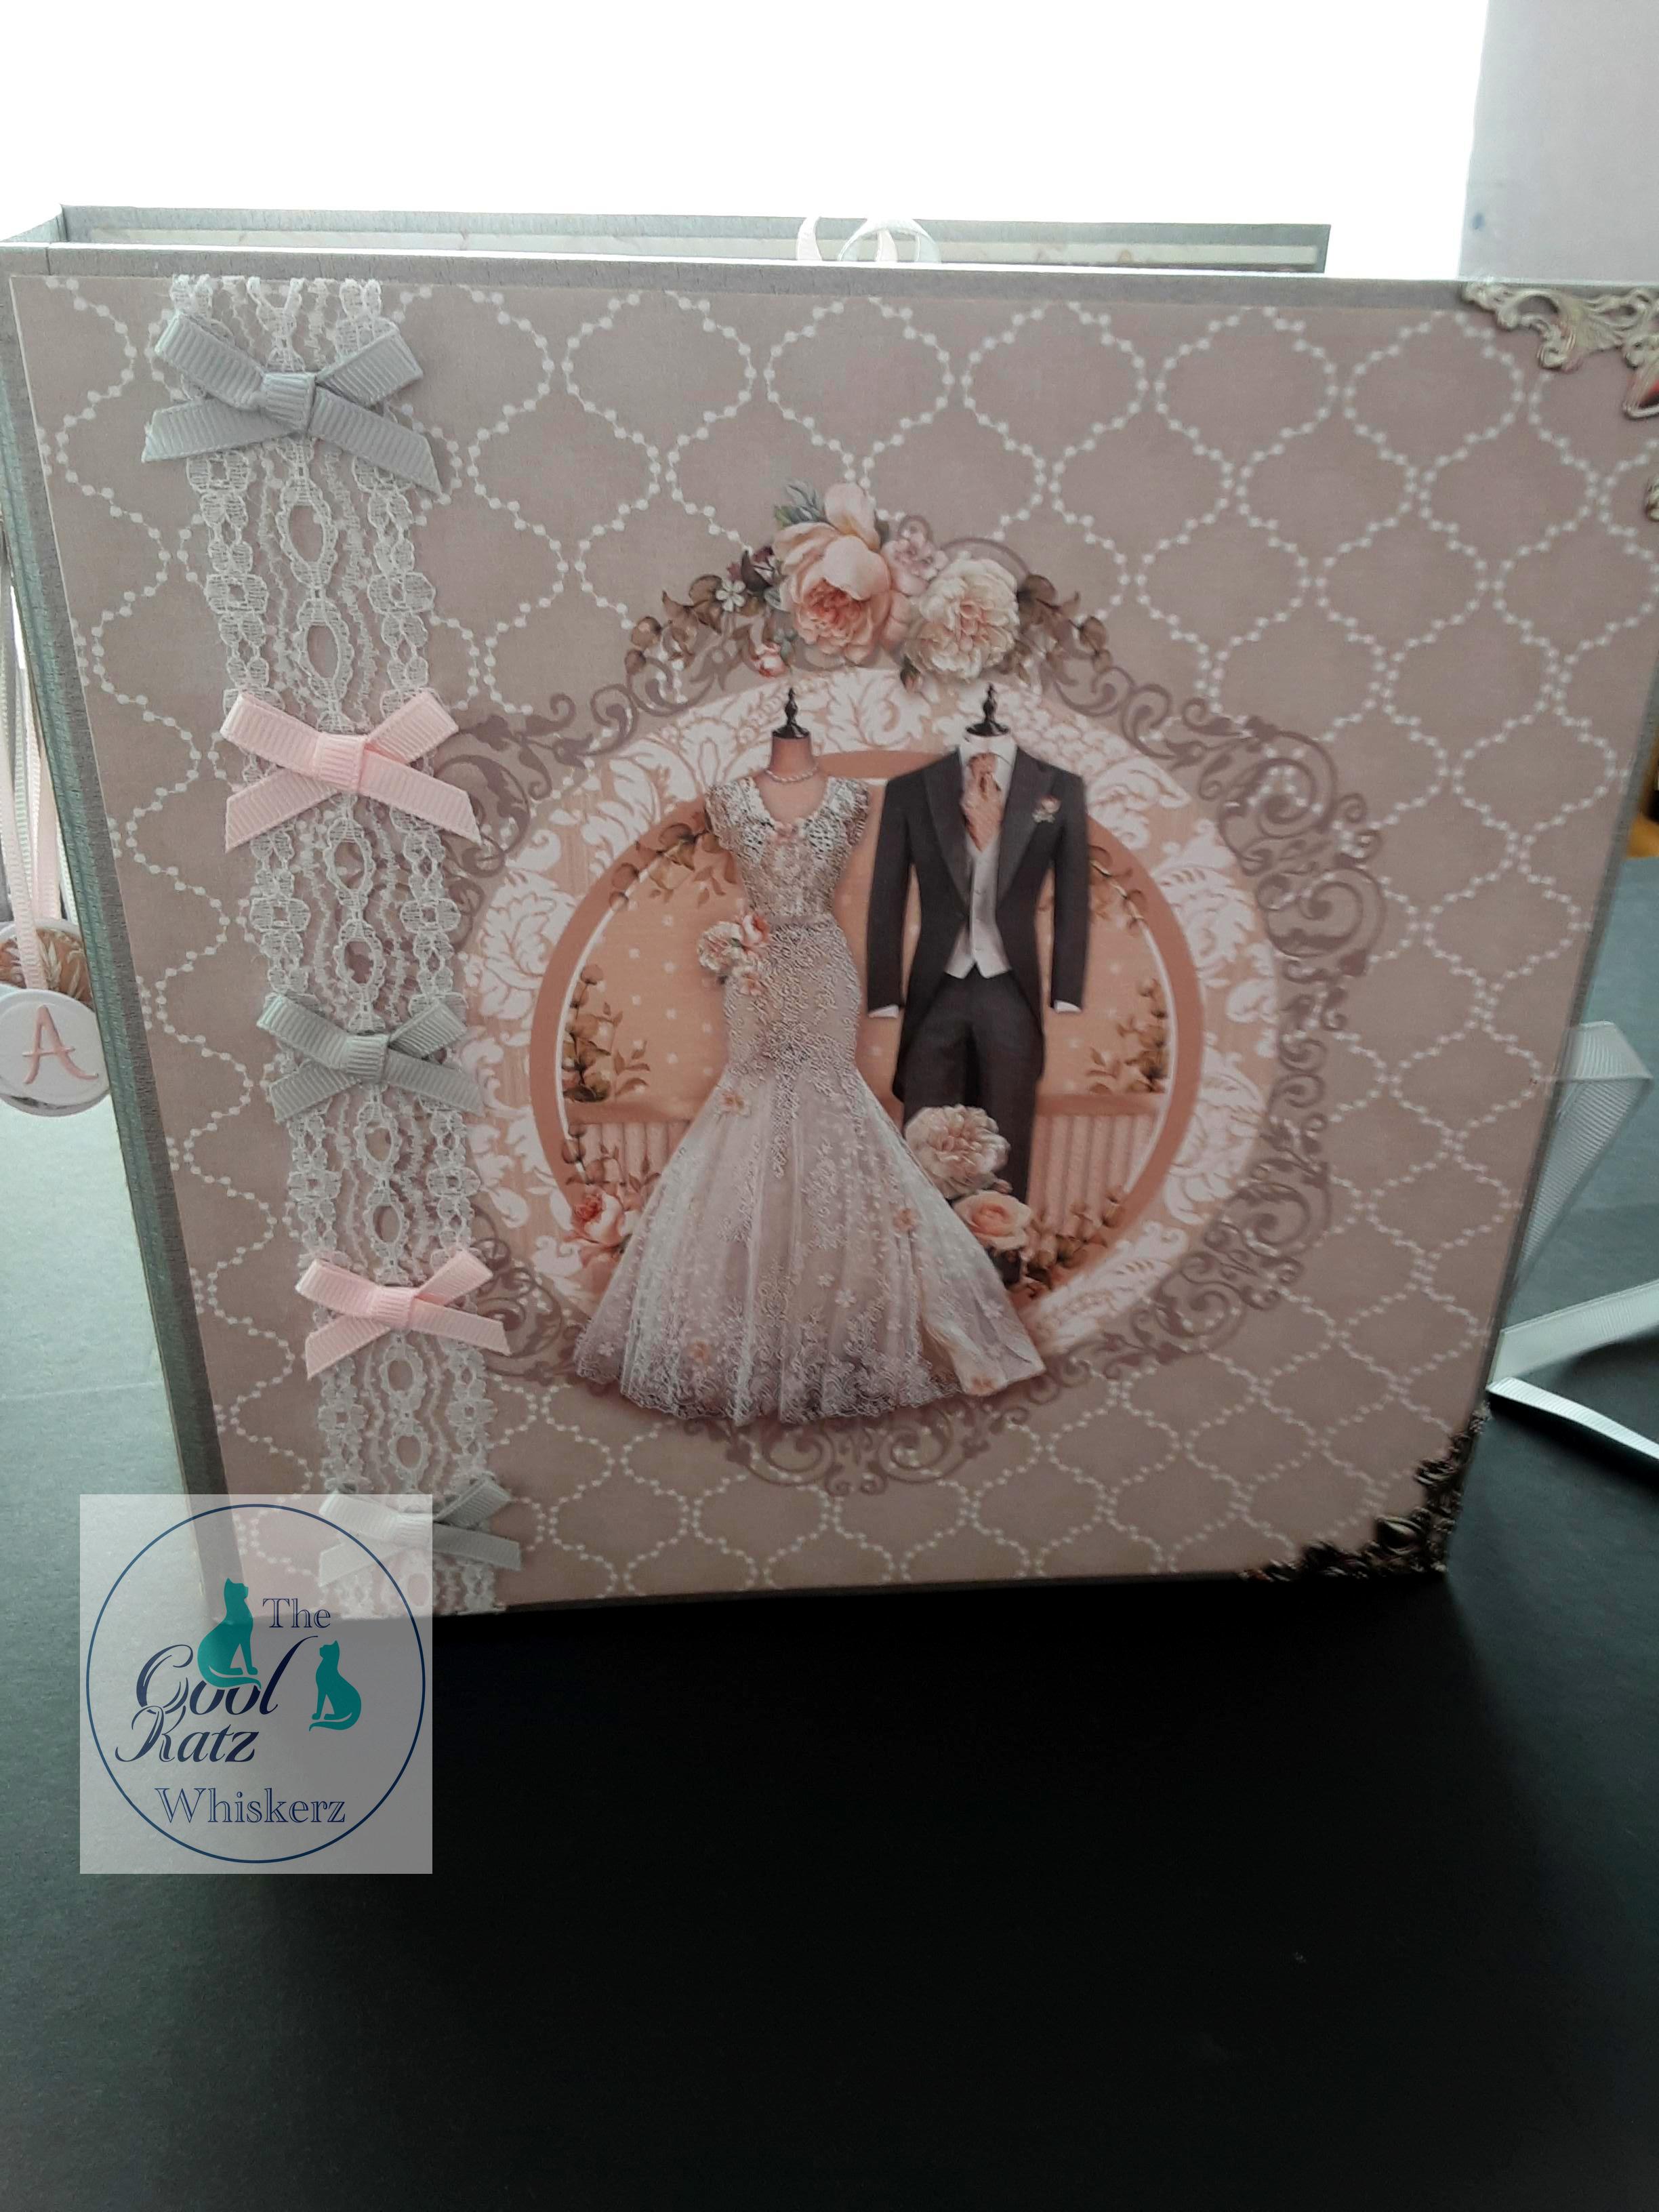
Last month Lynne teased us with photographs of her stunning Wedded Together Album and Roll Top Box. She also gave us the list of items needed to create the project, how beautiful are the Stamperia You and Me papers, just perfect for a Wedding Album.
So over to Lynne for the full tutorial...
9 inches x 9 inches album
9 inches x 3 inches spine
4 pocket pages cut 8 @ 8 3/4 inches x 8 1/4 inches score 1/2 inch (see previous Albums here on the blog for how to assemble pocket pages)
Extended spine - cut 1 @ 8 1/4 inches x 3 1/2 inches, cut 1 @ 8 1/4 inches x 2 1/2 inches, score 1/2, 1" on each long side . Spine to be 3/4 inch in from hinges.
To cover inside spine and part front/back covers 1 @ 8 1/4 inches x 8 inches. To cover inside/outside front & back covers 4 @ 8 3/4 inches x 8 3/4 inches, to cover outside spine 1 @ 8 3/4 inches x 2 3/4 inches. I used a hole punch for spine and 3mm ribbon for dangles & 6mm ribbon for loop (spells marriage)
To align the spine I used spine alignment tools (pic) to get correct 3/4inch in from edges of greyboard. (I'm greedy as I have 2 sets, it makes it easier to ensure same distance each side)
Corner triangles inside covers cut square 4 inches x 4 inches , cut into triangles, paper 3 3/4 inches x 3 3/4 inches as before.
Photo mats for inside covers 7 3/4 inches x 7 3/4 inches, patterned paper 7 1/2 inches x 7 1/2 inches
Pages 1 & 8
Base card - 8 1/4 inches x 7 1/2 inches
Top flap - 5 7/8 inches x 7 1/2 inches score 1/2 , 7/8 inch
Bottom flap - 5 1/8 inches x 7 1/2 inches score 1/2, 7/8 inch
Gusset reinforcement - 2 @ 5/16 x 7 1/2 inches
Concertina- 2 @ 4 inches x 4 inches, score every 1/2 inch
See satchel blog for how to construct.
Pages 2 & 7
Using Curved Photo Slot dies sets 1 & 2
Pages 3 & 6
As per blog 24/08/22, however I didn't add the inside vertical pockets or the outside topper.
Pages 4 & 5
Pocket - 8 3/4 inches x 5 7/8 inches, score 1/2 inch on 3 sides, unscored edge to top, patterned paper 8 inches x 4 5/8 inches
Insert - 8 1/4 inches x 4 1/2 inches, patterned paper 2 @ 8 inches x 4 1/4 inches.
Use arch flip flap and photo slot from set I for front of insert.
For back of insert I used corner spacers 1/4" down from top edge, 1/4" up from bottom edge, 3/8" in from left edge.
Pocket pages inserts- 4 @ 7 3/4 inches x 7 3/4 inches , patterned paper 8 @ 7 1/2 inches x 7 1/2 inches, 6mm ribbon.
Front cover ribbon bows over lace 6mm. Ribbon as album closures 9mm, purrfect finish circles 3/4 inch, 5/8 inch on ends of ribbon.
Roll-top box.
3/8 inch faux grain ribbon die used on lid . Light grey paint 1 @ 2ozs. Made up as per Coolkatz instructions.
Patchwork effect made using scraps of patterned paper and 2 inch square die from stash.
Memory box (10x10x4)
Light grey paint, top of box to match front cover of album.
Apologies to anyone who wants to make this set, I did write down how much of the gorgeous You and Me Stamperia papers I used, but then I put it in a safe place until I needed it and it is in such a safe place I can't find it!
Next month I'll be using the same You and Me papers from Stamperia to create a Photo Wallet Album which will fit neatly into the Roll Top Box.
Lynne xxx
Well wasn't that worth the wait. Next month we'll be seeing more of that gorgeous paper collection from Stamperia along with lots more inspiration from Lynne.
You can find the full list of everything needed via the link below which will take you straight to last months blog post from Lynne.
https://www.coolkatzcraft.com/blog/post/wedded-together-album-and-roll-top-box
Don't forget to head over to the CoolKatz Facebook page and share photo's of your projects created using our products. You will find all the links below.
Happy Crafting.
The CoolKatz Team x