free UK postage
over £40.00
Search


Part 1 of this tutorial can be found here. Without further ado, back to Lynne for the rest of the instructions!
***When using patterned papers I take my measurements from the bottom left hand corner for each page main parts.***
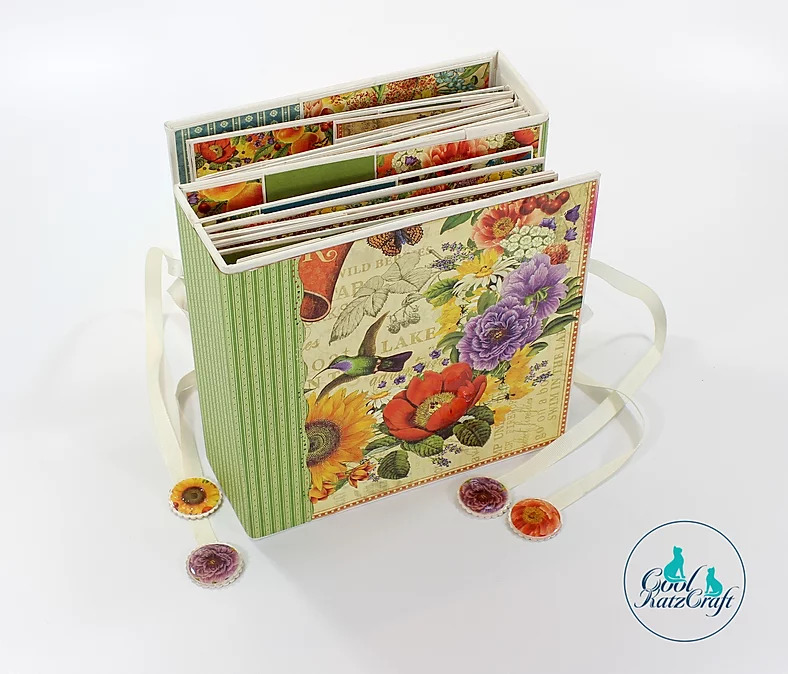
INSIDE ALBUM
3 @ 12x12 patterned paper in total ( plus plain card stock for tags) Left front cover - I used dimensional pocket & Mexican belly band.
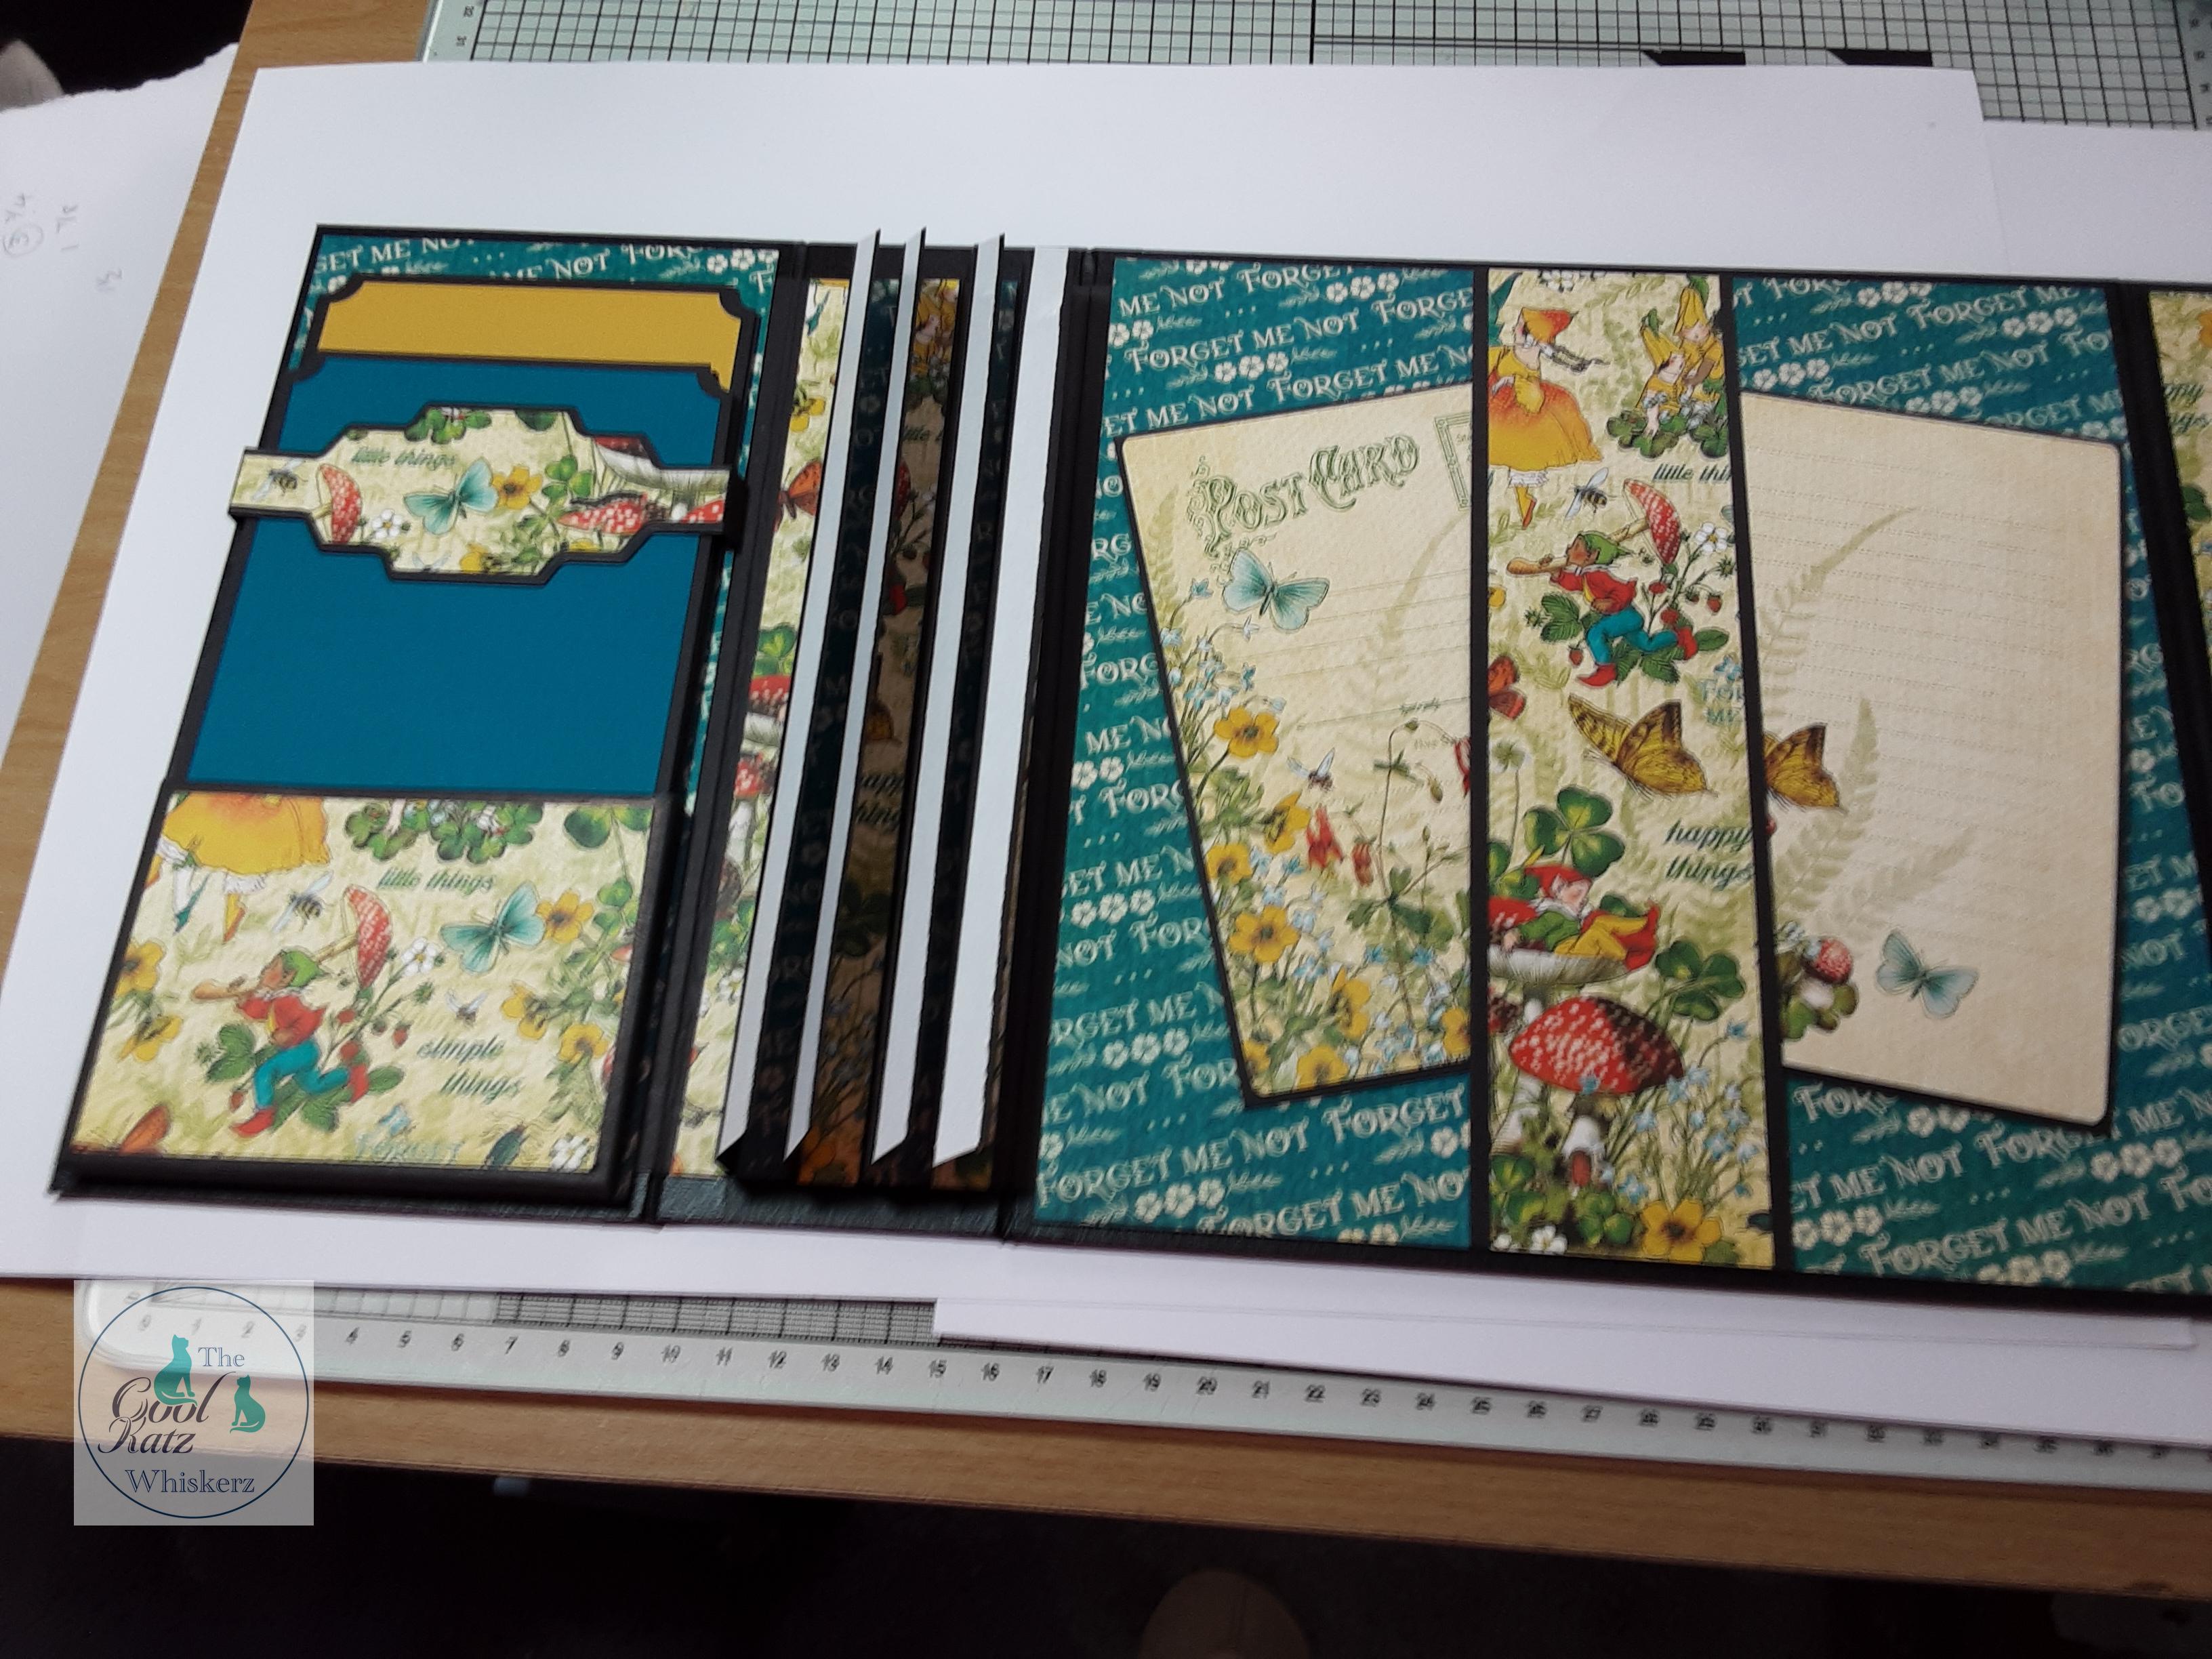
Cut out 1 of the dimensional pockets + backing piece 3 inches x 4 inches , 1 @ 3/16 x 4 inches to reinforce gusset at bottom of pocket. Pic 1 shows what is needed. I found it easier to cut card to 8 inches across, then cut out
belly band, taking of 1 1/8 inches off each end once die cut. I then scored at 1/2, 3/4 inch
to form 1/4 inch gusset each side.
Pic 2 - shows left front installed.

Left spine - I cover my spine & stacking spine but this is a personal choice, it isn't
necessary, I just do it so the patterned paper flows better.
If required - pp 1 @ 8 1/4 inches x 2 3/8 inches (onto actual grey board spine)
1 @ 8 1/4 inches x 1 7/16 inches
1 @ 8 1/4 inches x 7/16 inch
I use pro tape and bookbinding glue to stick the stacking spine into place, as the spine
needs to be securely fixed to hold the pages.
Pic 3 - shows the stacking spine in place (1/2 inch between each part and edge of
greyboard either side)

Back & right spine - patterned paper 8 3/4 inches x 8 3/4 inches for back. Belly band card
8 3/4 inches x 2 1/4 inches .
Right spine patterned paper 8 3/4 inches x 2 1/4 inches
Pic 4 shows back cover and right spine installed.

Right front cover - 2 dimensional pockets , top flaps 2 @ 4 1/8 inches x 4 13/16 inches score at 1 1/2 inches, 1 3/4 inches ( gives 1/4 inch gusset) , 4 @ 3/16 inch x 4 inches (reinforcement for gussets) . 2 page tabs , put magnet inside tab (see pic) .
Pic 5 - shows parts required.

I used album text stamp set for front of page tabs .
I placed pockets 5/8 inch in from edge of right front cover.
Pic 6 - shows right front cover installed. Added to inside of pockets small ephemera cards.

Pic 7 - shows finishing touches to left front - 3 tags @ 8 1/4 inches x 4 inches, 3 tags @ 7
1/4 inches x 4 inches.

Back cover - 2 large ephemera cards.
Big thanks to Lynne for such wonderful work and look out for more tips, tricks and inspiration at the links below!
https://www.youtube.com/@CoolKatzCraft
https://www.facebook.com/groups/CoolKatz
https://www.coolkatzcraft.com/home