free UK postage
over £40.00
Search


Hello, it's Elizabeth here!
Welcome to the first of a three part series on how I decorated the Basic Book Nook Intrigue®. This month we are starting the build by concentrating on the brickwork, and how to achieve a realistic finish. So grab a cuppa, pop a new blade in your craft knife and let’s get started...remember this is not a race, take your time and enjoy the process.
Follow the instructions in the kit and glue together the base, lefthand side wall and the back panel. Set them aside to dry for later.
Carefully remove the pieces from the house front by flipping the house over and carefully cutting through the pips that are holding them in, with a nice sharp new blade from the back. Don't force the pieces. Once removed give everything a light sanding back to remove any remaining bits of unwanted MDF. Clean work surface to get rid of all the dust.
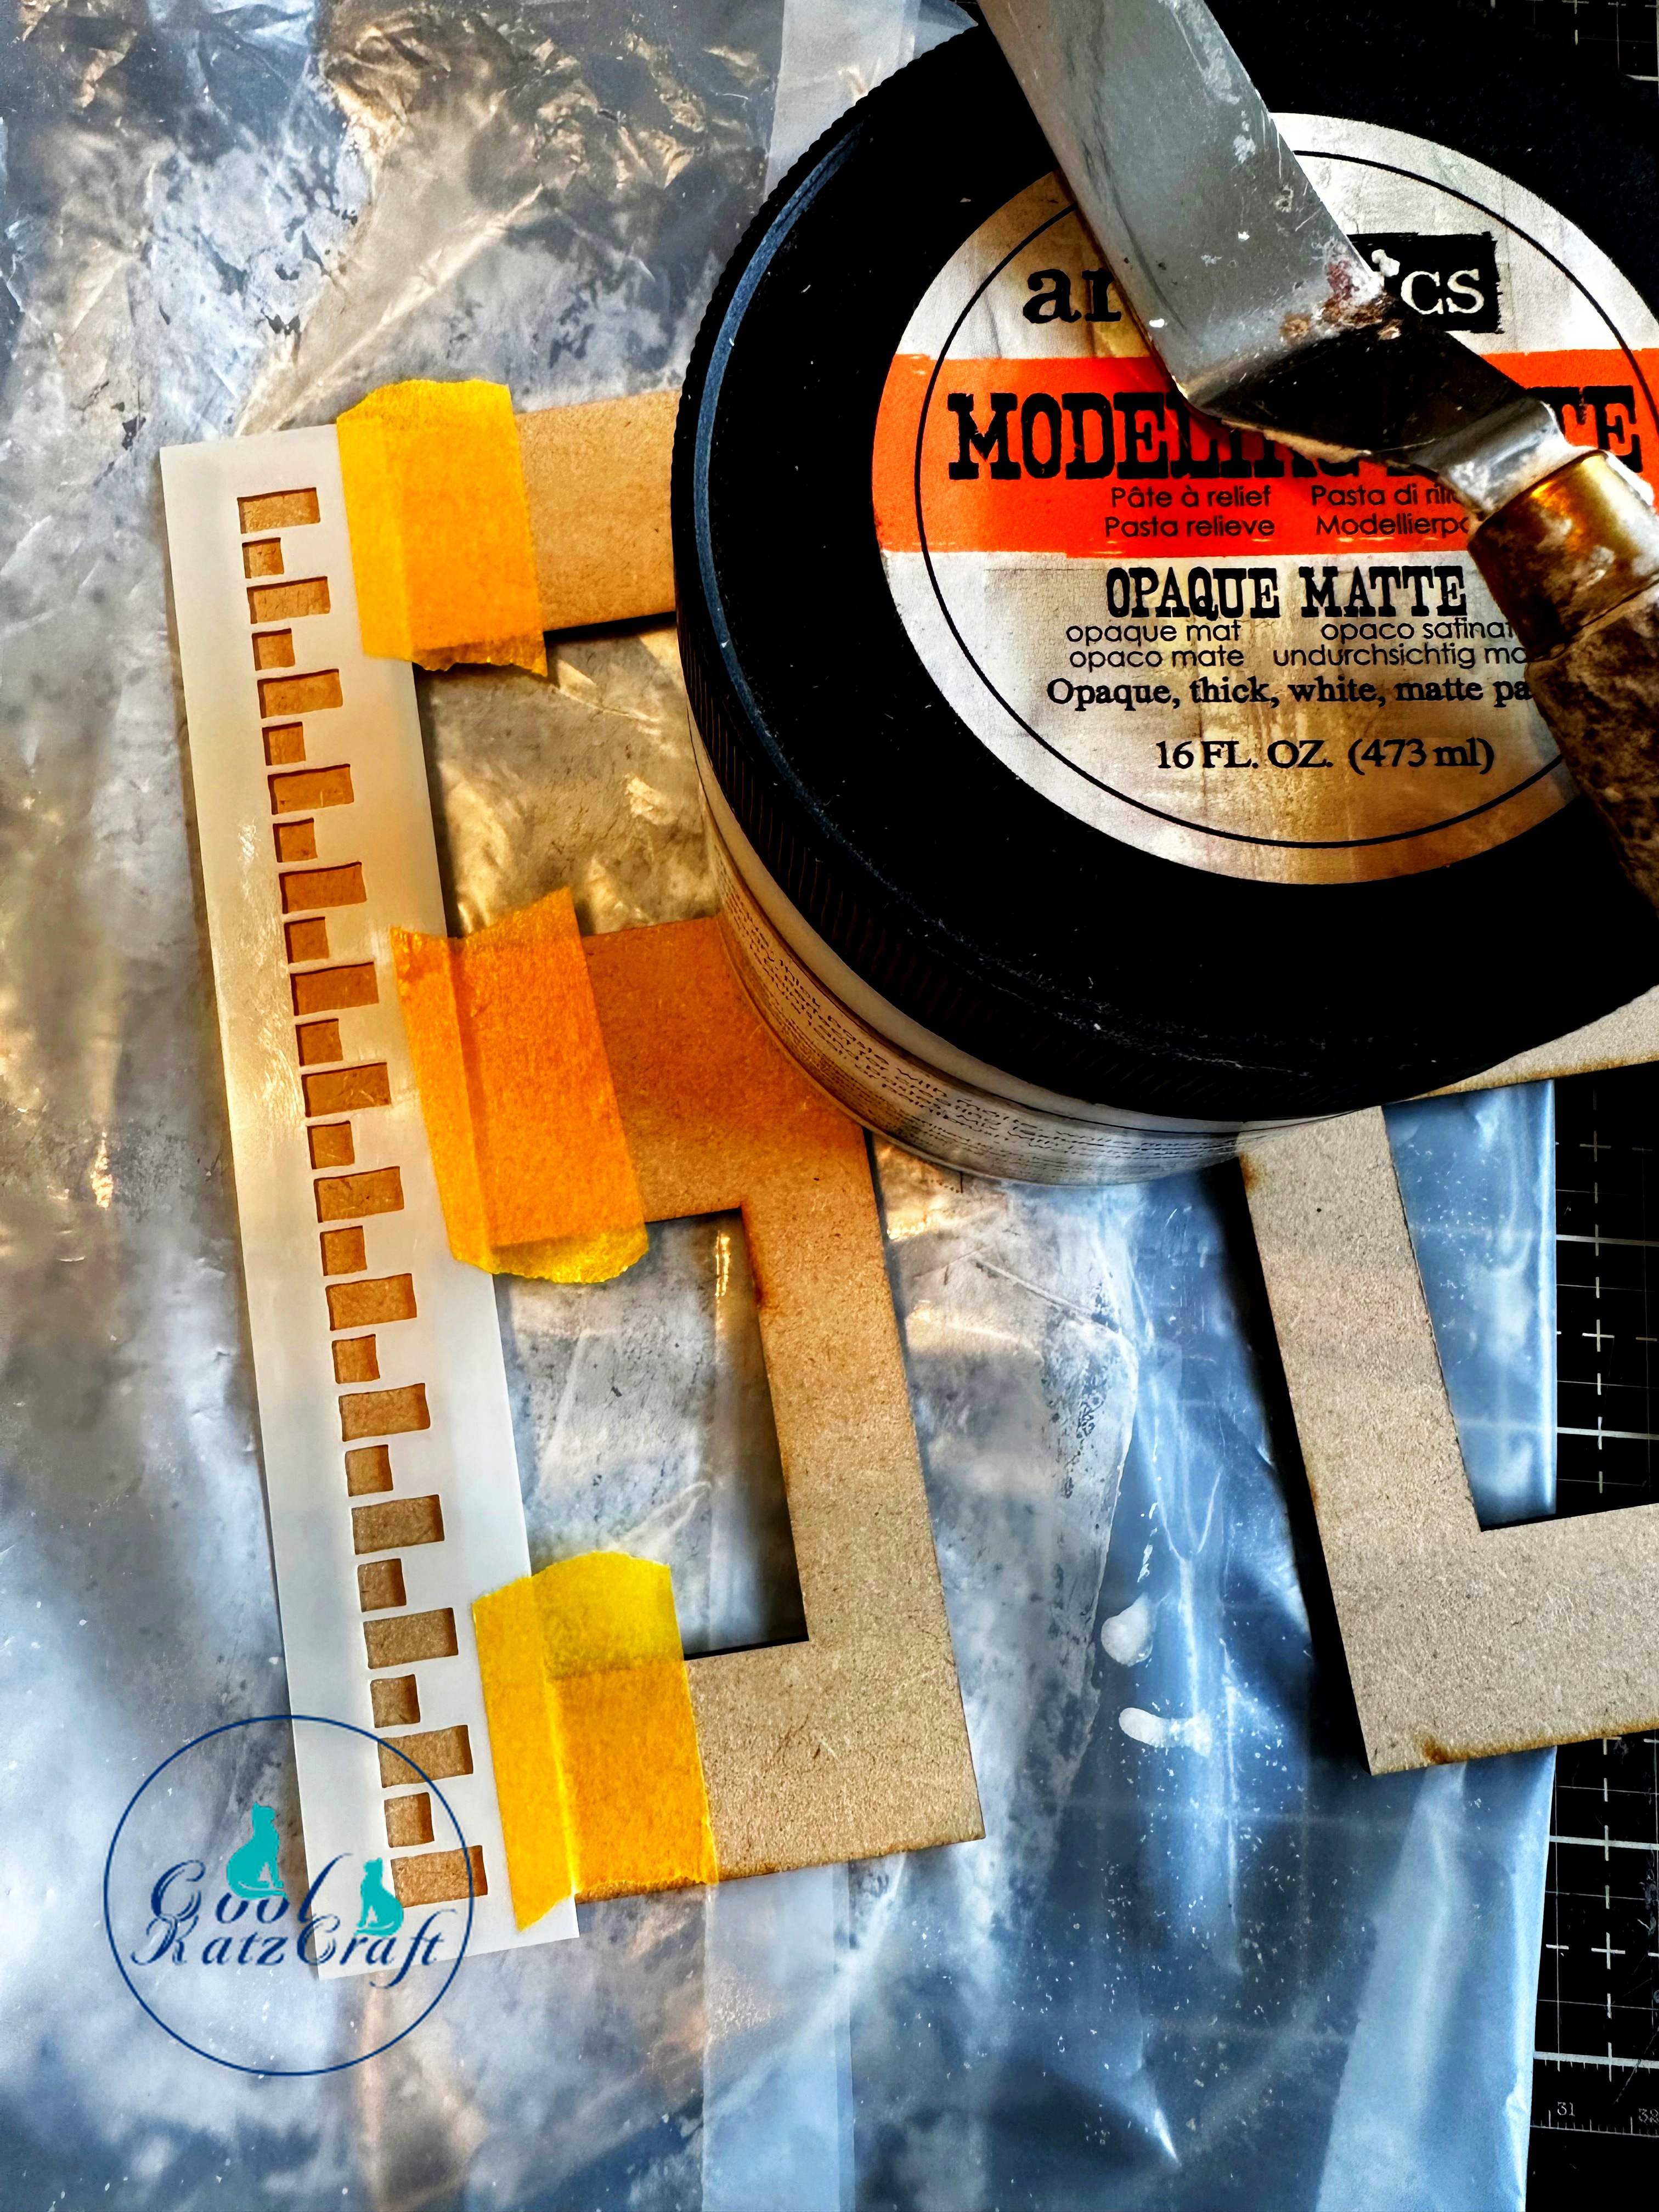
Line up the Masonry Edge stencil against the front edge of the house. We are working on the house on the lefthand side first, so the stencil should be against the left side of the house. Tape it down with Tiger Tape to hold it in place while you add the stencil paste.
The righthand side of the house will be stencilled on the right side of the house, so the edges will face each other at the front opening of the Nook.

Once the texture paste is dry line up the brickwork stencil over the top, this is quite easy as the bricks will fit into the first line of paste; again, tape down your stencil to hold it in place.

Leave overnight to dry thoroughly. Once totally dry give the house front a coat of gesso or white paint. I like to use PaperArtsy's Snowflake as it's not a bright white. Paint along the top and front edge of the house also.

Next I grabbed three coordinating Cadence Paints to colour my bricks. I like to use Warm Oat, Amber and Light Brown as they give a love warm tone to the brick colour.

I start by adding a little of each paint colour to my mat and diluting them down with water.

Then using a smaller sized flat paintbrush I start adding a light coat of paint over the bricks. Don't worry if you get paint in between the bricks at this point, as we will be tidying them up at the end. I find that I'm always a little messy at the start, but by the end of the house front I get much neater!

Once all the bricks have colour on them, go back to your paints and make a very watery, slightly darker shade of paint then the first one. And again using the flat brush add a little blob or line of the darker colour. Most bricks have several different shades within them.

Keep adding the colour until you are happy with the effect. I find it's better not to work in straight lines and instead go randomly, so you don't end up with a noticeable line on the finished wall.

As you can see it's well worth taking the time to add the different colours to the bricks as they look more realistic.

Now it's time to tidy the grouting up! If you have a steady hand then you can go for a fine liner paintbrush. Mine is super fine and from a nail art kit. It was very inexpensive, and found at a local discount shop. The other option that I've used here is a Sakura White Gelly Roll pen. This is a great option as the ink glides in between the bricks and it's very easy to get a great result.

So there you have the completed brickwork for the house, repeat for the other side. Maybe you want both houses to be the same shades of brick or maybe you will choose another colour.

Have fun and remember to take your time and enjoy the process.
I'll see you next month when we will work on the windows and doors.
Happy Crafting.
The CoolKatz x
https://www.coolkatzcraft.com/tiger-tape
https://www.coolkatzcraft.com/coolkatz-masonry-edges-stencil
https://www.coolkatzcraft.com/basic-intrigue
https://www.youtube.com/channel/UCHVLrneEbdNJp3EIhJoH4BA
https://www.facebook.com/groups/CoolKatzCraft
https://www.coolkatzcraft.com/home