free UK postage
over £40.00
Search


Book nook Intrigue® Church tutorial: Flint walls
Flint! Oh, flint, how art thou?
I live in Norfolk. Norfolk is practically built of flint. So, of course, my church had to have flint walls.
I trawled the internet for pictures (could I have walked for 3 minutes to look at our old city walls? yes, I could have done so, but it didn’t occur to me until it was a bit late) but none seemed to suit.
I dabbled.
First, I tried using dimensional glue (side note: I became very, very sticky) which I then overpainted but…hmmm…no…too spiky…too punk rock. I needed something dimensional but smoother (like a 20 year old single malt…I digress).
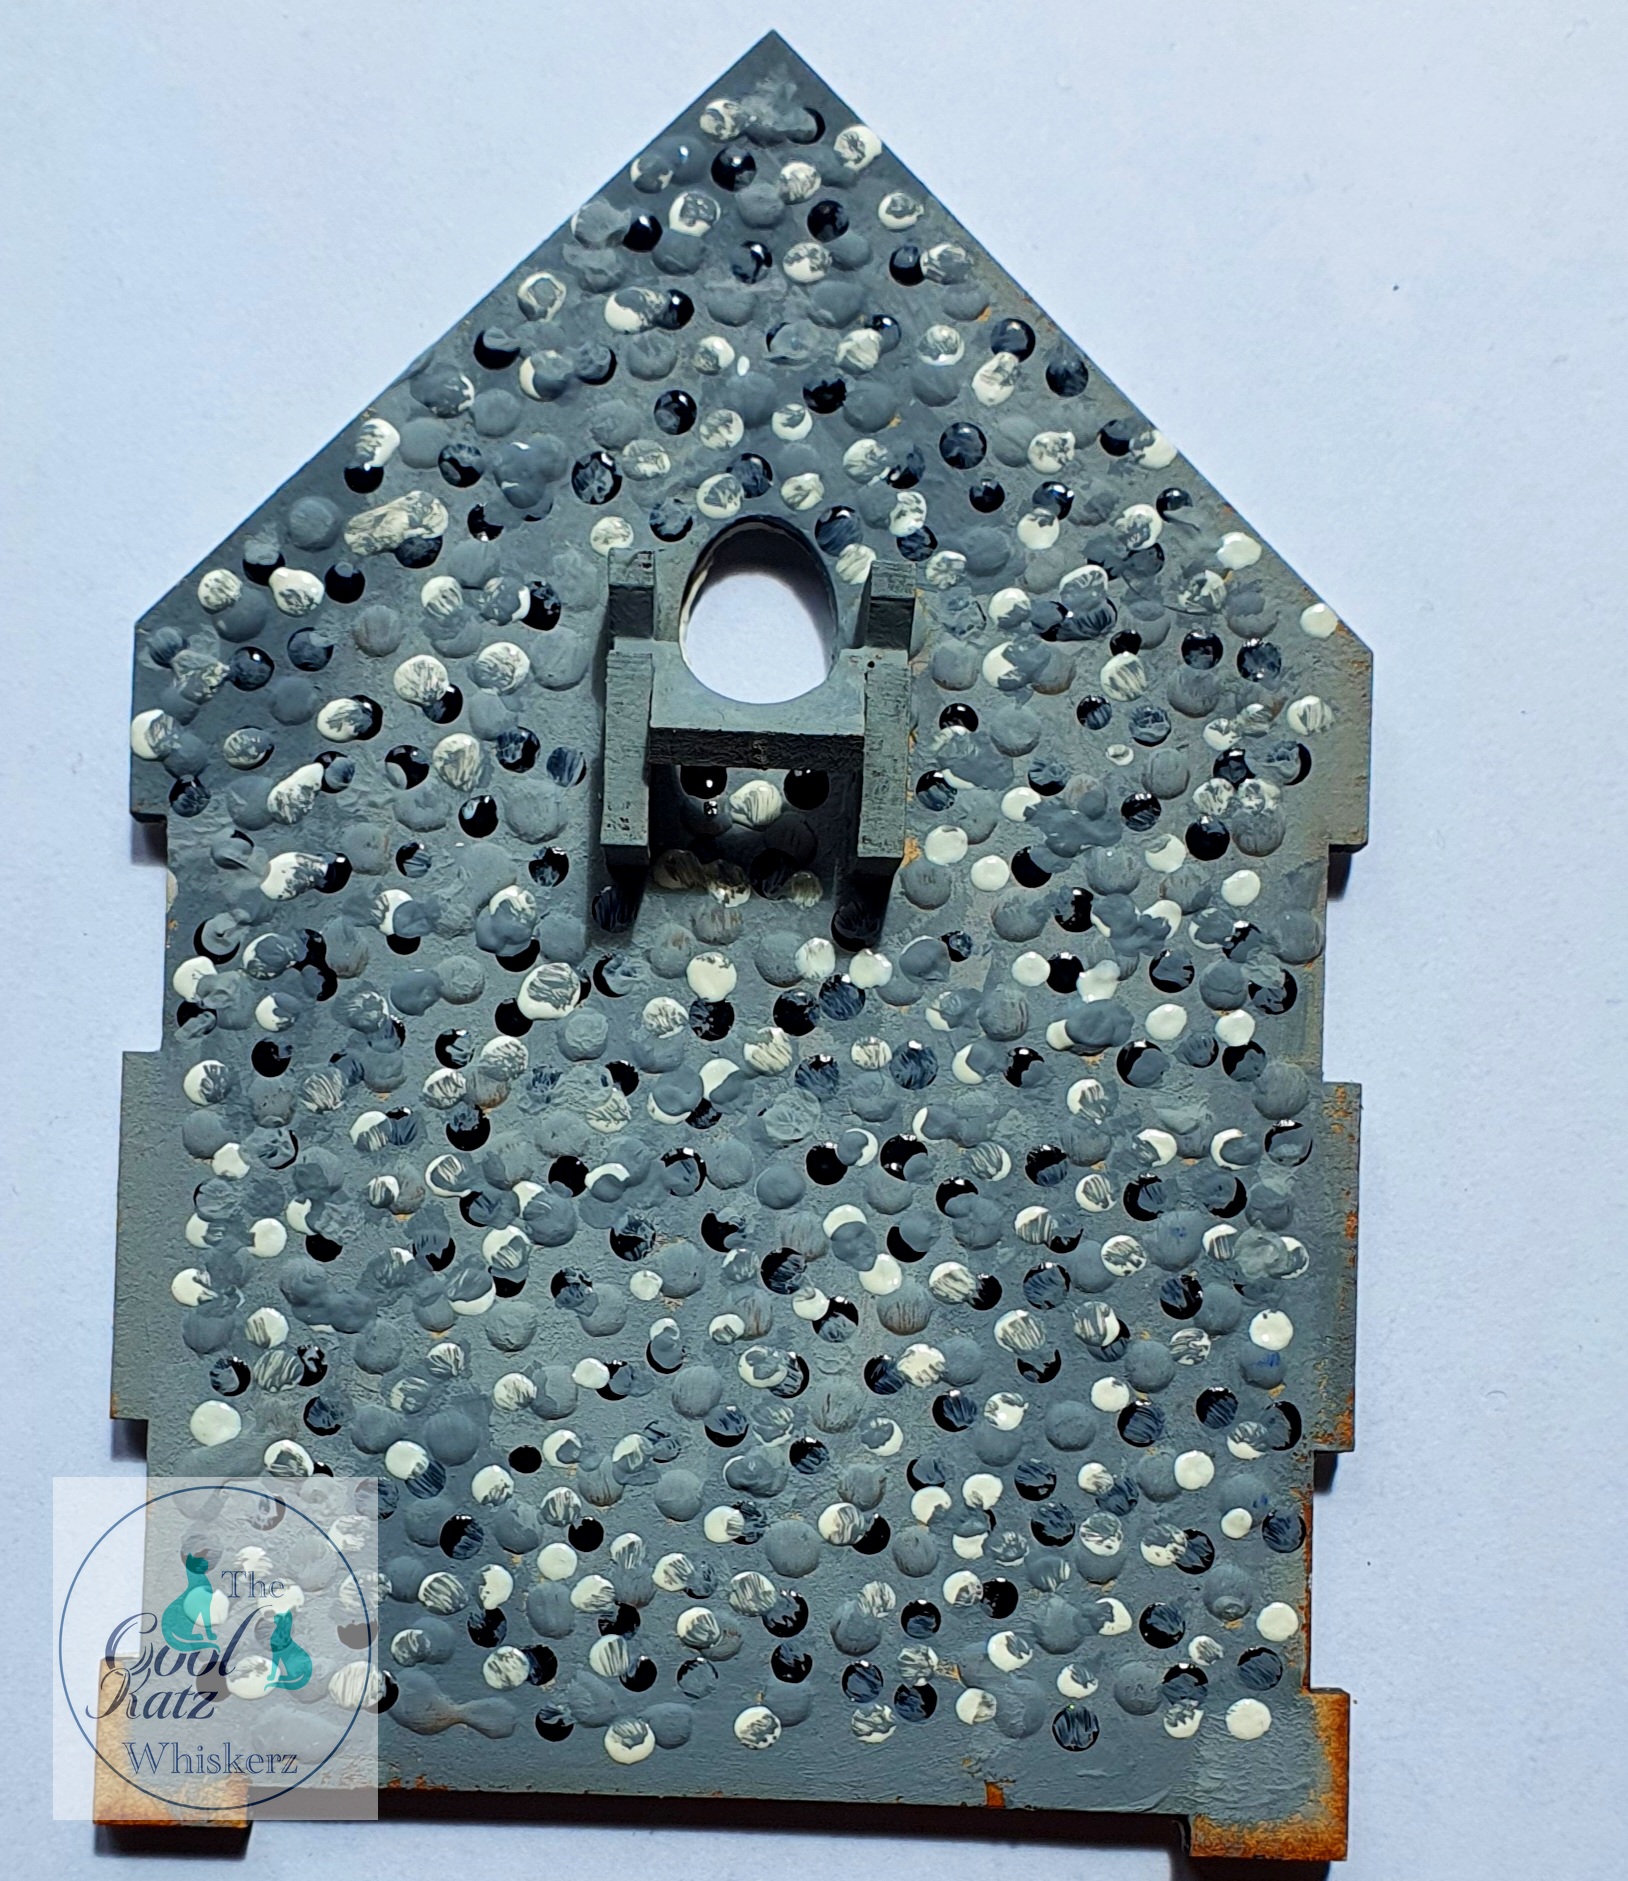
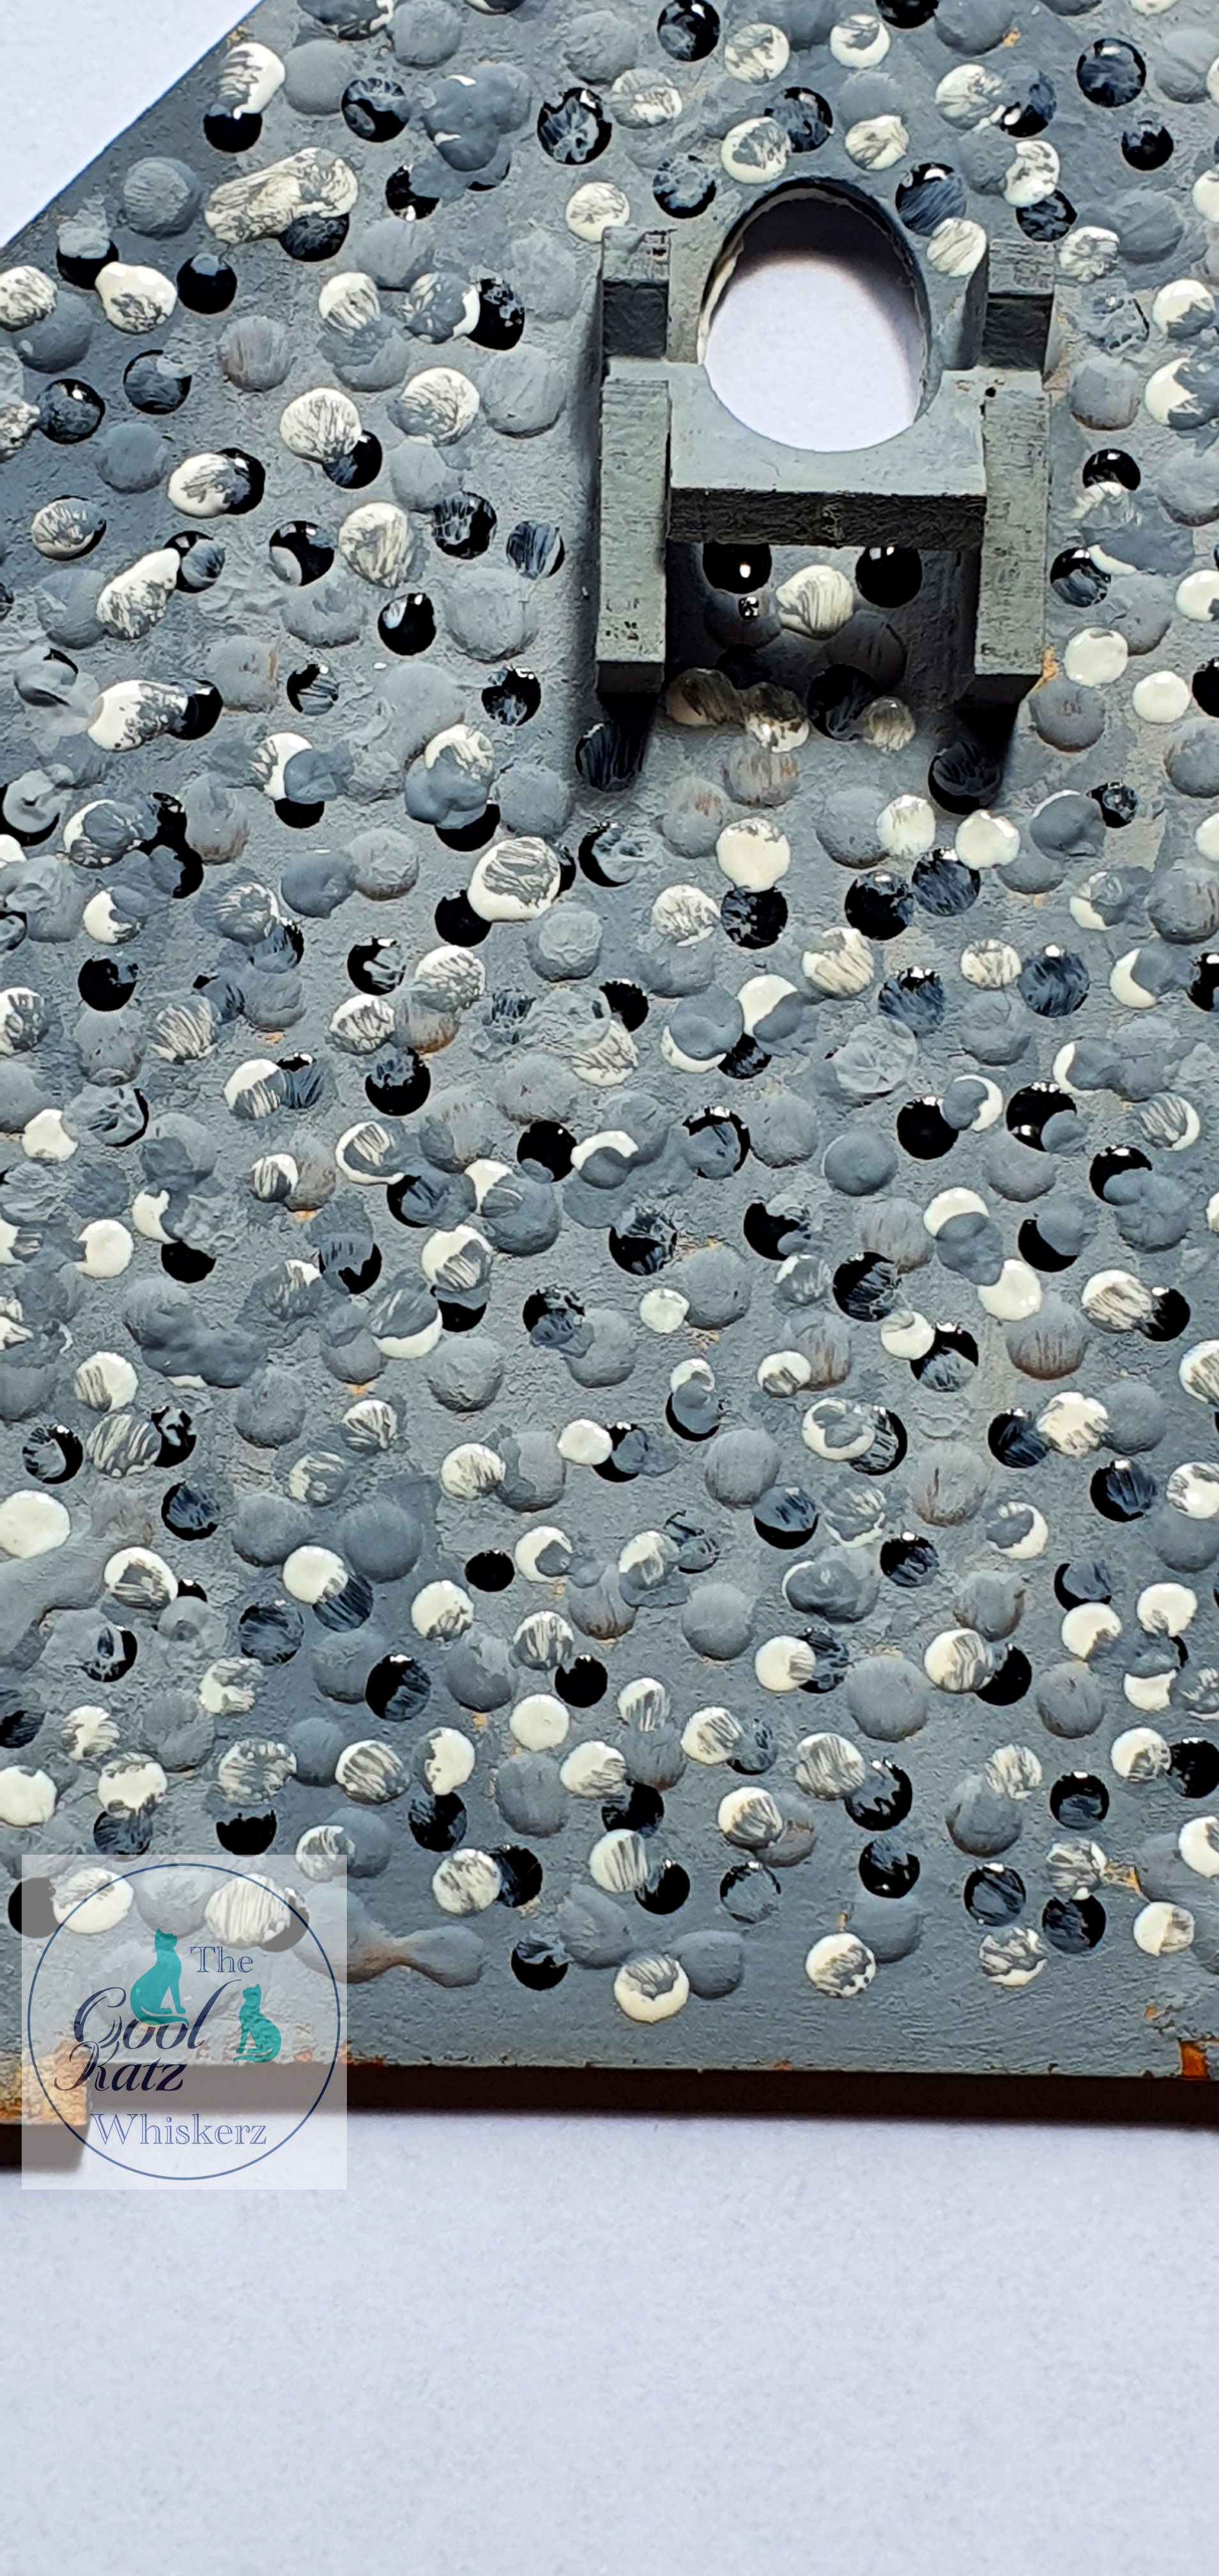
So, next I popped on some blobs of Glossy Accents and let them dry. Much better, nicer roundness to them (more flinty!). Painted them grey. Hmm. Maybe too rounded. Too even. And too far apart. Well, it was a start. I added some blobs of white enamel accents in between. Too white and too shiny. I added more grey paint, a different shade, leaving a few shiny bits of white sticking out. Like flint! Blobbed on some black enamel accents on top of, to the side of, next to, half way across, the others already there. Too black. Too shiny again. So, more grey, both shades, over, around, leaving bits of shiny black to stick out here and there. Like flint!

The stones needed more definition. I looked at some pictures I had found on the internet. I took a white pen and started circling all the blobs: grey, white, black, bits of all, and in between. Getting better.
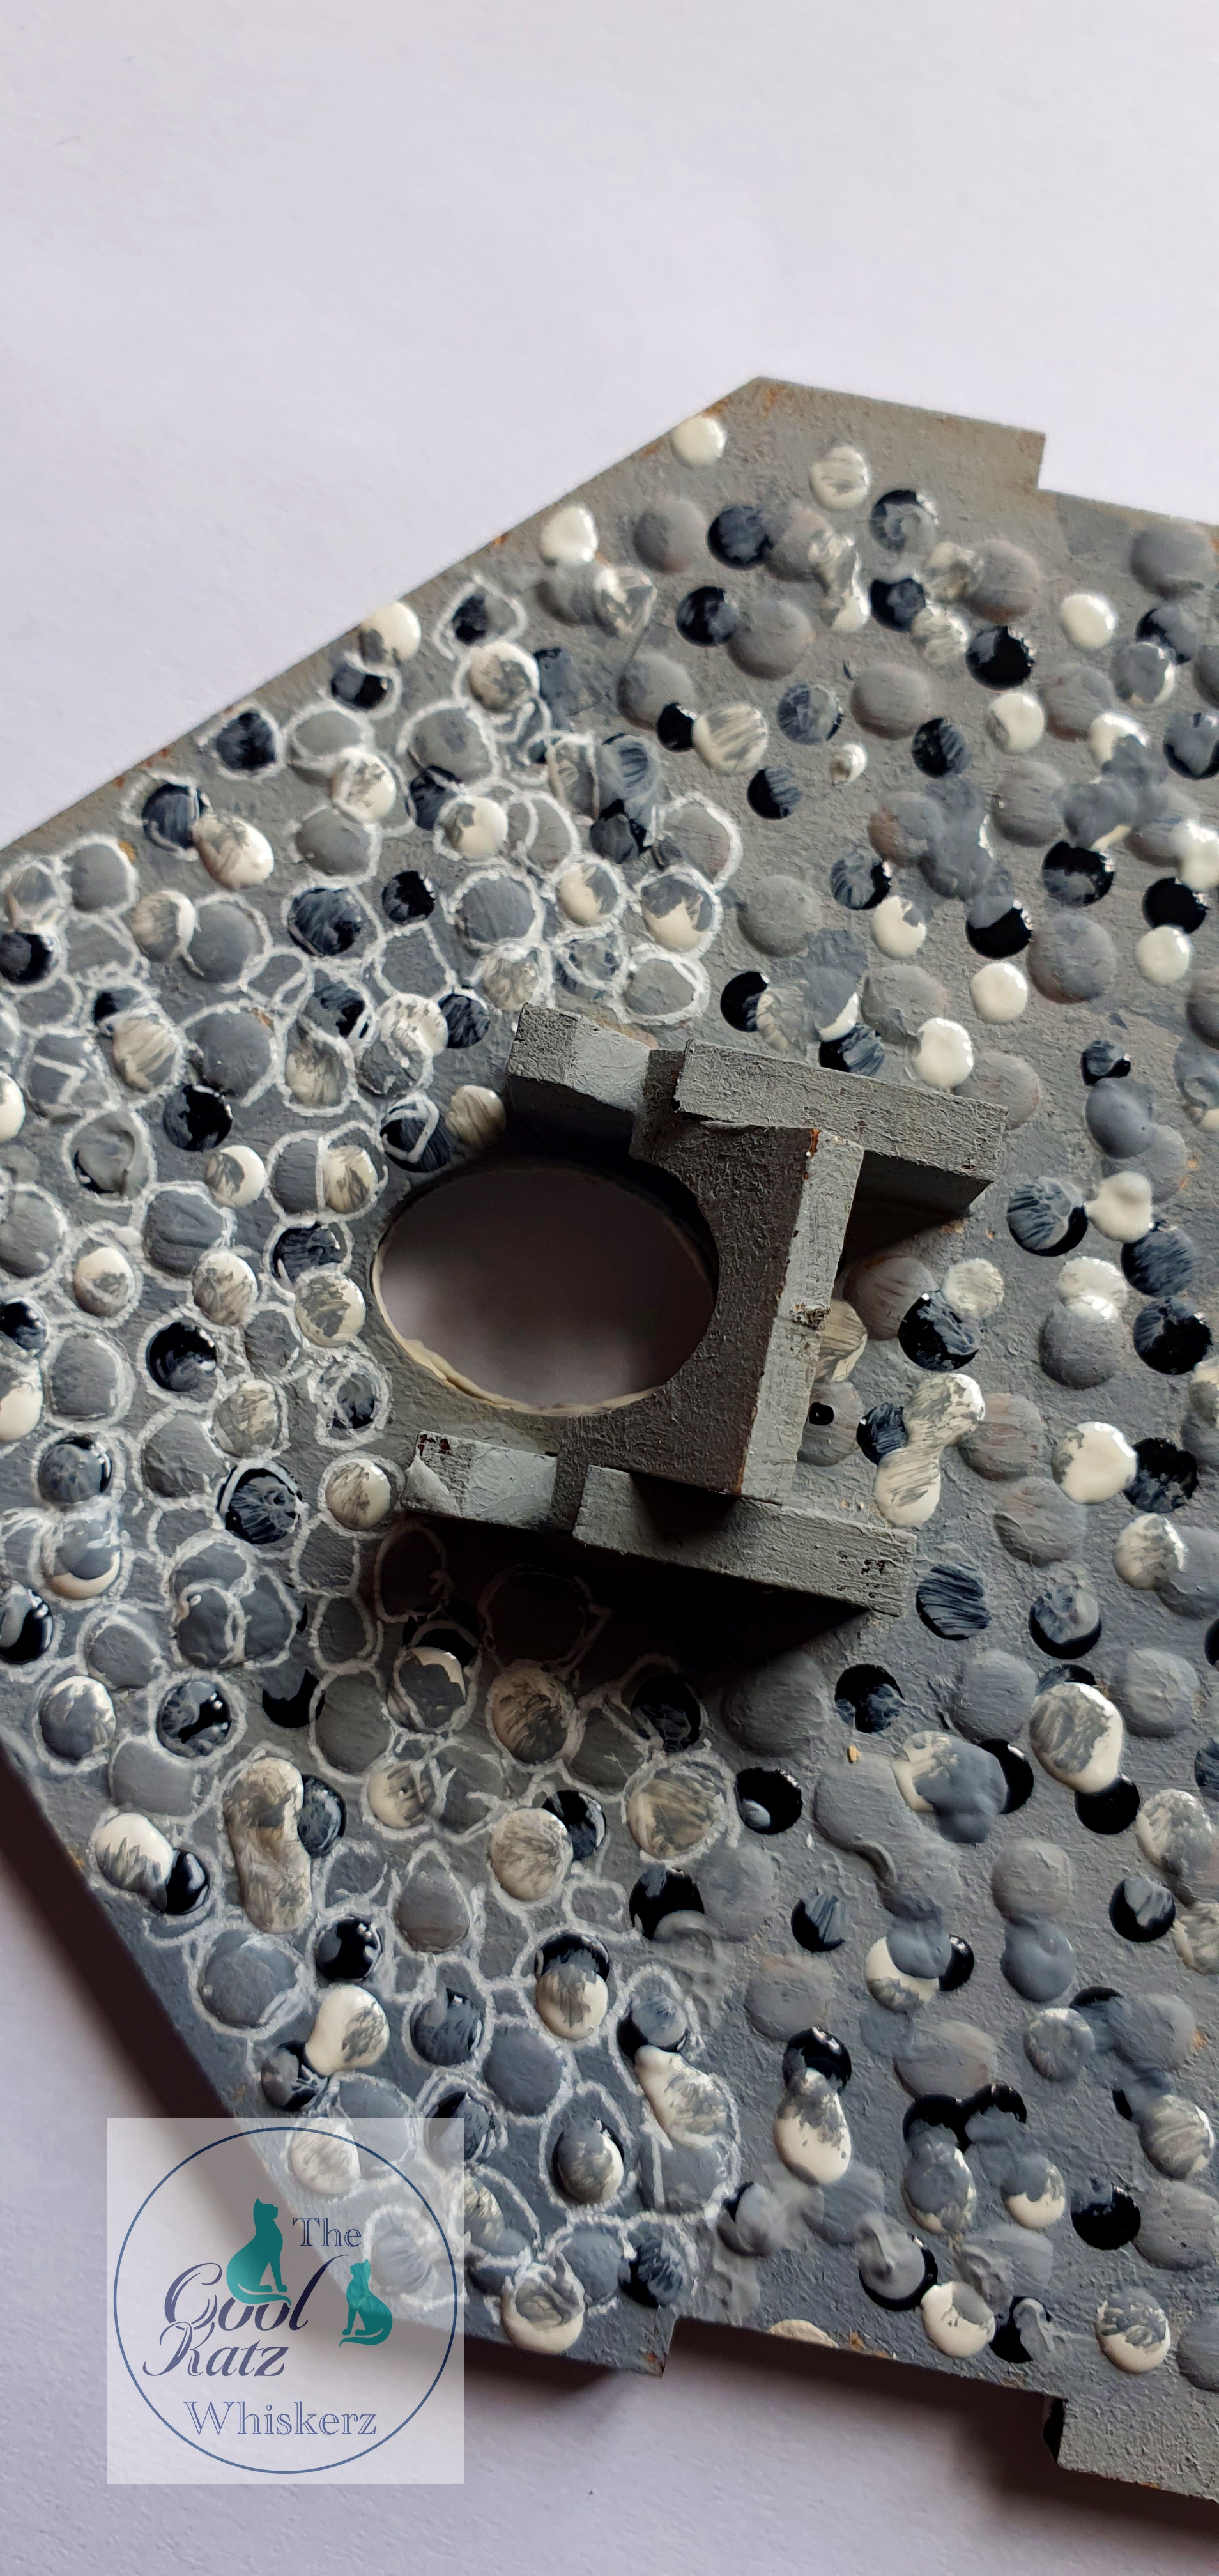
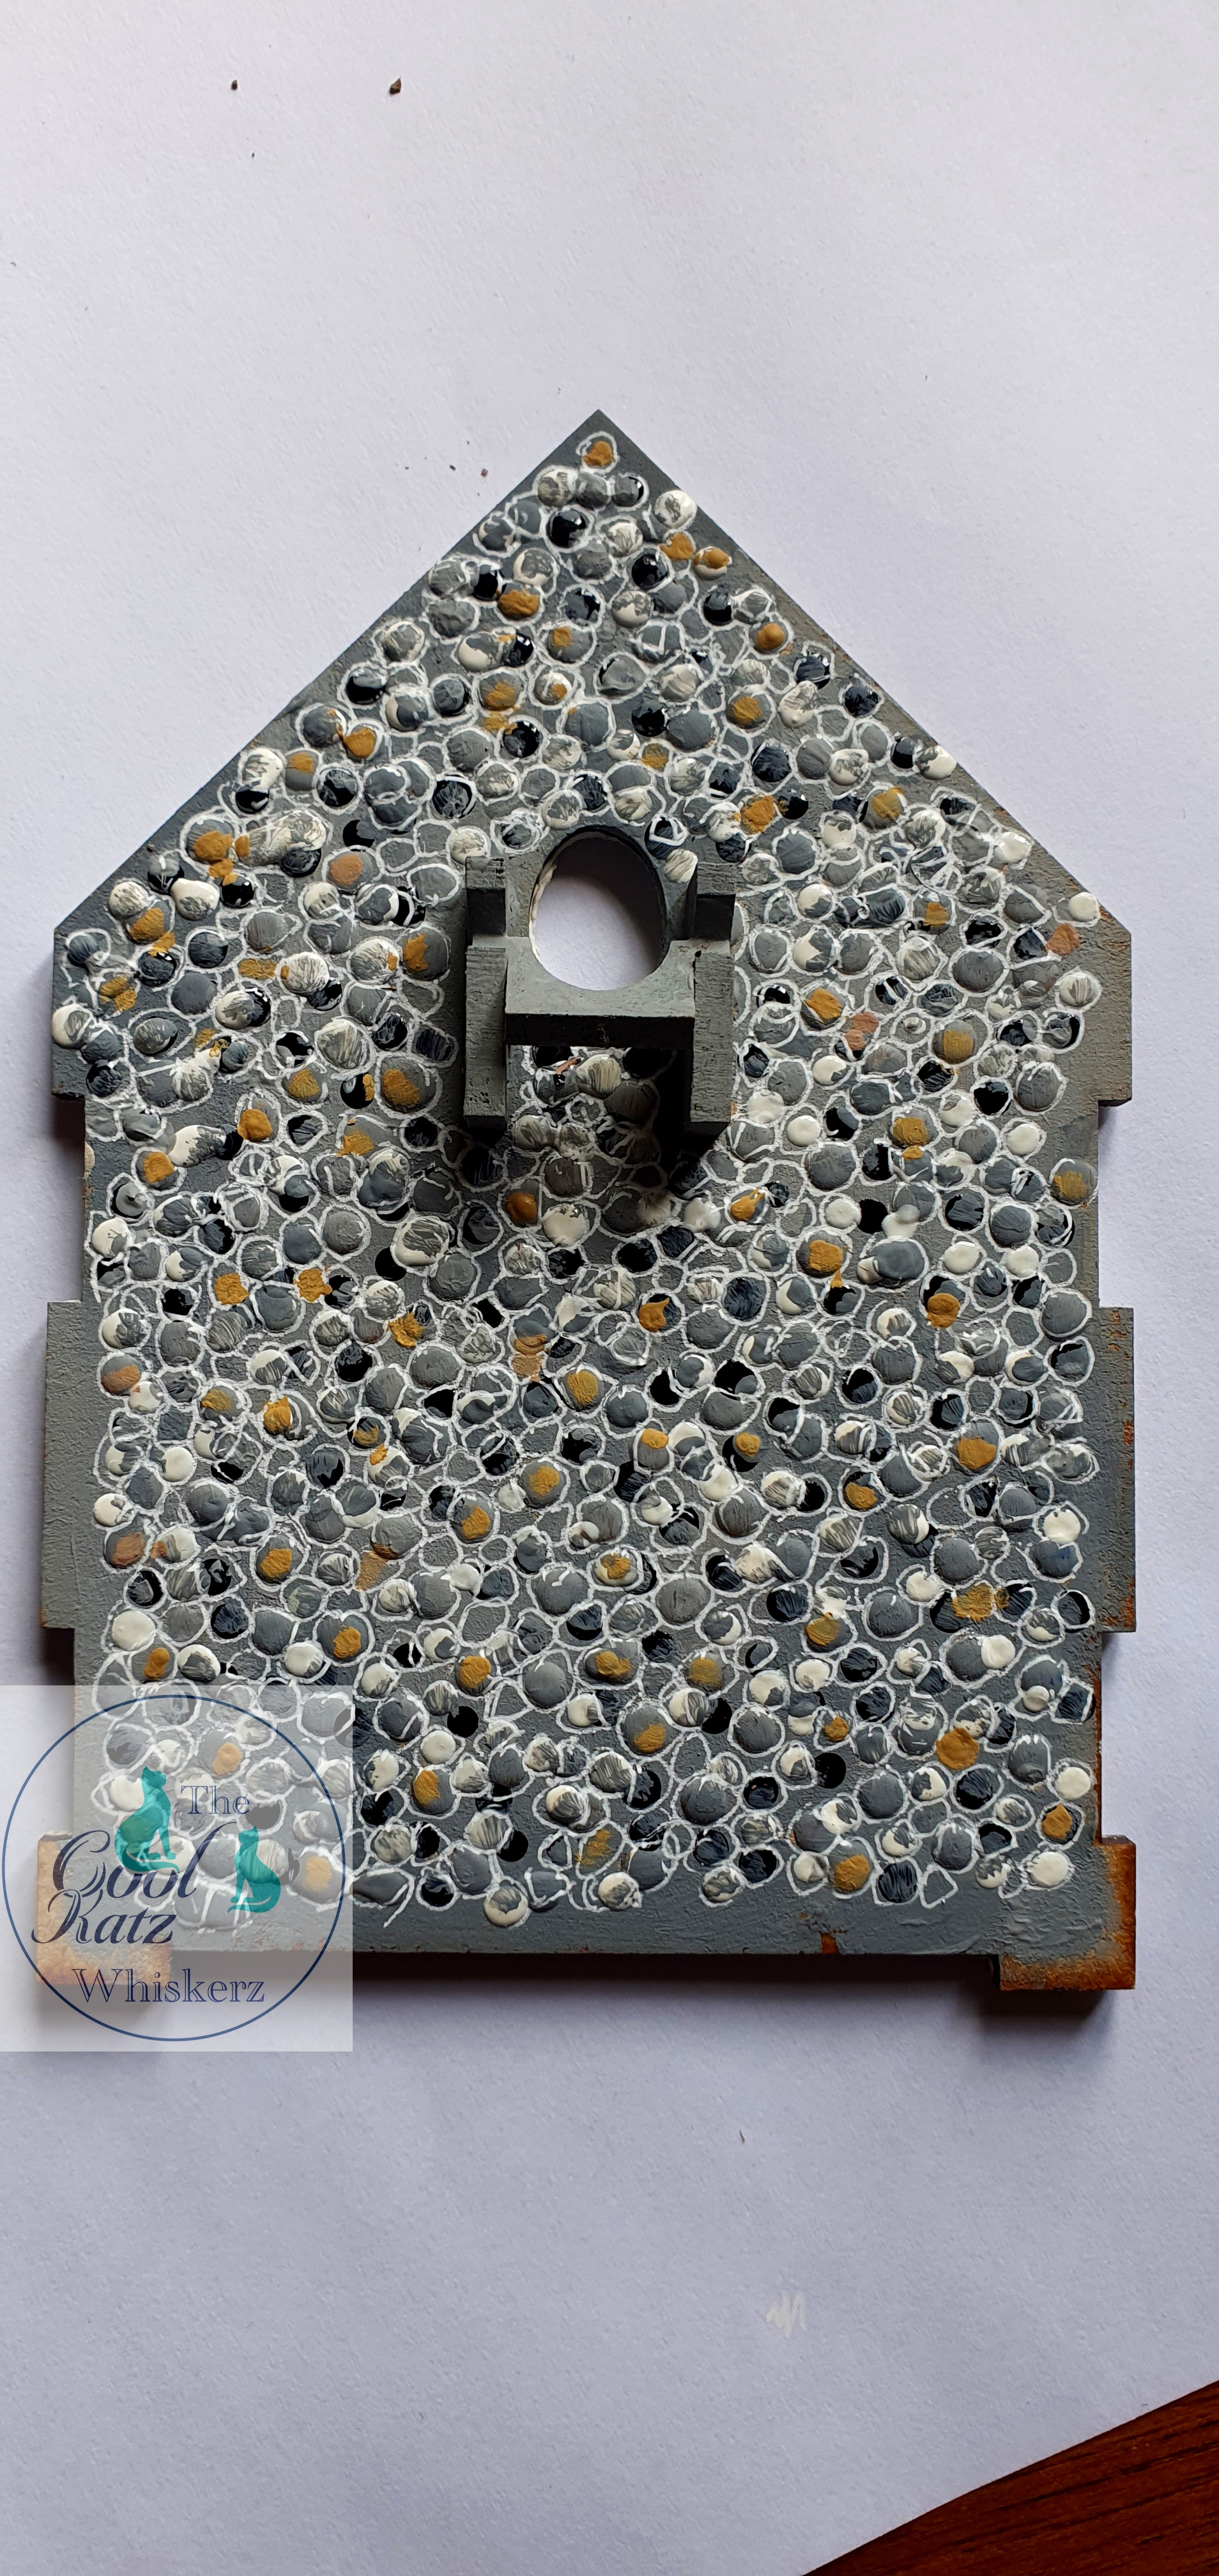
I spent a day out on a jaunt, looking for country churches in deepest Norfolk. Taking photographs, staring at walls, looking at colours and patterns. It struck me at that point that I could never capture the look of a flint wall in all its glory. They are all so very different. I looked again at the colours and decided on the final act.
Brown paint, two shades, dabbed on using a piece of the Coolkatz lightboard from the kit, daubed on random places on the wall: where it looked neglected, boring or abandoned.
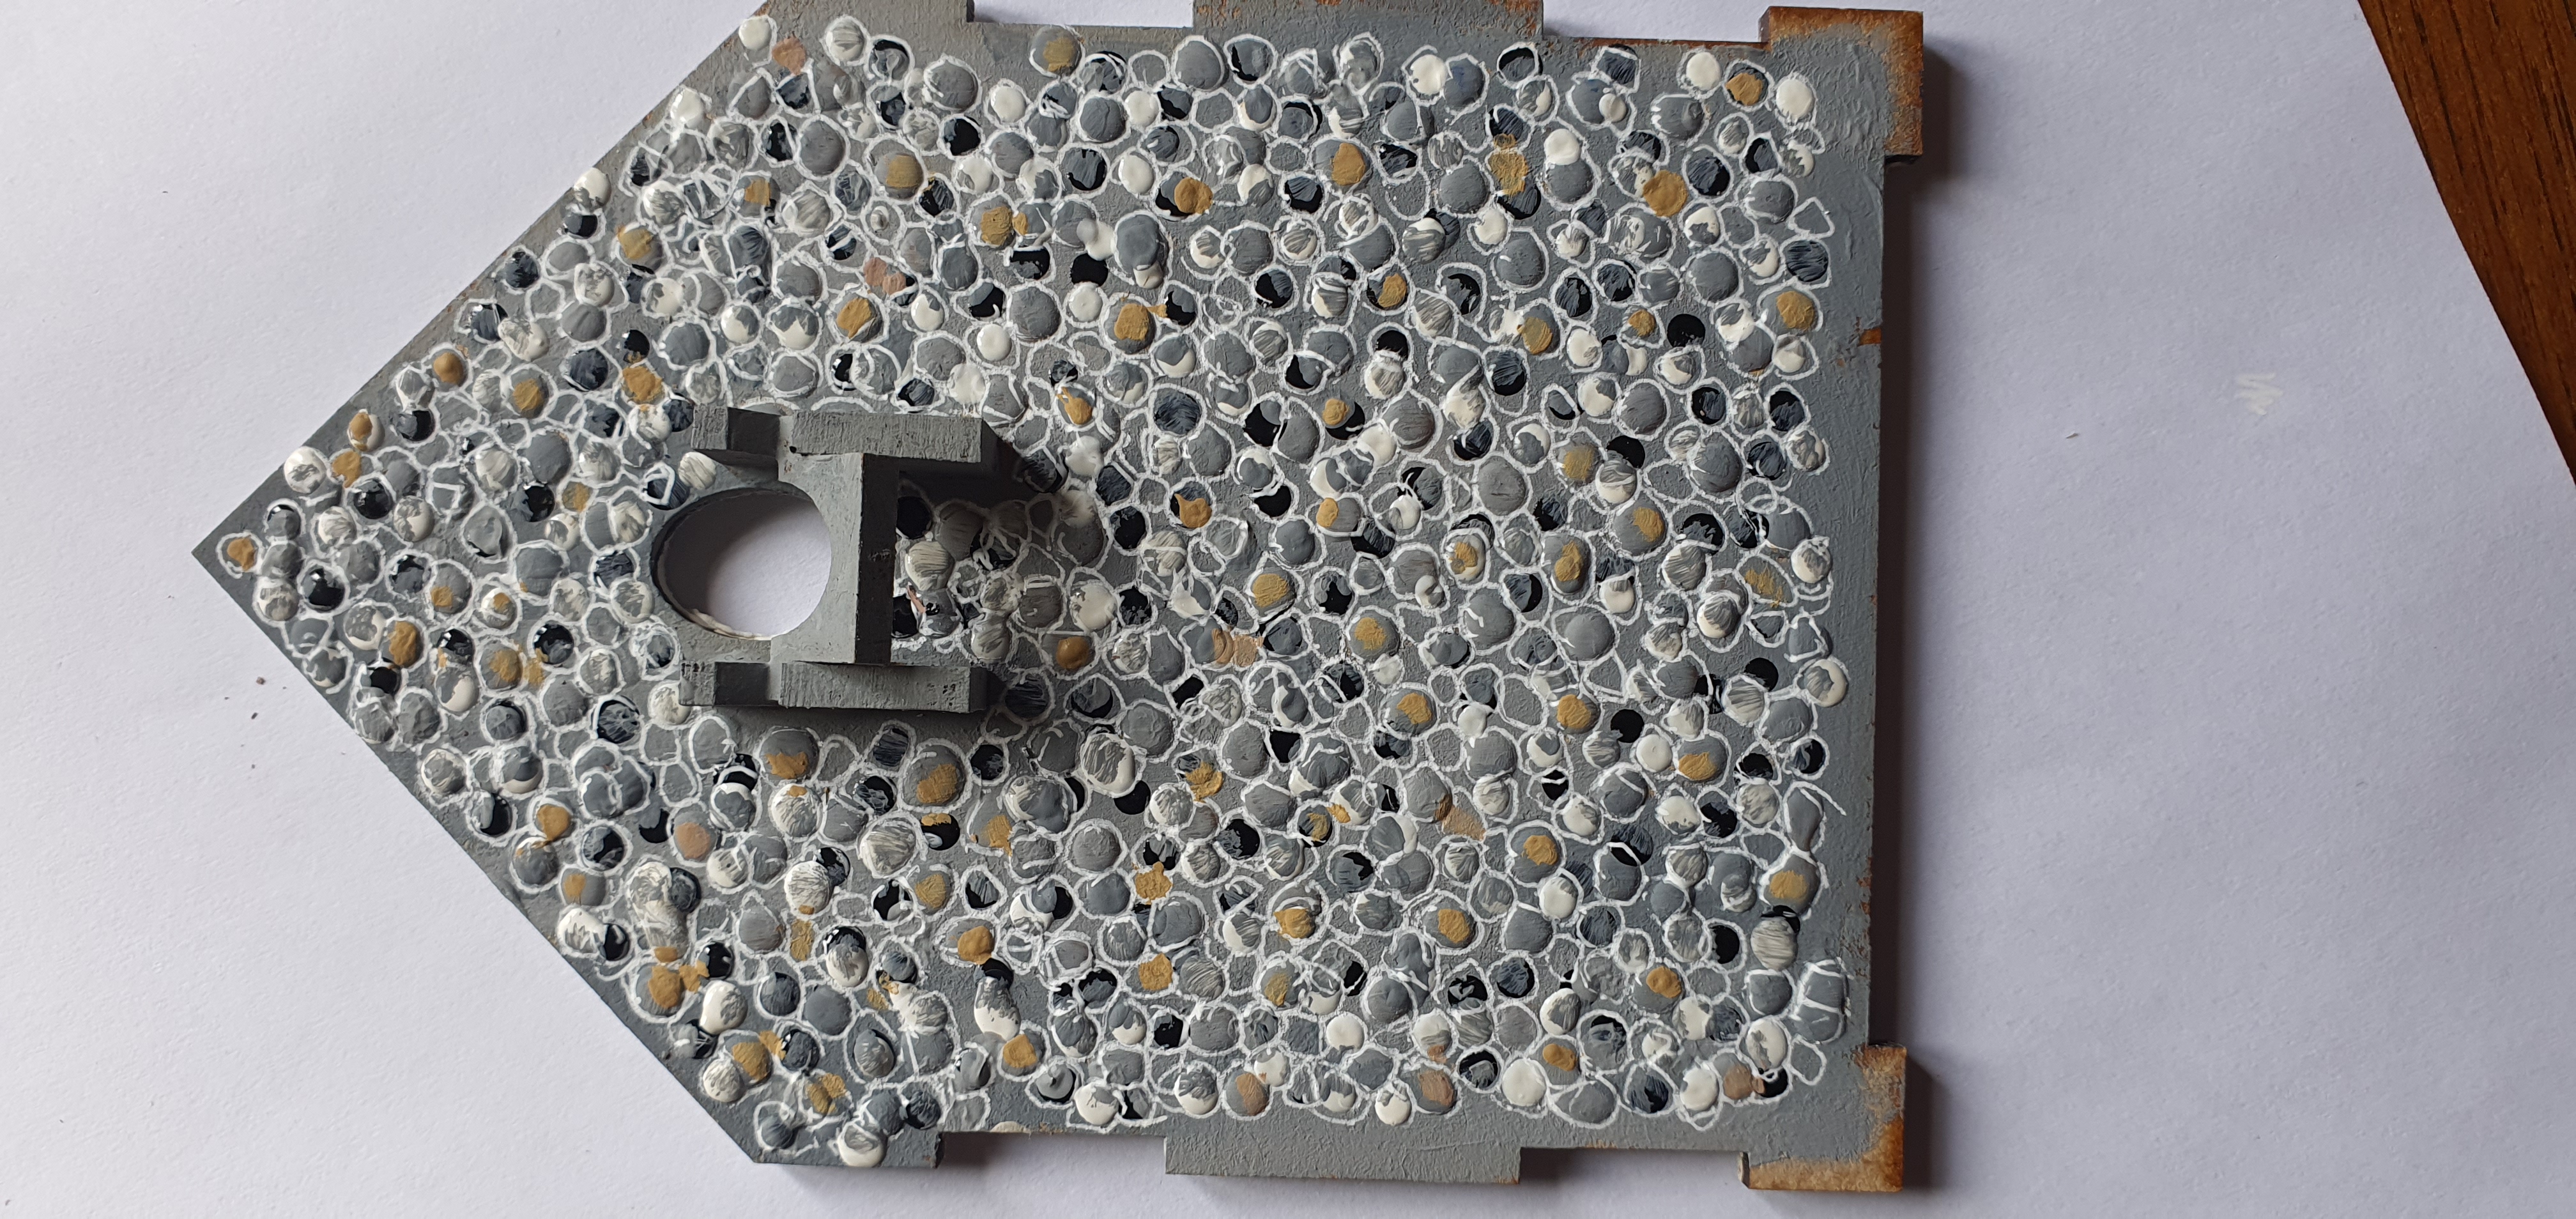
So, a simplified version for the other walls:

Voila!
CoolKatz items used: kit, Glossy Accents, Paper Artsy Chalk Acrylic paint.