free UK postage
over £40.00
Search


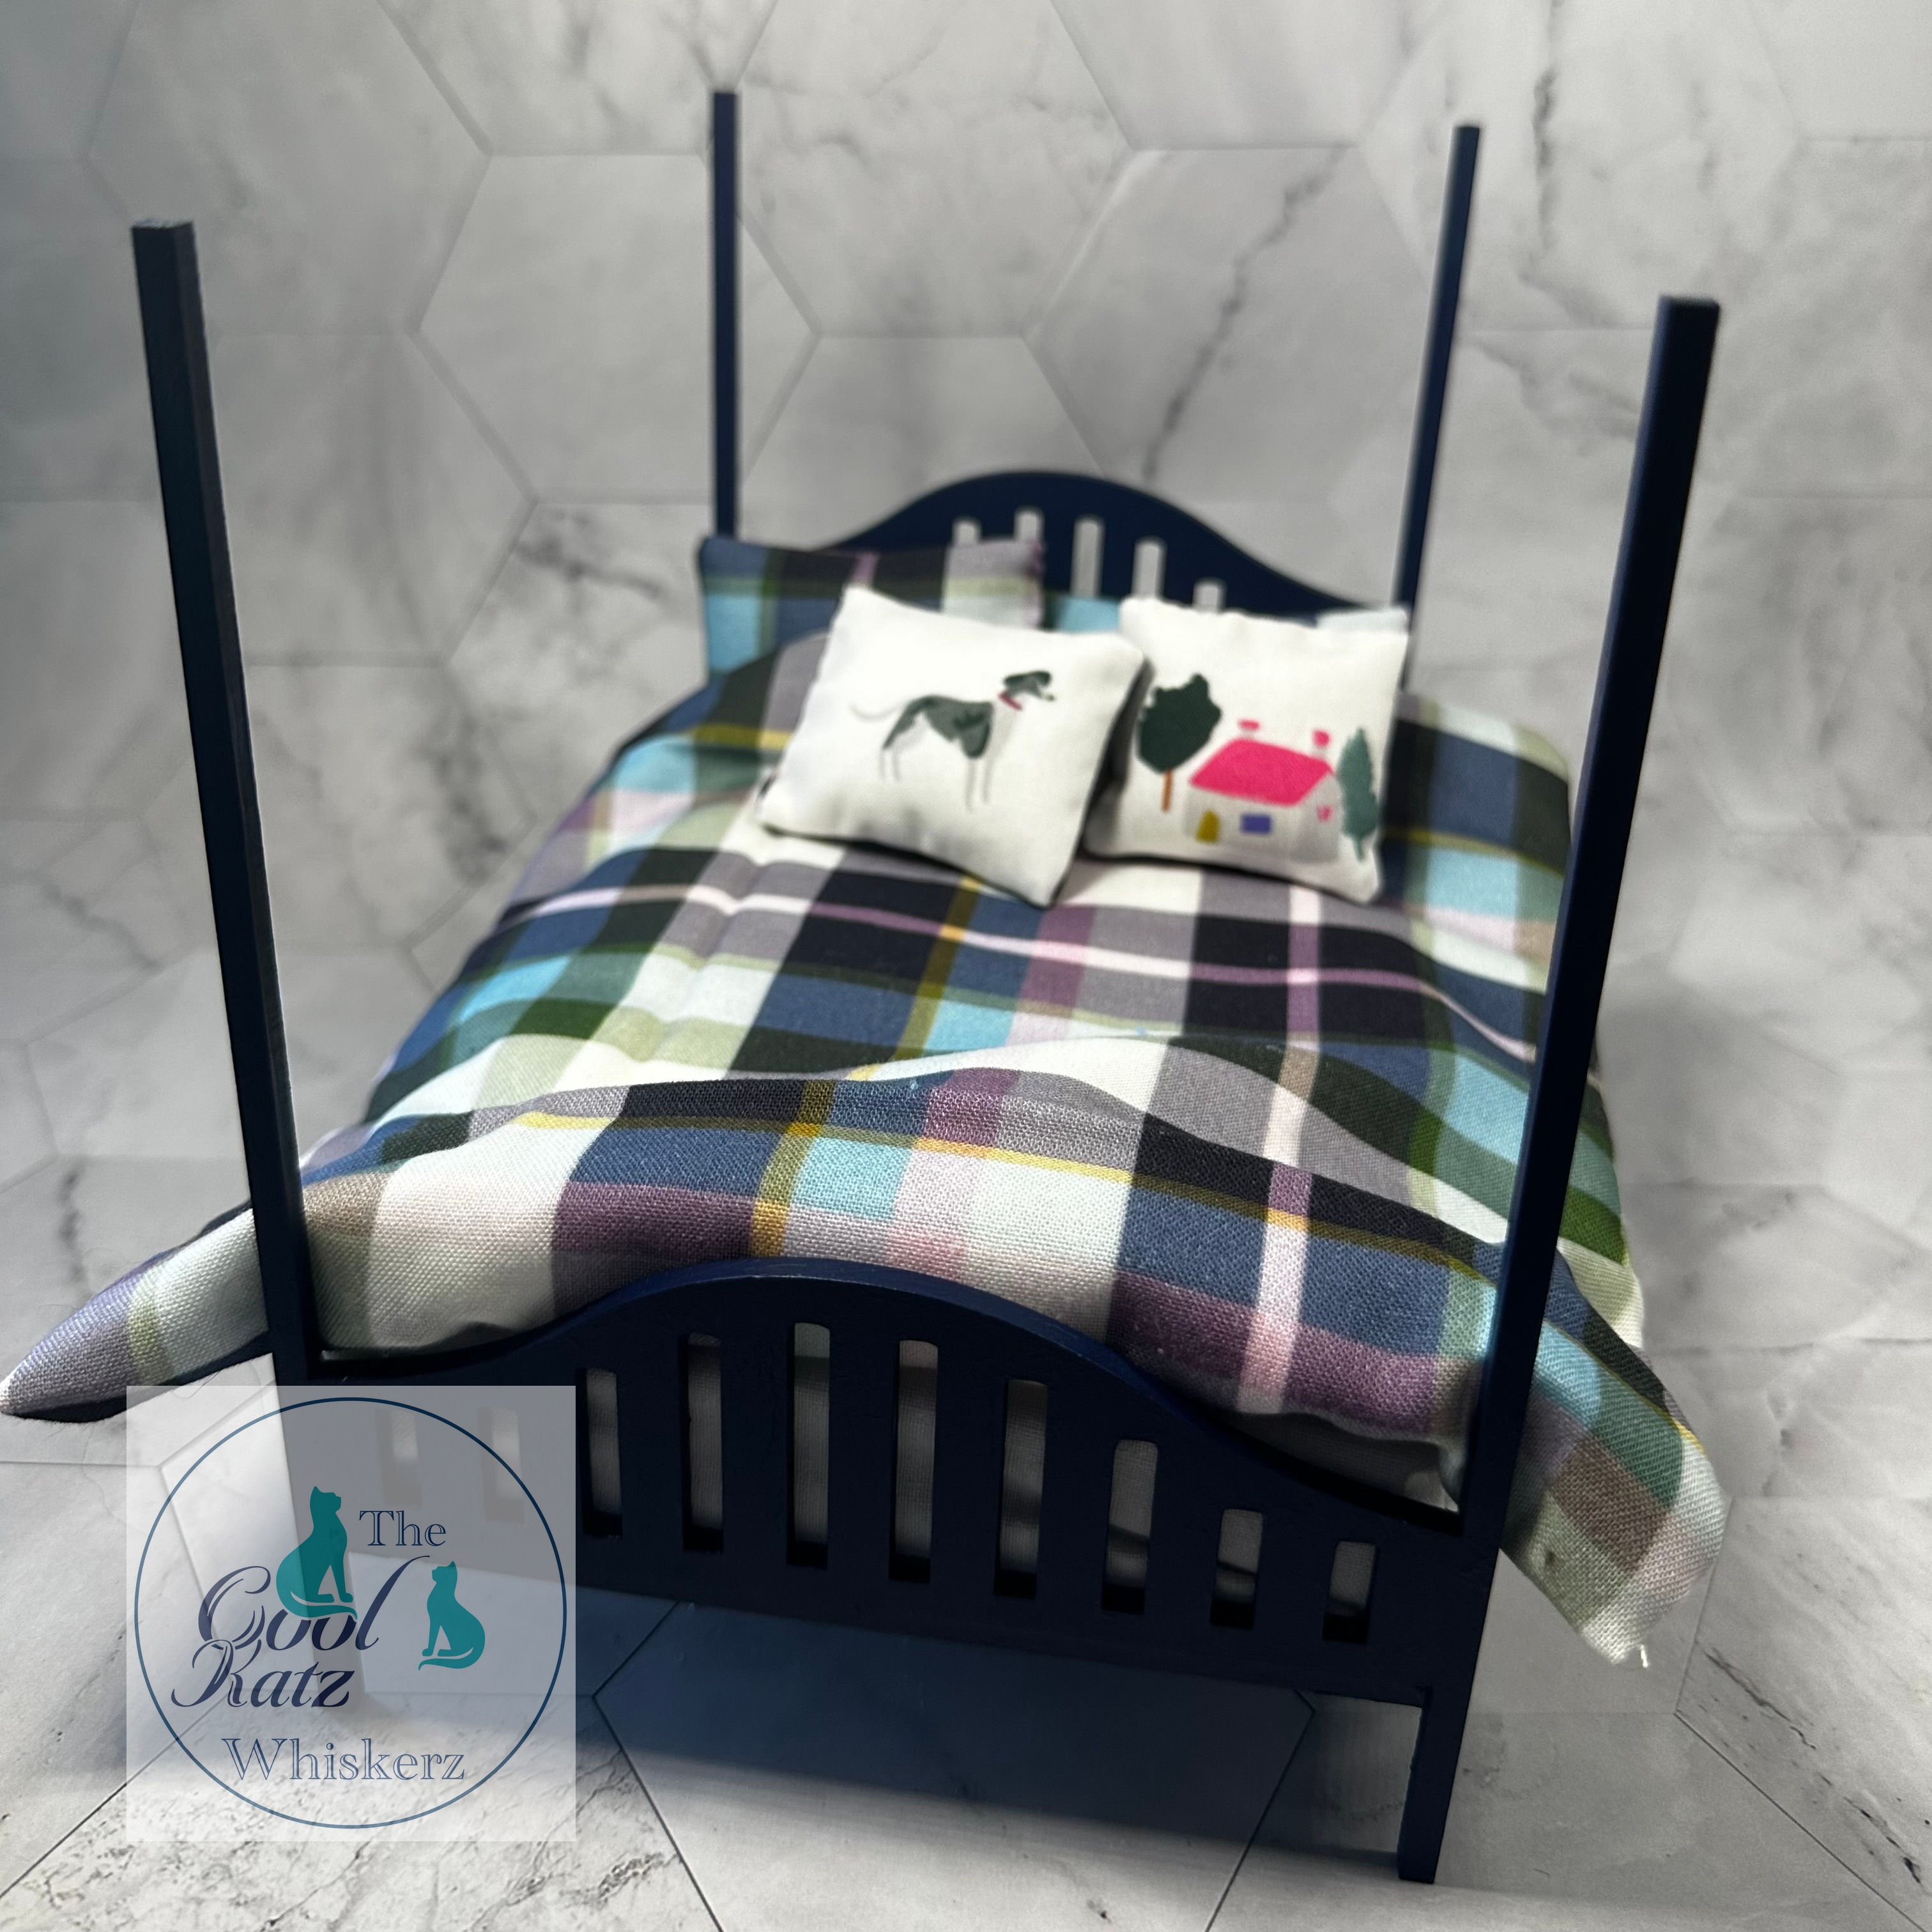
I love nothing more than crafting and upcycling or 'recrafting' as I like to call it. I am always on the look out for my next project and as soon as I saw the "Potting bench" or as I call it a "Greenhouse stand" I knew that that was it!
I had seen a very similar unit used as a baby changing station and that's where the idea came from. As always, I lay out the pieces of wood and whilst removing the stand shelf sections I saw numerous little strips of left over wood that would be just perfect for crate style boxes. I used the left over squares and triangles of wood and glued the little strips of wood on the front.
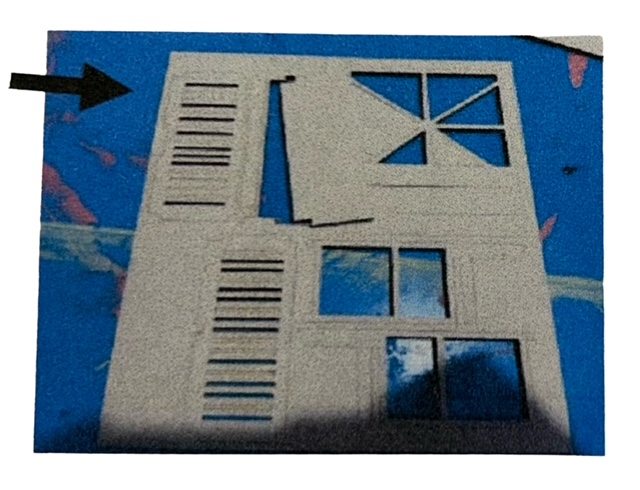
I didn't have enough for the box base but that didn't matter as I would be filling them so wouldn't be seen.
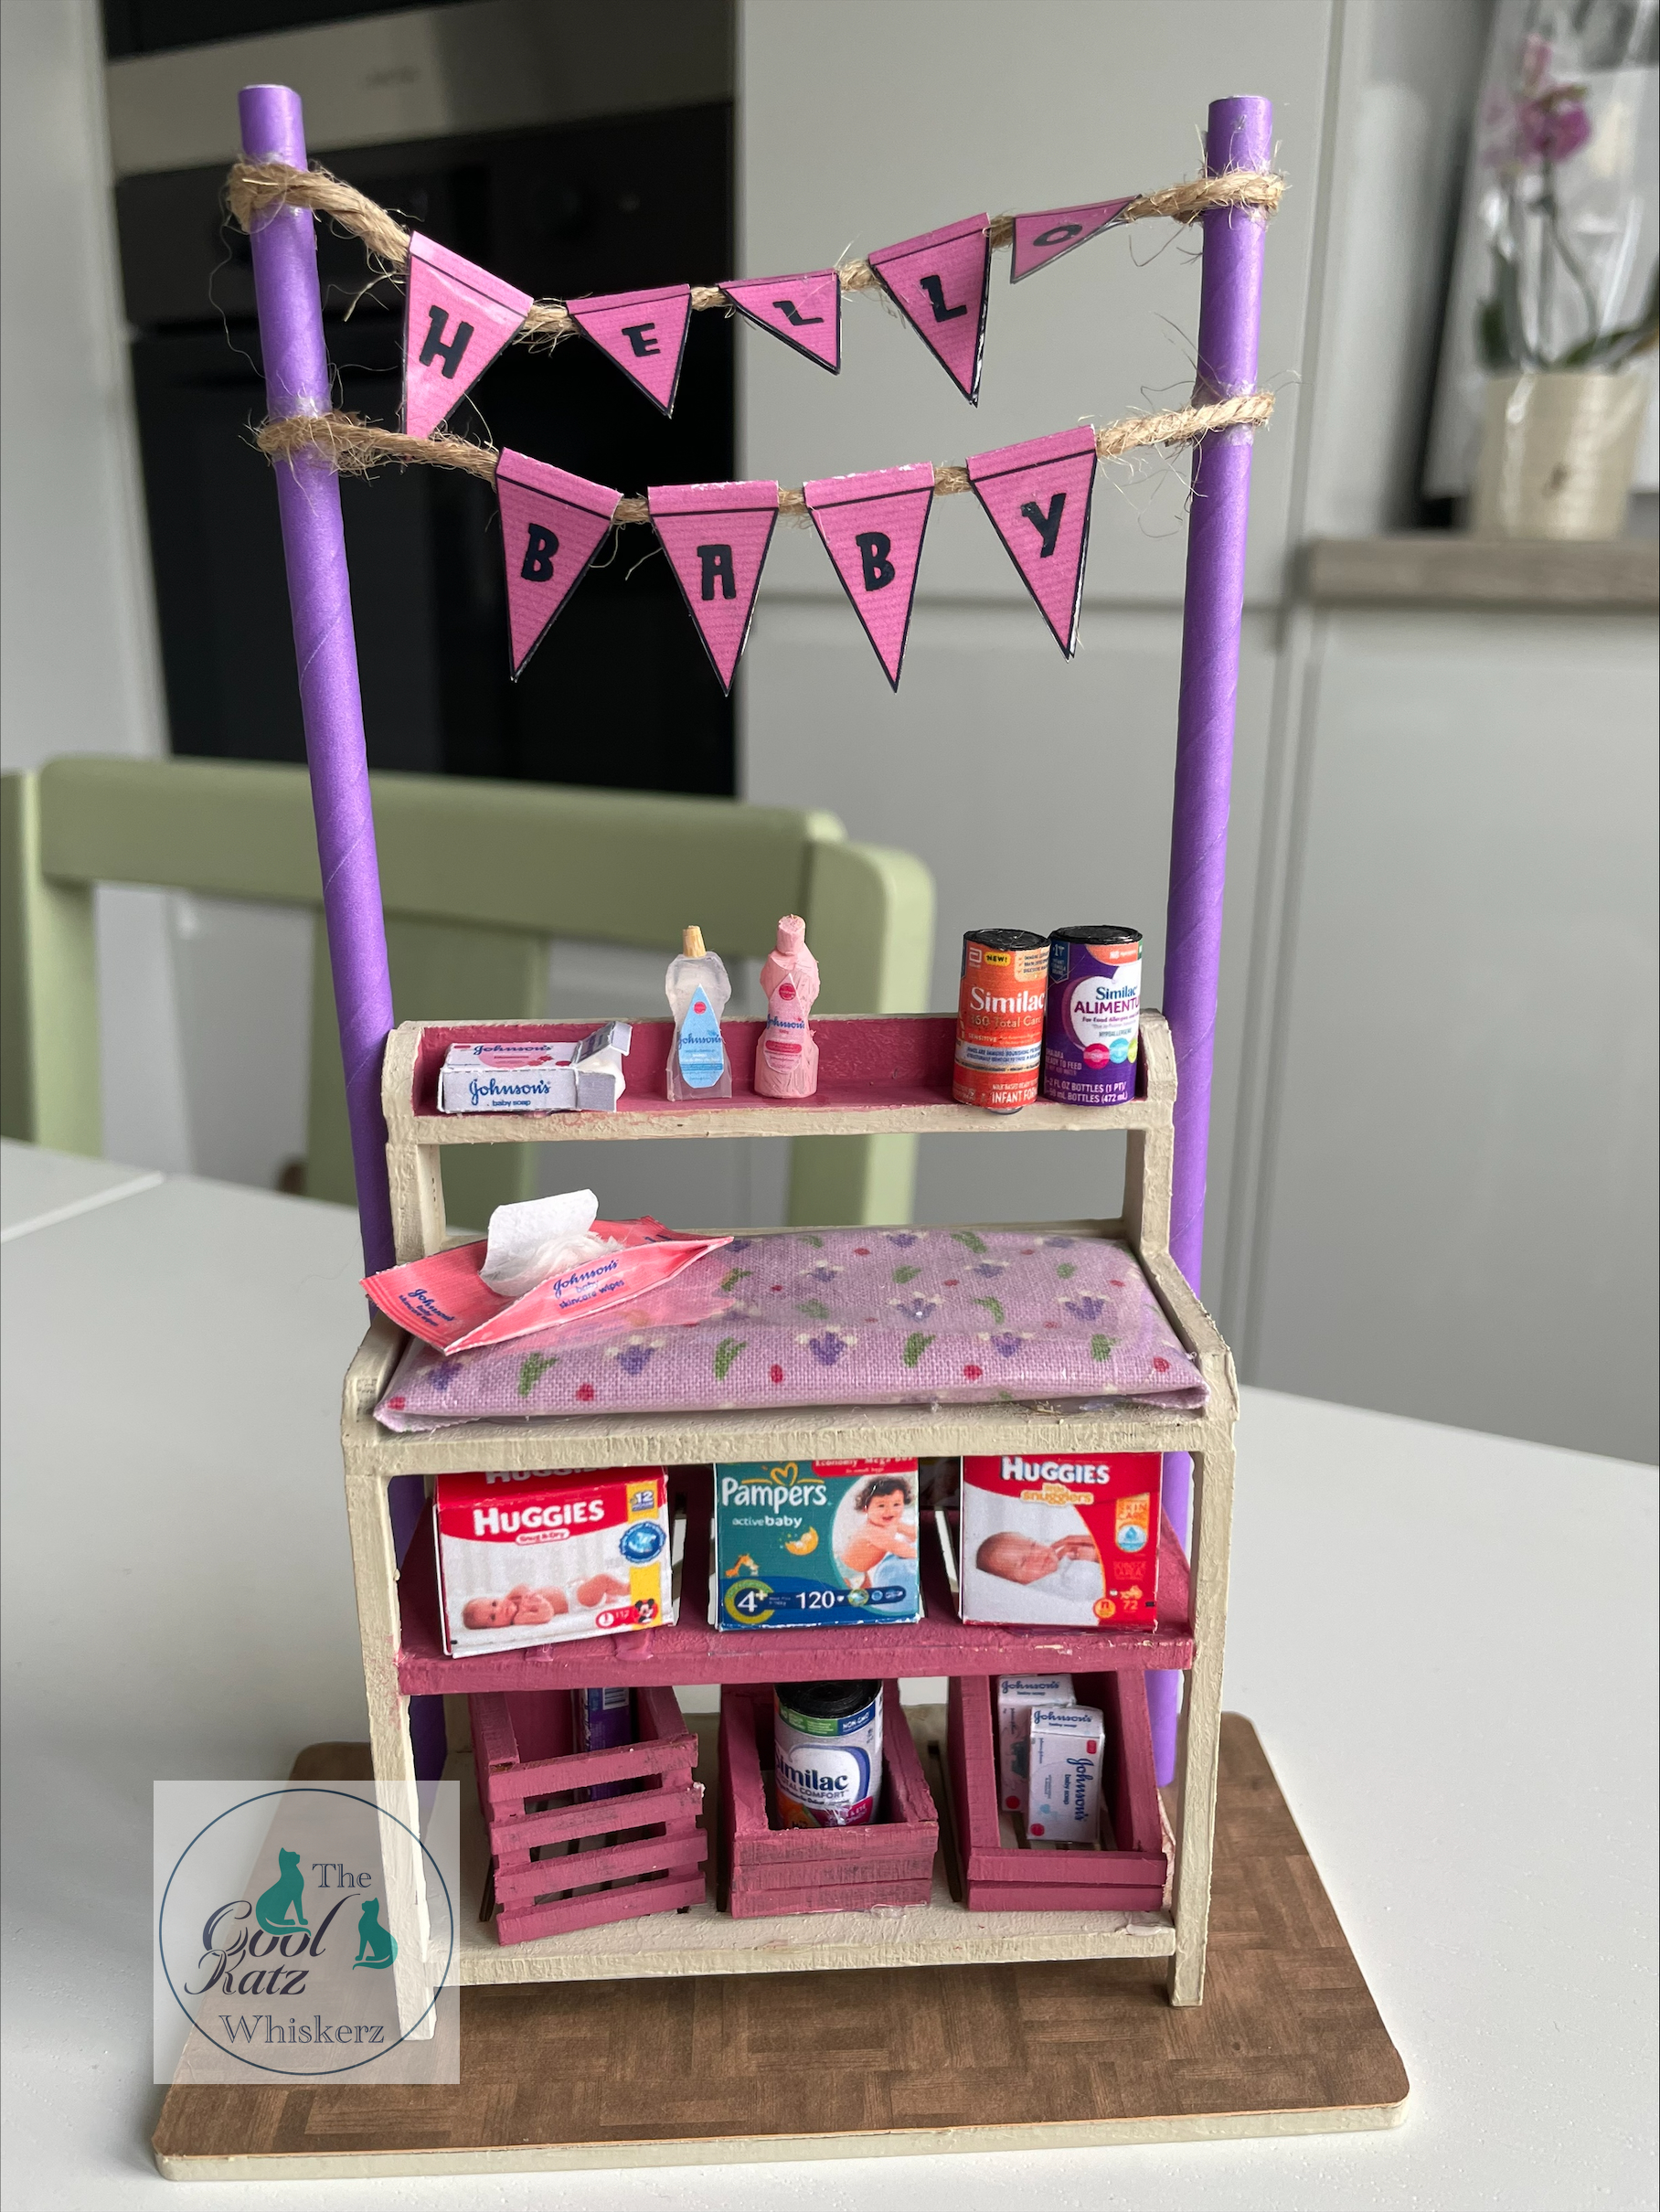
I built the unit following the instructions and then set about painting. I always build first because as you will see from all my photographs I am what some may call a messy crafter. I find it less messy to build and paint each section (allowing each section to dry in between). I love to add a splash of colours so decided quickly on a muted base with an accent of purple / pink.
I set about accessorising the baby changing station. I found a free file with nappy boxes and bottle labels. I made sure that the files were allowed to be used for a project such as this project (lots are not so it's important to check).
I printed the nappy boxes and soap packaging on photo paper to give them the glossy finish found on the real items. I also printed a baby wipe packet but peeled off the card part off the back to give a more realistic thin plastic finish. I cut up a puppy pad to make wipes to go inside.
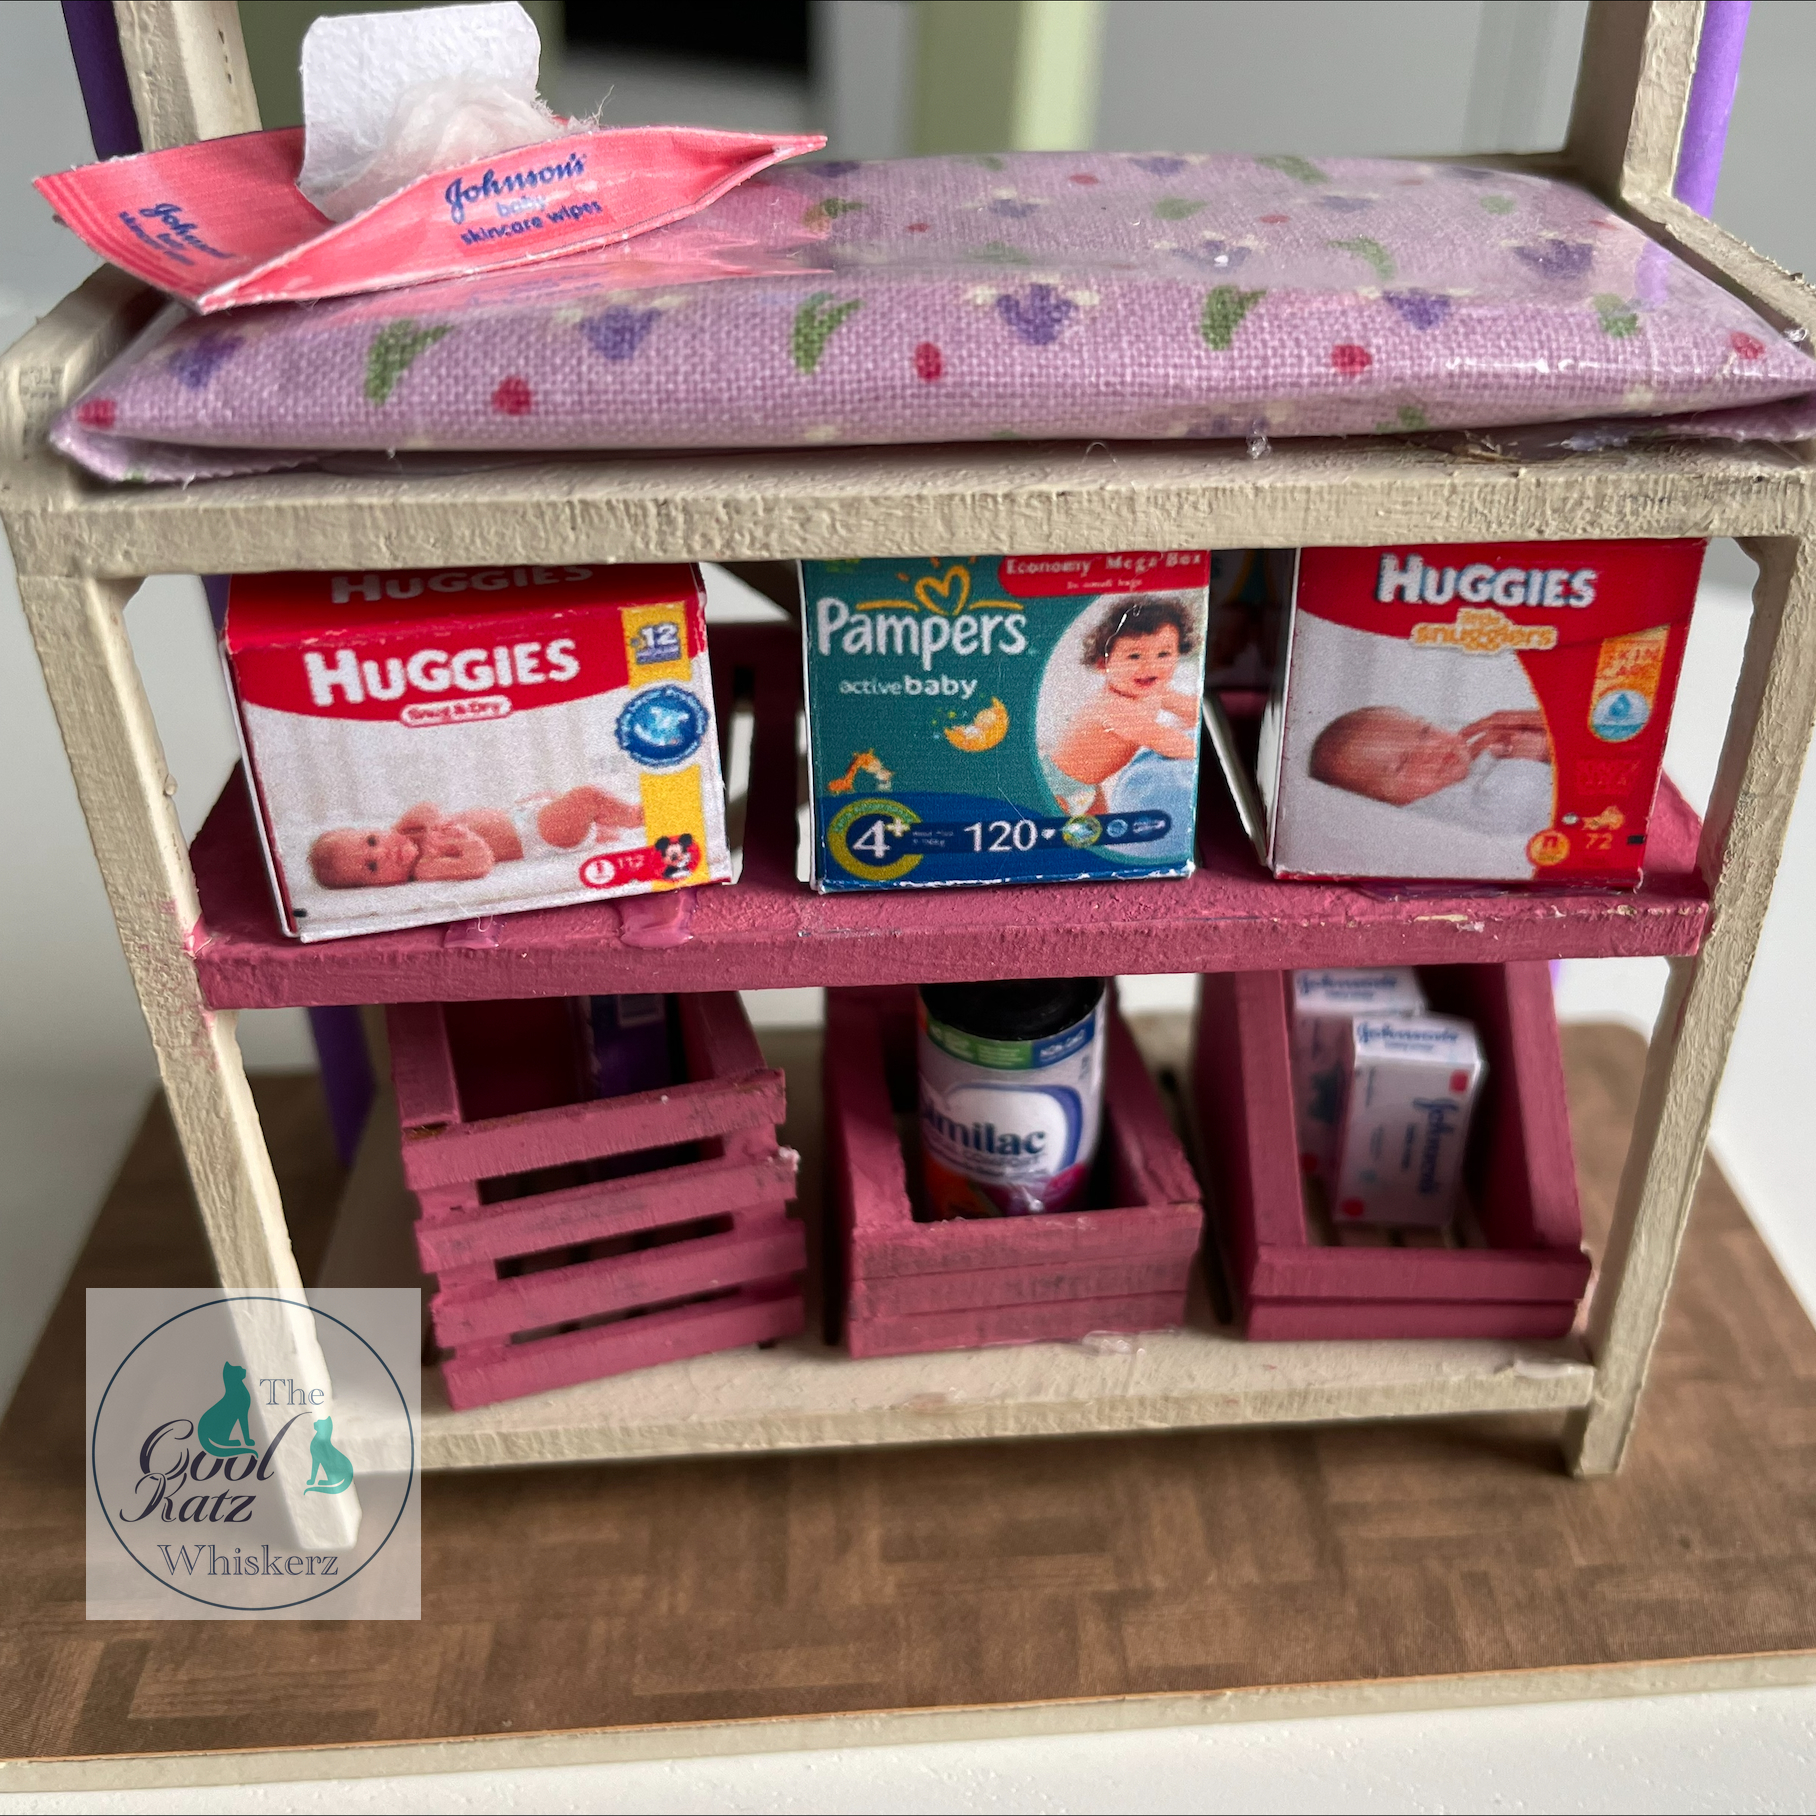
Next I moved on to the baby milk food containers. I cut glue gun sticks for the base. I found these to be not thick enough so wrapped double sided tape around them to create a thicker 'drum'. I used marker pens to colour the ends and then wrapped a printed label around each.
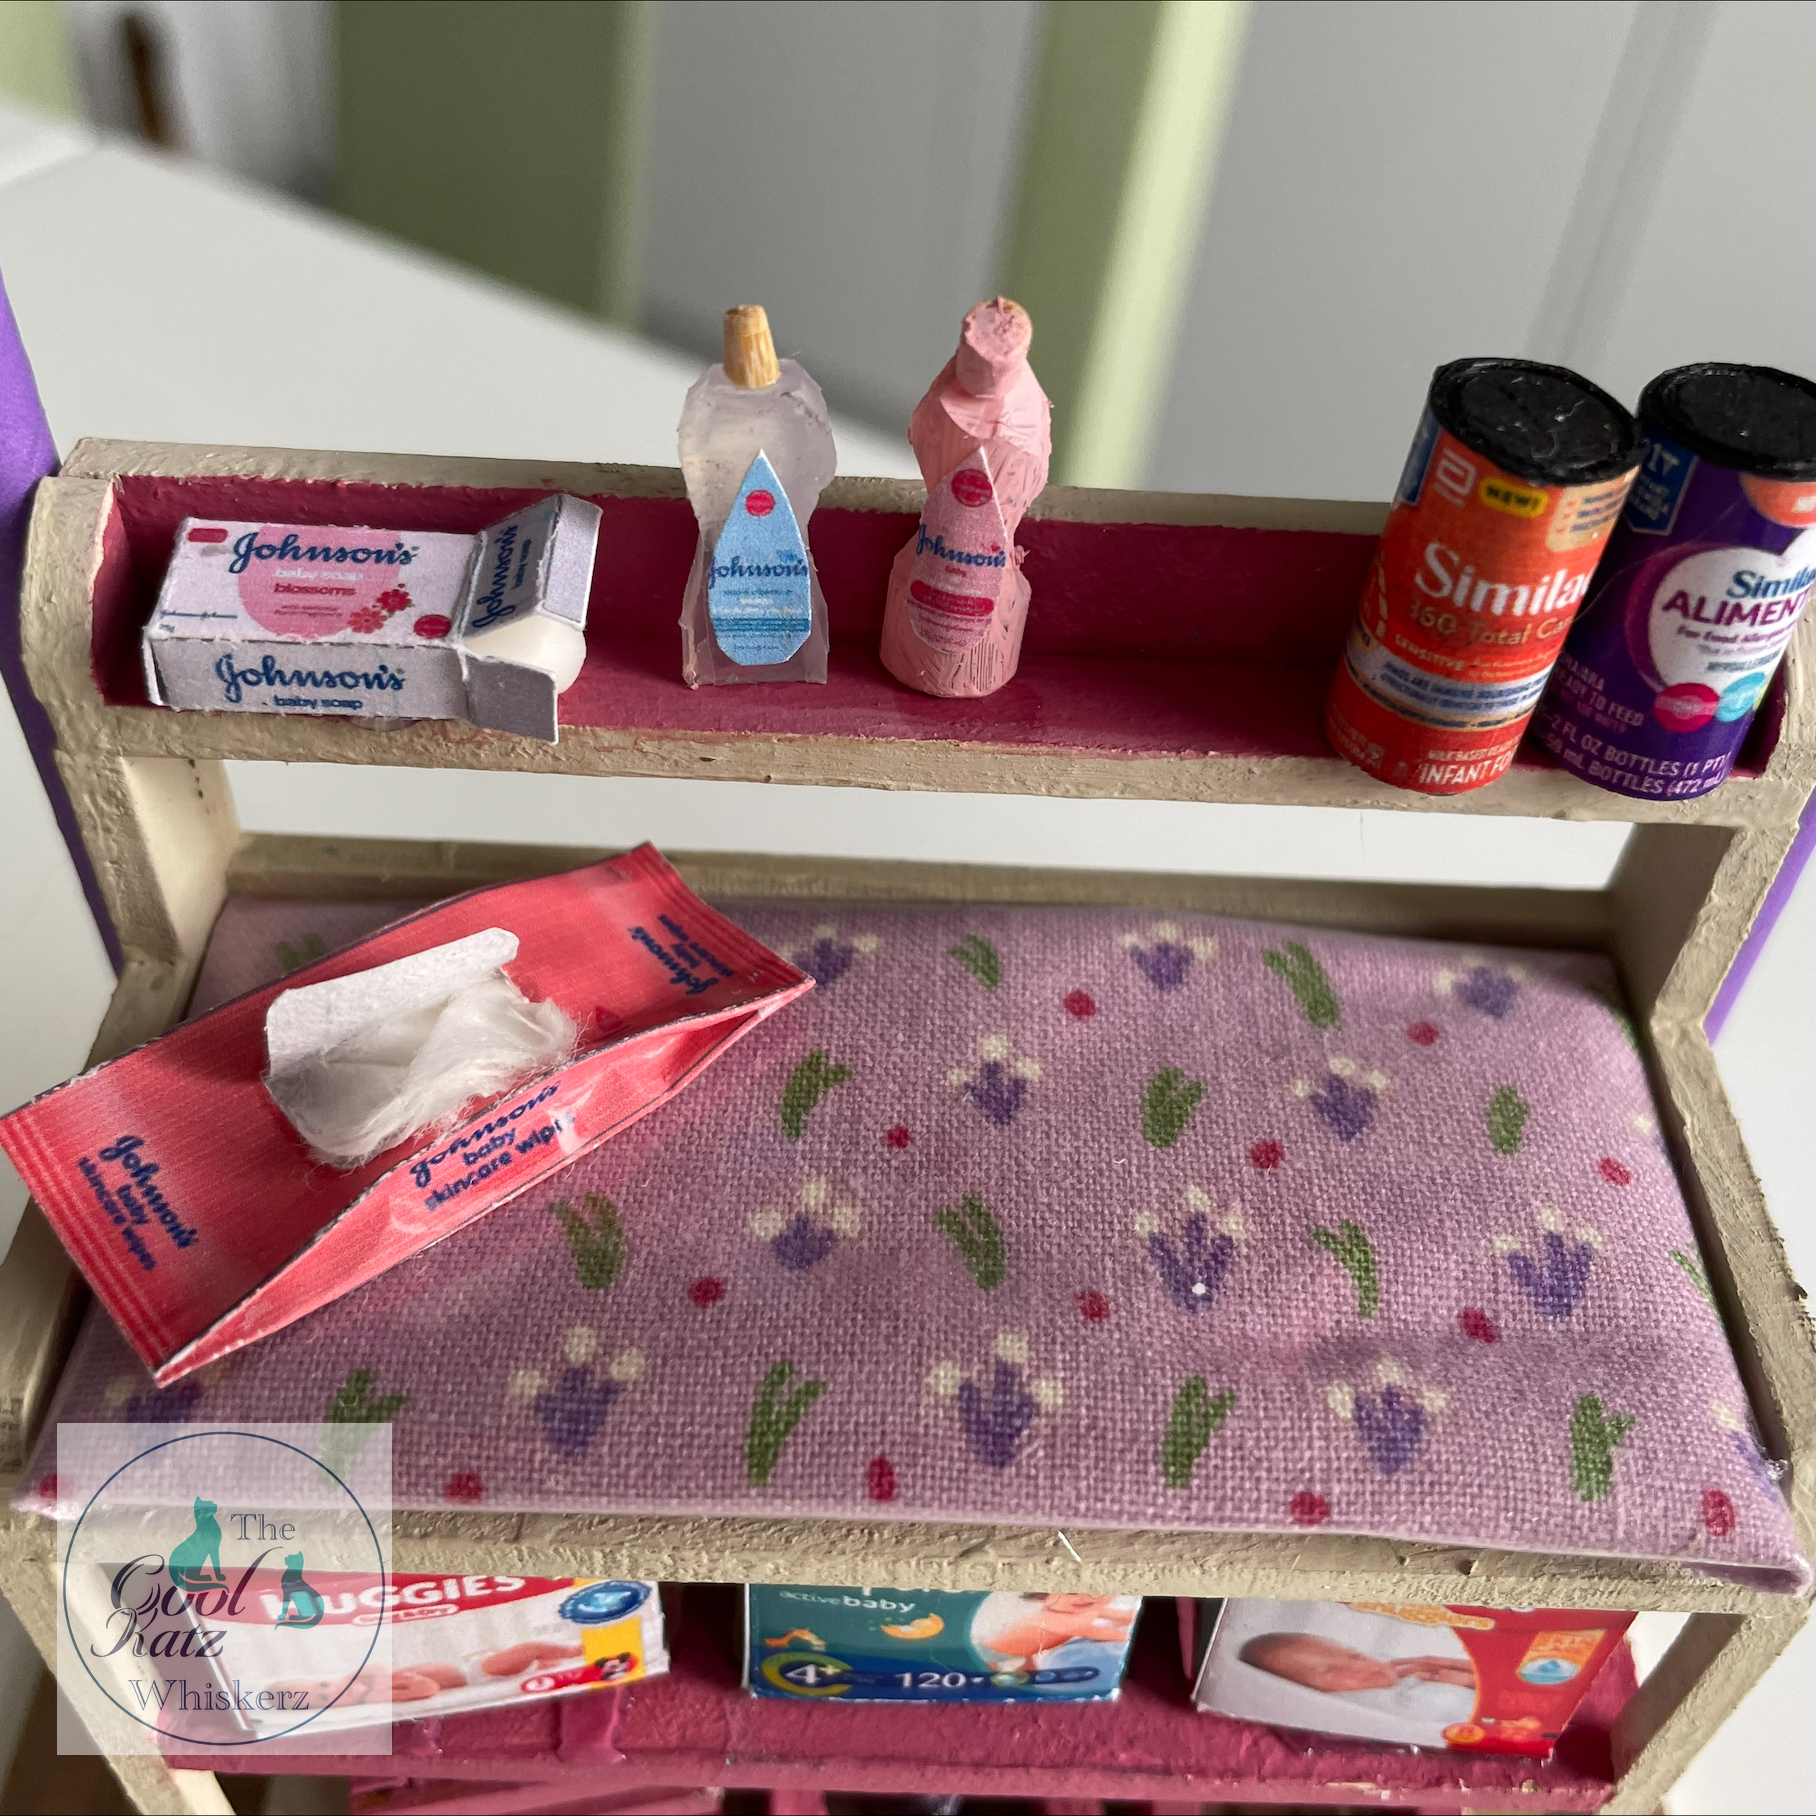
The baby shampoo and soap were also created using glue gun sticks. I cut the glue gun stick in half and shaped. I cut a small slice off a bamboo barbeque skewer for the lid, This turned out to be the most tricky part! Every time I cut the small piece it would shoot off never to be seen again! In the end I put my scissors on the end to hold it down. I then painted one and added labels to the front and back of both.
Next I moved on to create the soap. I used the plastic packaging from medication and carefully poured wax from a tea light candle into it. I allowed it to cool before removing. I made the baby changing mat from a washing up sponge and covered in plastic fabric. I cut the washing up sponge to fit the top section and used a glue gun to glue or attach the plastic covered fabric to the sponge.

Finally I finished the project with baby bunting. I created it on the computer putting a triangle, rectangle and upside down triangle.
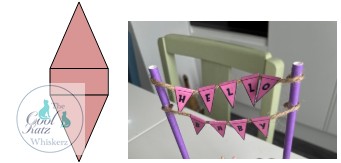
These were cut out, edges inked and then glued onto rustic string. The string was then attached to paper straws. By luck it was wide enough to be glued onto the side of the baby stand. This added extra stability.
Absolutely brilliant idea Fay.
What would you create with our CoolKatz Potting Bench?
Don't forget to share your CoolKatz projects with us over in the
CoolKatz Facebook group and if you are looking for more inspiration of
techniques you will find plenty of those on the Coolkatz YouTube
channel. Links for both can be found below.
Happy Crafting
The CoolKatz Team x
https://www.coolkatzcraft.com/tiny-world-complete-mini-scene-1-12-scale-potting-bench
https://www.youtube.com/channel/UCHVLrneEbdNJp3EIhJoH4BA
https://www.facebook.com/groups/CoolKatzCraft